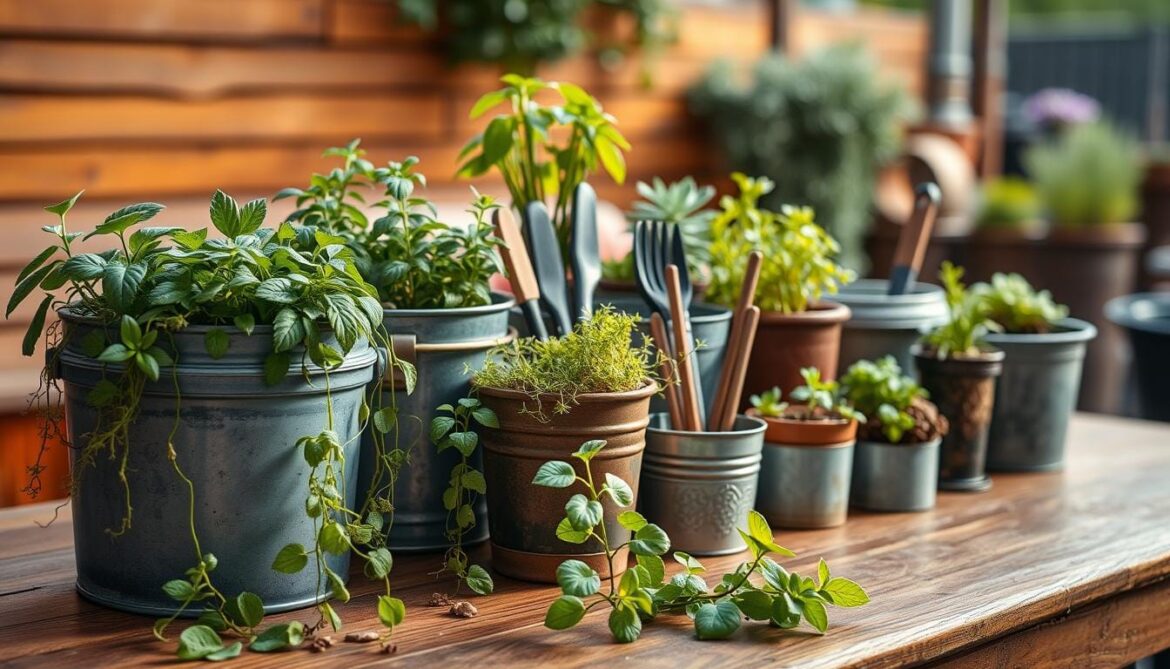
Imagine standing on a balcony or patio, surrounded by lush herbs, vibrant flowers, or even fresh vegetables—all thriving in humble buckets. That’s the magic of bucket gardening. It’s perfect for city apartments or areas with rocky soil. Container gardening lets you create green spaces where none existed before.
Small space gardening doesn’t need big yards or complicated tools. With the right buckets and knowledge, you can grow food, beautify patios, or enjoy nurturing life. This guide covers everything from choosing the perfect container to keeping plants healthy all year. Let’s turn those unused buckets into thriving ecosystems.
Key Takeaways
- Bucket gardening makes container gardening accessible even in tight spaces.
- Almost any plant can thrive in the right-sized bucket with proper care.
- Beginners can start small and expand as they learn without overwhelming costs.
- Seasonal adjustments ensure plants stay healthy in all weather conditions.
- Repurposing everyday items like buckets promotes sustainability and creativity.
What is Bucket Gardening?
Bucket gardening is a new way to garden using buckets as planters. It’s a part of container gardening that turns everyday items into gardening tools. It’s great for small spaces like balconies or rooftops, perfect for growing herbs or flowers.
“Bucket gardening involves growing plants in containers, making it a practical solution for limited space or poor soil.”
Definition and Concept
This method uses buckets instead of traditional soil beds for growing plants. It’s a flexible option for urban gardening, allowing you to garden on patios or fire escapes. It combines creativity with functionality by repurposing materials.
Benefits of Container Gardening
Container gardening has many benefits for small spaces. Some key advantages include:
- Mobility: Plants can be moved easily to follow sunlight or avoid bad weather.
- Soil Mastery: You can create the perfect soil mix for your plants, even if the native soil is poor.
- Pest Protection: Containers help protect plants from pests that live in the ground.
- Water Efficiency: Targeted watering helps plants grow without wasting water.
- Accessibility: Elevated buckets make gardening easier for people with mobility issues.
Urban gardeners can create green spaces even in high-rise apartments. Guides like ChikusGarden’s guide help you get started, from preparing the soil to choosing plants. It’s also a way to garden sustainably, using ordinary buckets to create ecosystems.
Bucket gardening lets you grow tomatoes on a balcony or herbs on a deck. It brings fresh produce and beauty to any environment, without needing a backyard.
Choosing the Right Buckets for Gardening
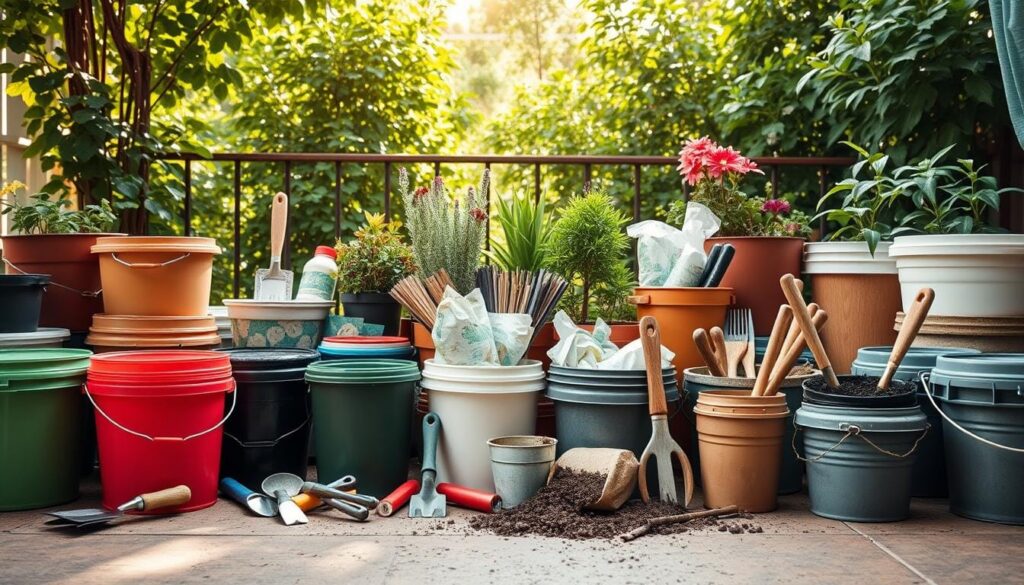
Choosing the right buckets is key. You need to know about materials and what plants need. Whether you use old containers or buy new ones, it affects your plants and garden.
Materials: Plastic, Metal, or Wood?
Plastic buckets are easy to use and don’t cost much. They’re great for DIY gardening. Make sure they’re food-grade for veggies to avoid harmful chemicals.
Metal containers can get too hot, harming roots in warm places. Wood is nice but needs upkeep to stop it from rotting.
| Material | Pros | Cons |
|---|---|---|
| Plastic | Lightweight, cheap, UV-resistant | Can degrade in sunlight |
| Metal | Sturdy, durable | Risk of overheating or rust |
| Wood | Attractive, breathable | Requires sealing treatments |
Size Matters: How to Select Bucket Sizes
The size of the bucket matters a lot. Small plants like lettuce do well in 6-inch buckets. But carrots need at least 12 inches.
Don’t forget to add drainage holes. This stops water from pooling and harming your plants.
- Herbs: 6–8” depth (e.g., basil, thyme)
- Vegetables: 12–18” depth (e.g., tomatoes, peppers)
- Flowers: 10–14” depth (e.g., marigolds, petunias)
Old buckets can become mini gardens. Clean food-safe pails or bins well before use. Choose the right material and size for your plants to grow well.
Preparing Your Buckets for Planting
Turning ordinary containers into plant homes is easy. Just follow these steps for bucket gardening success.
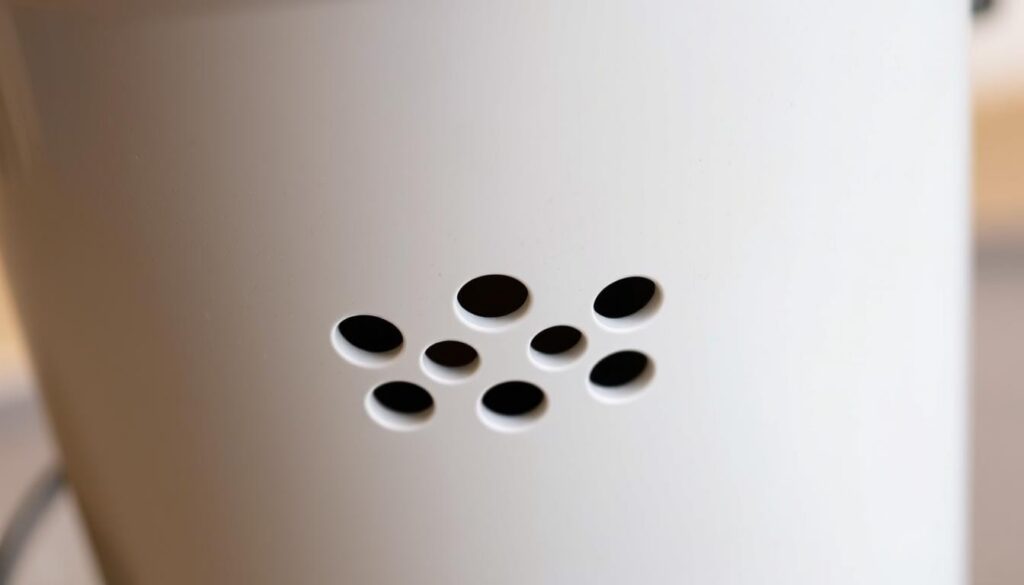
Drilling Drainage Holes
Drainage holes stop water from pooling. Drill 3-5 holes at the bottom. For small buckets, use ½-inch holes. Larger ones need up to 1-inch holes.
When drilling metal, wear gloves to avoid cuts. This is important for safety.
- Plastic: Use a heated screwdriver or drill bit
- Metal: Drill slowly to prevent warping
- Wood: Pre-drill pilot holes before using a drill
Cleaning and Sanitizing Buckets
Old containers can have bacteria. Clean them well with these methods:
| Method | Instructions | Best For |
|---|---|---|
| Vinegar Solution | Combine 1 part white vinegar with 3 parts water. Soak for 30 minutes. | Repurposed buckets |
| Hydrogen Peroxide | Use 3% solution to kill pathogens. Rinse thoroughly. | Wood or plastic |
| Chemical Bleach | Mix 1 part bleach with 9 parts water. Let sit 10 minutes before rinsing. | Severe contamination |
“Sanitation is the first line of defense against plant diseases,” says the National Gardening Association.
Always check reused buckets for dirt. Don’t use containers that held toxic stuff. Rinse them well after cleaning to remove all chemicals.
Selecting the Right Soil for Bucket Gardening
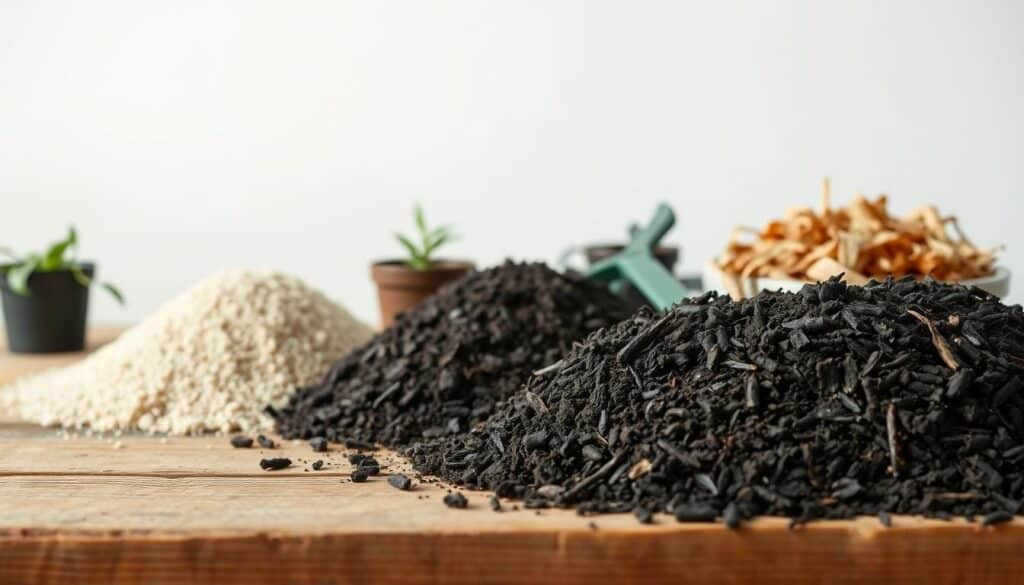
Choosing the right soil is key for healthy plants in container gardening. Unlike garden soil, which can become compacted in buckets, the right mix prevents waterlogging and nutrient shortages. This ensures roots grow well in tight spaces.
Importance of Quality Soil Mix
Regular garden soil can become too dense in containers. This blocks airflow and water drainage, causing root rot and stunted growth. But, potting mixes made for containers solve these problems. They balance aeration, moisture, and nutrients for healthy root growth.
Recommended Soil Ingredients
Make your own mix using these essential ingredients:
| Ingredient | Purpose | Usage Tips |
|---|---|---|
| Coco coir | Retains moisture | Use as a peat alternative |
| Perlite | Improves drainage | Add 10-20% by volume |
| Compost | Adds nutrients | Use well-rotted organic matter |
For vegetable gardening, mix 40% compost, 30% coco coir, and 30% perlite. For indoor gardening, add 15% vermiculite to control moisture. Always test your mix by pouring water through it in a bucket.
Choosing Plants for Bucket Gardening
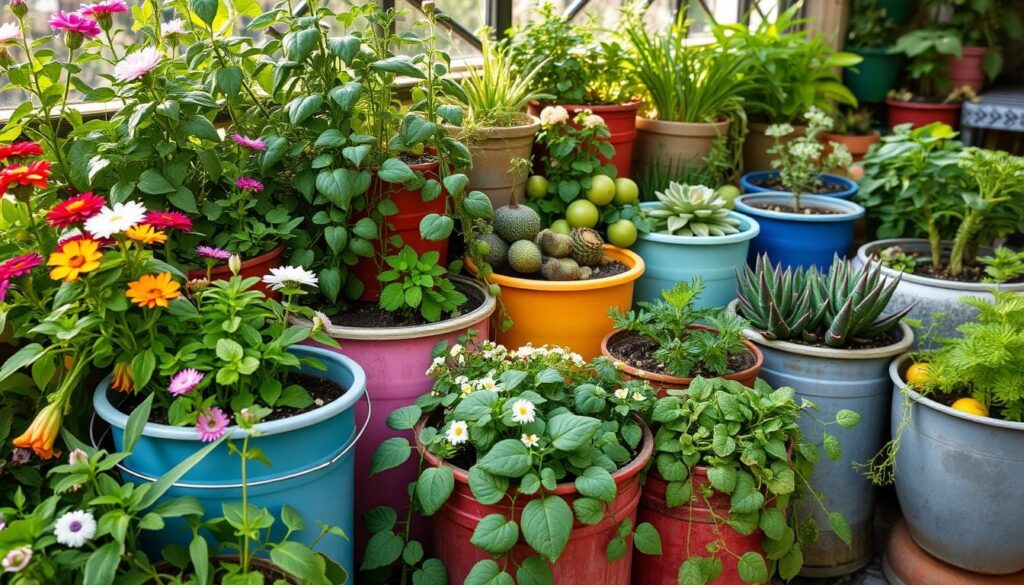
Starting a bucket garden means picking the right plants. Whether you love growing veggies or flowers, the right choices lead to healthy growth and beautiful results.
Best Vegetables for Buckets
Compact veggies do well in containers. Choose determinate tomatoes, bush beans, or mini pumpkins. Root veggies like carrots need deeper buckets, at least 12 inches.
Try ‘Little Finger’ carrots or ‘Cherry Belle’ radishes for a space-saving option.
Popular Flower Choices for Containers
Annuals like marigolds and petunias brighten up urban spaces. Perennials like lavender or dwarf coneflowers come back every year. Look for “container-friendly” labels to prevent root problems.
Herbs That Thrive in Buckets
Herbs are great for indoor gardens or sunny spots. Basil, thyme, and rosemary do well in 6–8” buckets. Mix herbs like oregano and parsley in bigger containers for a mini herb garden.
| Plant Type | Top Varieties | Bucket Depth |
|---|---|---|
| Vegetables | Determinate tomatoes, bush beans | 12–18 inches |
| Flowers | Marigolds, petunias | 10–14 inches |
| Herbs | Basil, thyme | 6–10 inches |
“Match plant size to bucket size—this avoids overcrowding and ensures strong growth.” – Gardening Expert Network
Planting Techniques in Buckets
Learning the right planting techniques is key to a thriving bucket garden. Proper layering and spacing help plants grow well, making gardening in small spaces easy. Follow these steps to get the most out of your container garden.
Layering for Optimal Growth
Start with a drainage base: fill the bucket’s bottom with gravel or broken pottery. This stops waterlogging and root rot. Then, add a nutrient-rich soil mix.
For deeper containers, try the “soil sandwich” method. Alternate thin layers of compost and potting soil. This bucket gardening trick is great for veggies like tomatoes or herbs.
Spacing Guidelines for Different Plants
Too many plants can stress them out. Here are some spacing rules:
- Leafy greens (lettuce, spinach) need 2-3 inches between seedlings.
- Root vegetables (radishes, carrots) require 4-6 inches of personal space.
- Large plants like peppers or cucumbers need their own bucket to avoid competition.
Use companion planting to make the most of small spaces. Pair compact herbs like basil with taller plants to save room. Adjust spacing based on plant maturity size to avoid container gardening pitfalls.
Watering Essentials for Container Plants
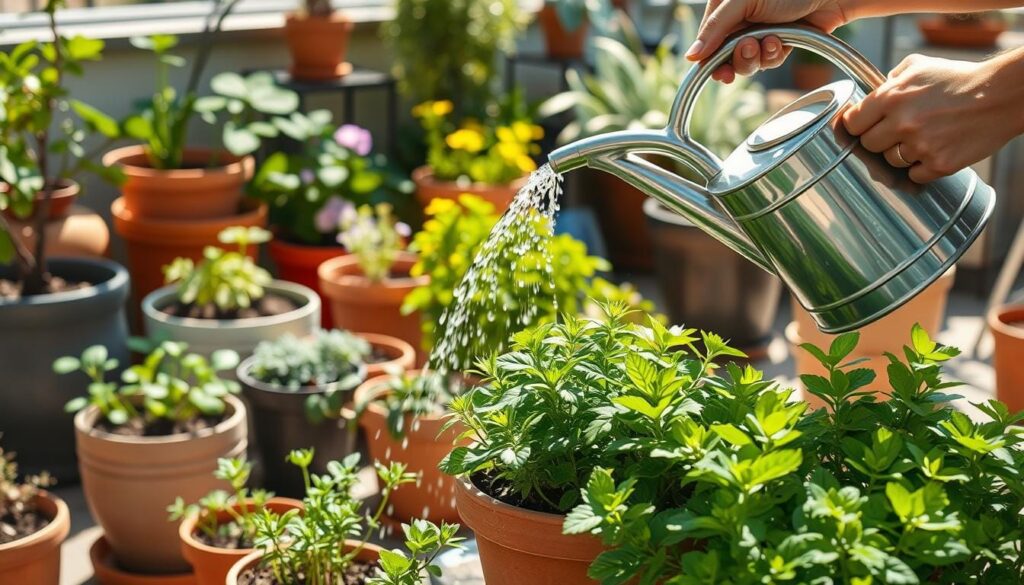
Proper watering is key for container gardening. Soil in buckets dries fast. So, water more often, depending on the weather and plant type. Too much or too little water can harm the roots and slow growth.
Frequency and Amount of Watering
Check soil moisture by poking your finger 1–2 inches deep. Bucket gardening needs more water than other methods. In hot weather, water thirsty plants like tomatoes twice a day. Use self-watering containers or drip irrigation to save water and effort.
- Small buckets: Water every 1–2 days
- Larger containers: Every 3–4 days
- Indoor gardening: Adjust based on indoor humidity and light
Signs of Overwatering vs. Underwatering
Wilting leaves mean the plant needs more water. If soil pulls away from the bucket, it’s time to water. Overwatering causes yellow leaves, mold, or root rot. Let the soil dry before watering again.
For indoor gardening, keep plants away from heating vents. They dry out soil faster. Use soil mixes that hold moisture and mulch to keep it in. Group plants with similar needs to make watering easier.
Fertilizing Your Bucket Garden
Container gardening needs careful nutrient management because of small soil spaces. Plants in buckets use up nutrients quickly. So, regular fertilizing is key for their health. Whether you choose organic or chemical fertilizers, picking the right one is vital for your plants to thrive.
Types of Fertilizers: Organic vs. Chemical
Organic gardening fans often use natural stuff like compost tea, worm castings, or fish emulsion. These slow-release nutrients also help the soil. On the other hand, chemical fertilizers give a quick nutrient boost but must be used carefully to avoid harming roots.
For vegetable gardening, it’s safer to use organic fertilizers like bone meal or blood meal for your food crops.
- Organic: Compost tea, worm castings, fish emulsion
- Chemical: Balanced 10-10-10 blends, liquid feeds
When and How to Fertilize
Make a container gardening feeding plan based on what your plants need. A good rule is to use a “weakly, weekly” method: water down the fertilizer to ¼ strength and apply every two weeks when plants are growing fast. Too much fertilizer can harm the roots, which is a big problem in small buckets.
For veggies, give them nitrogen-rich fertilizers when they’re growing leaves. Then, switch to phosphorus-rich options when they start flowering or producing fruit.
“In organic gardening, patience pays off. Let natural cycles support your plants.”
Always water the soil before adding fertilizer to prevent shocking the roots. Adjust how often you feed based on the plant type. Leafy greens might need more food than herbs. By following these tips, your container garden will stay healthy and productive all season.
Managing Pests and Diseases in Buckets
Container gardening is flexible but needs careful pest control. Pests like aphids, spider mites, and fungus gnats can harm plants. It’s important to use safe methods for vegetable gardening and urban areas to protect plants and the environment.
Common Pests and Their Solutions
Spot pests early to stop damage. Here are some solutions:
- Fungus gnats: Use sticky traps or soil mixes with sand to disrupt breeding.
- Aphids and mealybugs: Spray with neem oil or homemade mixes of water, dish soap, and crushed garlic.
- Spider mites: Rinse leaves with a strong water jet weekly.
Preventative Measures for Healthy Plants
Prevent outbreaks with these steps:
- Space plants properly to improve airflow in urban gardening setups.
- Rotate crops and avoid reused soil to reduce disease risks.
- Inspect plants weekly and remove infected leaves promptly.
Organic gardening practices like companion planting (marigolds deter pests) and copper tape barriers around buckets can shield plants. Urban gardeners growing vegetables must prioritize non-toxic methods to keep harvests safe. Regular care ensures bucket systems stay a low-maintenance, pest-resilient option.
Seasonal Considerations in Bucket Gardening
Seasons affect how plants grow in containers. Small space gardening does well with weather adjustments. Care in spring and winter keeps buckets productive all year.
Spring Planting Tips
Timing is key in spring. Start seeds indoors 4–6 weeks before the last frost. Move seedlings outdoors slowly to harden off.
Place buckets in sunny spots but protect from cold winds. Use frost cloths for late frosts. Compact raspberries, like container-specific varieties, need well-drained soil and support.
Preparing Buckets for Winter
Winter prep depends on your climate. In harsh zones, move tender plants indoors to sunny windows. For outdoor buckets, wrap with burlap or bubble wrap.
Group containers together to trap warmth. Mulch around bucket bases to insulate roots. Drain excess water to prevent freezing damage.
Using Buckets for Vertical Gardening
Make the most of small or urban spaces with vertical gardening. Buckets can be turned into vertical gardens, making even tiny areas useful.
Benefits of Vertical Gardening Techniques
- Airflow: Stacked or wall-mounted buckets help prevent pests and diseases by improving air flow.
- Space efficiency: Perfect for small spaces, they let you grow many plants in tight spots like balconies or patios.
- Ease of access: Plants at eye level make harvesting easier, saving you from bending.
Creative Ideas for Vertical Bucket Layouts
| Design Type | Description | Best Plants |
|---|---|---|
| Stacked Tower | Drill buckets together with PVC pipes for stability. | Herbs, strawberries, lettuce |
| Wall-Mounted Rails | Suspend buckets on adjustable hooks or wooden frames. | Tomatoes, peppers, trailing flowers |
| Hanging Clusters | Link buckets with S-hooks for vertical cascades. | Pansies, thyme, trailing succulents |
Place drought-resistant plants like rosemary at the top for more sunlight. Moisture-loving greens like spinach do well lower down. Water flows down naturally, saving water. For more ideas, check out vertical DIY projects using buckets and other materials. Even tiny spaces can become lush with vertical gardening.
Budget-Friendly Tips for Bucket Gardening
Bucket gardening is a smart choice for those who want to grow plants without breaking the bank. It’s cheaper than expensive raised bed gardening setups but offers the same benefits. Here’s how to save money without sacrificing results.
Cost-Effective Materials and Supplies
Start by finding buckets for free or cheap. Look at local restaurants, bakeries, or hardware stores for used plastic containers. Clean them well before using them.
For soil, mix compost, garden soil, and coconut coir. This mix is cheaper than store-bought ones. Skip expensive drainage stones. Use broken pot shards or yard gravel instead.
- Free buckets from food establishments or construction sites
- DIY soil blends using compost and recycled materials
- Repurpose household items like eggshells for calcium or coffee grounds as mulch
DIY Solutions for Container Gardening
Get creative with everyday items. Turn plastic bottles into self-watering systems by cutting them in half and poking holes. Old ladders or chairs make perfect stands for tiered bucket arrangements.
Build trellises from PVC pipes or scrap wood. Even garden tools can be DIY: use spoons as mini trowels or chopsticks for seedling support.
“Every dollar saved is a seed planted for future harvests.”
Small space gardening doesn’t require big budgets. These strategies cut costs while keeping plants healthy. By repurposing materials, you’ll discover that DIY gardening isn’t just affordable—it’s also eco-friendly and endlessly customizable.
Conclusion: Embrace the Joy of Bucket Gardening
Bucket gardening turns simple containers into lively gardens. It makes gardening easy for everyone, even in small spaces. Apartment dwellers can grow herbs indoors, and balcony gardens need little care. Every bucket is a chance to enjoy gardening affordably and happily.
Encouragement for Beginners
Start with a single herb pot on a windowsill. Mistakes are simple to fix, and costs are low. Indoor or patio containers work well too. Even a small herb plant brings joy, encouraging more gardening.
Success builds confidence, leading to bigger projects. Small wins are the start of something great.
Final Thoughts on Container Gardening Success
Success depends on drainage holes, good soil, and the right plants. Regular care and adjusting to your space are key. Container gardening fits any lifestyle, indoors or outdoors.
It’s a green hobby that connects us to nature, starting small and growing. Anyone can make a garden, proving gardening is for everyone, no matter where you are or how much experience you have.
