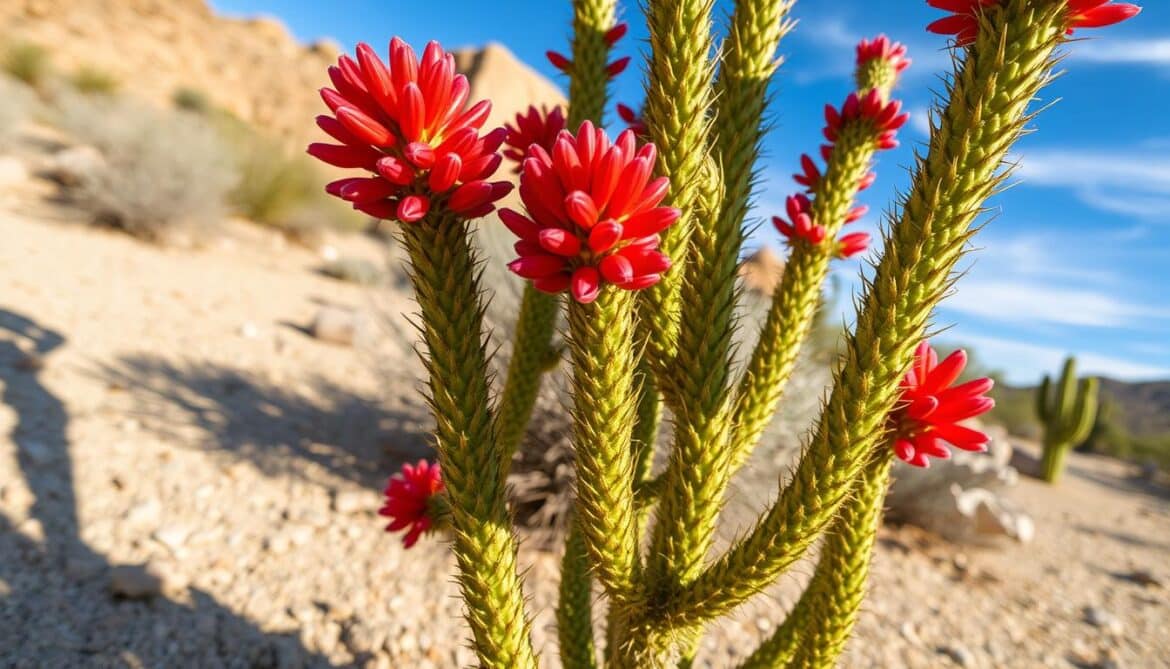
Are you looking to add a unique, drought-tolerant plant to your landscape? Ocatillo, with its striking, cactus-like limbs and vibrant scarlet flowers, can be a stunning addition. However, transplanting it requires careful consideration and technique.
Natively found in the Sonoran and Chihuahuan deserts, Fouquieria splendens is a hearty, drought-deciduous desert plant. To successfully transplant it, one must understand its unique nature and requirements. This guide will walk you through the process, from preparation to post-transplant care, ensuring the long-term health of your Ocatillo in your garden.
Key Takeaways
- Understanding the unique characteristics of Ocatillo is crucial for successful transplantation.
- Proper preparation and timing are key to ensuring the plant’s survival.
- Post-transplant care techniques are essential for the long-term health of the Ocatillo.
- Relocating an existing Ocatillo or introducing a wild-collected specimen requires expert guidelines.
- Following these guidelines will maximize your chances of success in transplanting Ocatillo.
Understanding Ocatillo Plants
To successfully transplant an Ocatillo, one must first understand its nature. Ocatillos are unique desert plants that have adapted to survive in harsh conditions.
What is an Ocatillo?
An Ocatillo (Fouquieria splendens) is a distinctive desert plant characterized by its tall, spiny stems that can reach up to 20 feet in height. Unlike true cacti, Ocatillos are drought-deciduous plants that shed their leaves during dry periods and regrow them after rainfall.
Why Transplant an Ocatillo?
Transplanting an Ocatillo may be necessary when redesigning your landscape or rescuing a plant from development. Understanding the plant’s natural growth cycle and requirements is essential for successful transplantation.
| Characteristics | Description |
|---|---|
| Height | Up to 20 feet |
| Leaf Type | Small, oval, drought-deciduous |
| Sun Requirements | Full sun exposure |
| Soil Requirements | Well-draining soil |
Preparing to Transplant Your Ocatillo
Preparing to transplant your Ocatillo involves understanding the best time, location, and necessary materials. This preparation is crucial for minimizing stress on the plant and ensuring its survival in the new location.
Best Time for Transplanting
The optimal time for transplanting Ocatillo is during early spring or fall. These seasons offer moderate temperatures, reducing transplant stress and allowing the plant to establish itself before extreme weather conditions. While Ocatillos can be transplanted at any time, these periods are ideal for optimal growth.
Selecting the Right Location
When selecting a location for your Ocatillo, prioritize areas with full sun exposure (minimum 6 hours daily) and excellent soil drainage. Ocatillos thrive in well-draining soils and are susceptible to root rot in moist conditions. Avoid valley bottoms or areas where water tends to collect.

Tools and Materials Needed
Essential tools for transplanting include heavy-duty gloves, a sharp spade or shovel, pruning shears, stakes for stabilization, guy wires, and coarse mulch or gravel for top dressing. Preparing the new planting location before removing the Ocatillo from its current spot minimizes root exposure and stress.
Step-by-Step Ocatillo Transplant Process
Transplanting an Ocatillo requires careful planning and execution to ensure its survival and optimal growth. This process involves several crucial steps that help minimize shock and promote healthy development.
Removing the Plant from Its Current Location
Begin by thoroughly watering the Ocatillo 24 hours before transplanting to hydrate the roots and reduce stress. Use a sharp spade to carefully dig around the root zone, about 12-18 inches from the base, to preserve as much of the root ball as possible.

Preparing the New Planting Site
Choose a location with full sun and well-draining soil. Dig a hole twice the width of the root ball and the same depth as the original planting. Amend the soil if necessary to enhance drainage. Before placing the Ocatillo, fill the hole with water and allow it to drain completely within 2-3 hours to test drainage.
Proper Placement and Stabilization
Position the Ocatillo at the same depth it was previously growing, ensuring the root crown is at or slightly above ground level. Backfill with well-draining soil, creating a basin around the plant to direct water to the roots. For taller specimens, install guy-wires connected to stakes in the ground to provide stability until the root system becomes established.
| Transplant Step | Key Considerations |
|---|---|
| Removing the Plant | Water 24 hours prior, dig carefully around the root zone |
| Preparing the New Site | Full sun, well-draining soil, test drainage |
| Proper Placement | Same depth as before, root crown above ground, stabilize if necessary |
Post-Transplant Care for Success
After successfully transplanting your Ocatillo, the next crucial step is ensuring its survival and optimal growth in its new location. To achieve this, it’s essential to provide the right care, including proper watering and mulching.
Initially, give your Ocatillo a deep watering to settle the soil around the roots. For the first several months, implement a regular misting schedule, spraying the plant every 2-3 days, as Ocatillos absorb moisture through their canes. One week after transplanting, begin a slow, deep watering regimen using a hose or drip system, ensuring the root zone is completely soaked.
To retain moisture and regulate soil temperature, apply a layer of gravel or coarse mulch around the plant. Be patient, as Ocatillos can take up to two years to show new growth. Monitor for signs of stress, and protect your plant from extreme weather conditions during its first year. With proper care, your Ocatillo will thrive, becoming a beautiful addition to your desert landscape.

