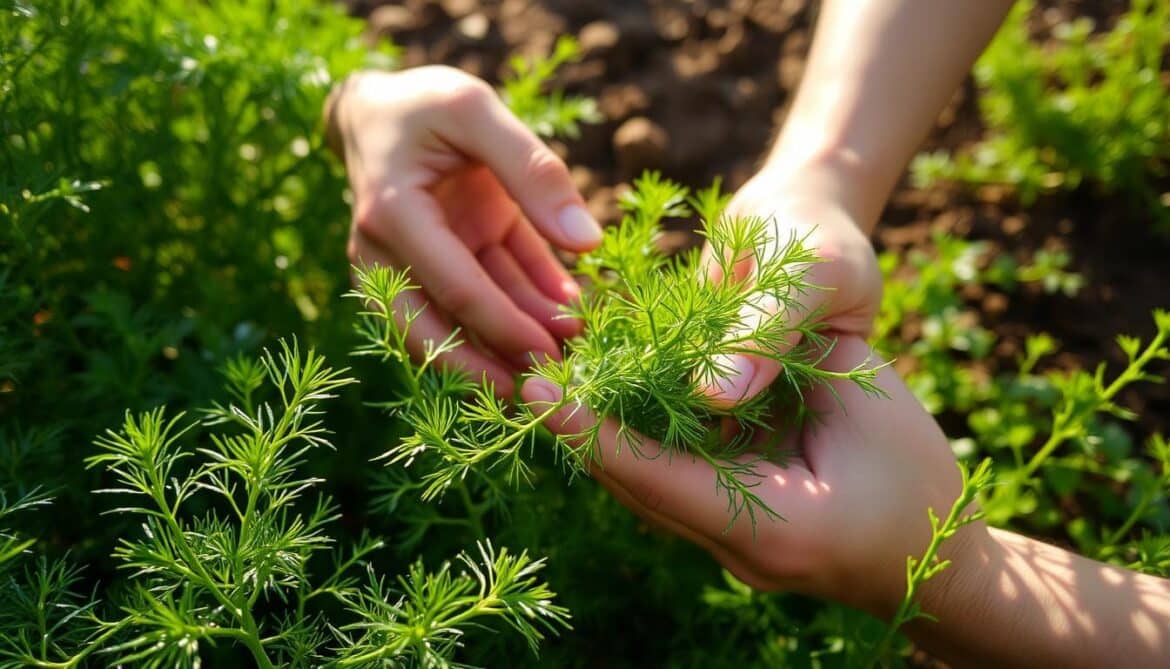
The scent of fresh dill in the kitchen is amazing. It takes us to sunny gardens and the joy of cooking. We love dill for its taste and uses. Today, we’ll show you how to get dill from your garden to your kitchen.
This guide will take you through harvesting dill. You’ll learn when to pick it and how to keep it fresh. Whether you’re new to gardening or experienced, we’ll help you enjoy your dill.
Key Takeaways
- Discover the optimal time and signs to harvest dill leaves and seeds
- Learn essential tools and techniques for a bountiful dill harvest
- Explore methods to preserve the freshness and flavor of your dill
- Uncover creative ways to incorporate homegrown dill into your culinary repertoire
- Troubleshoot common dill-related challenges and expand your dill-growing horizons
Understanding Dill: An Overview
Dill is a fragrant herb with feathery green leaves. It’s used in many cuisines around the world. Let’s look at its unique traits, uses in cooking, and the types we can grow.
What is Dill?
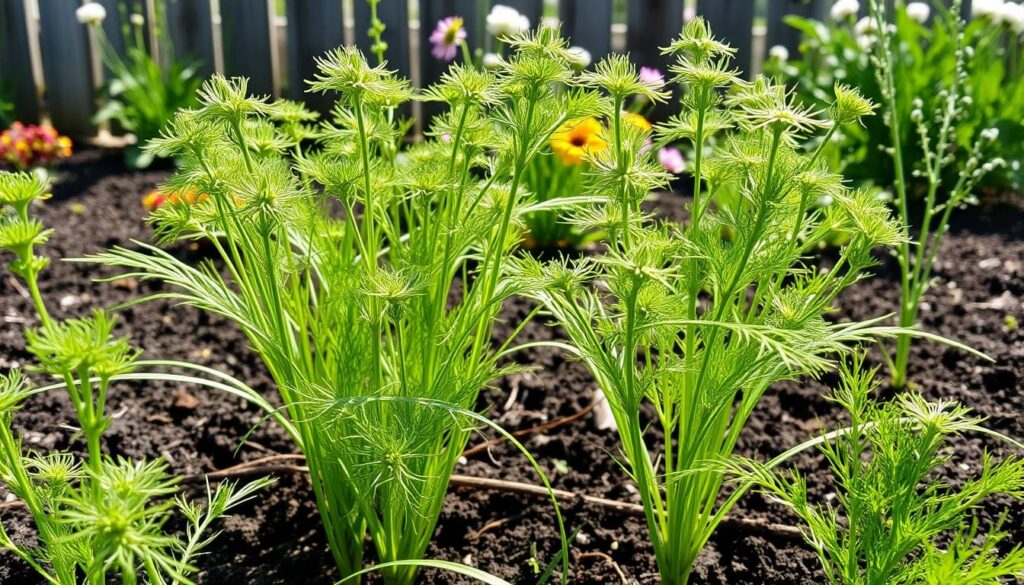
Dill, or Anethum graveolens, is an annual herb from the Apiaceae family. It comes from the Mediterranean and has been grown for centuries. It grows 2-3 feet tall, with feathery leaves and yellow flowers that turn into tasty seeds.
Culinary Uses of Dill
Dill is versatile in cooking, adding a bright, sweet flavor. It’s great in pickles, dips, soups, and seafood. Its leaves, seeds, and flowers can all add a unique dill taste to dishes.
Types of Dill We Can Grow
There are different dills to grow, like Anethum graveolens for leaves and seeds. But there are also ‘Bouquet’ and ‘Fernleaf’ for their compact size and flavor.
Dill is easy to grow and adds a lot to our cooking. Knowing more about it, we’re ready to learn how to harvest and use it in the kitchen.
When is the Right Time to Harvest Dill?
As gardeners, we know timing is key for harvesting dill. This herb is a treasure in our gardens, offering fragrant leaves and tasty seeds. But when is the best time to pick our dill? Let’s look at the signs of readiness and seasonal tips to find the perfect harvest moment.
Signs of Maturity
The first sign your dill is ready is when its leaves turn a deep green and grow to 6-8 inches. Also, watch for the yellow flowers. These are clear signs it’s time to harvest.
Seasonal Considerations
The season affects when to harvest dill. The best time is usually late spring to midsummer. This is when the plants are at their peak, full of flavor. As fall approaches, the leaves may lose their taste, so harvest early.
By observing your dill and the seasons, you’ll know when to pick for the best taste. With a bit of practice, you’ll enjoy the fresh flavors from your dill garden.
Tools We Need for Harvesting Dill
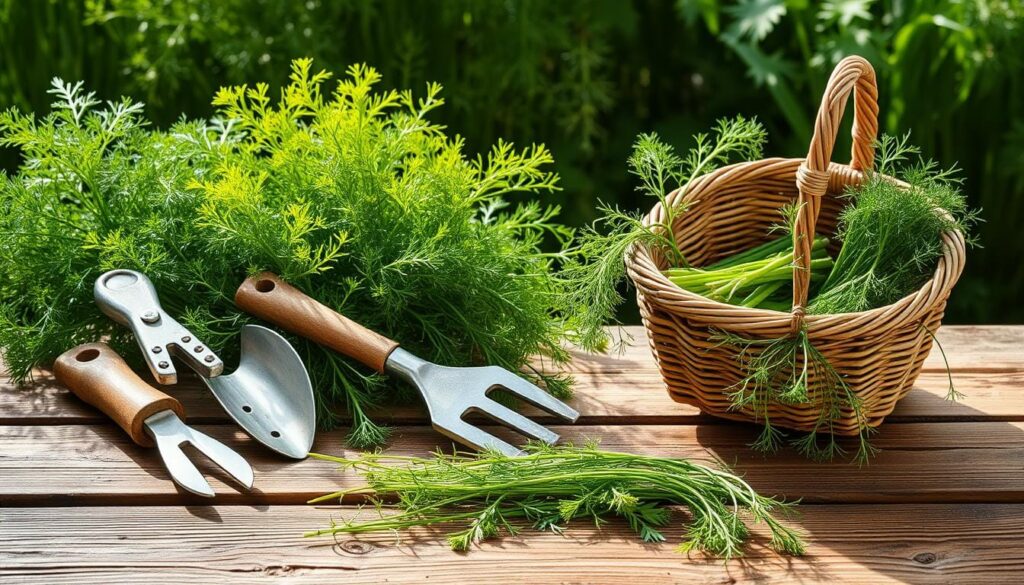
Harvesting dill is easy, but the right tools make it better. You’ll get the best herbs if you have the right tools. Let’s look at what you need and how to keep your tools in good shape.
Essential Tools for Harvesting
For dill harvesting, you’ll need:
- Sharp scissors or pruning shears: These cut the dill leaves and stems cleanly, without harming the plant.
- Basket or container: A strong basket or container is great for collecting and carrying the dill to your kitchen.
- Gloves (optional): Gardening gloves can protect your hands from scratches or irritation while you harvest.
Best Practices for Tool Maintenance
To keep your tools in great shape, follow these tips:
- Clean and disinfect your scissors or pruning shears after each use. This stops diseases or pests from spreading.
- Sharpen your blades often for a clean, precise cut on the dill stems.
- Keep your tools in a dry, safe place when not using them to avoid rust or damage.
- Check for loose or worn parts and fix them quickly to keep your tools working well.
With the right tools and good care, harvesting dill becomes easier. You’ll get a lot of fresh, high-quality herbs for your kitchen.
Preparing for Harvesting
Before we start harvesting dill, there are a few steps to take. First, we need to check our dill plants for health and readiness. We look for pests or diseases that could harm the quality of our fresh dill. By fixing any issues early, we can get the best flavor and yield from our herbs.
Inspecting the Dill Plants
Examine the dill plants closely for any discoloration, wilting, or insect damage. If you find any problems, fix them before harvesting. Removing sick leaves or stems stops disease or pests from spreading. This ensures a healthy and plentiful harvest.
Choosing the Right Weather Conditions
- It’s best to harvest dill on a dry, cool day to keep the leaves fresh and flavorful.
- Don’t harvest during the hottest times or when the plants are wet. This can cause them to wilt and lose quality faster.
- The best time to harvest dill is usually in the morning, when it’s at its freshest and most aromatic.
By inspecting our dill plants and choosing the right weather, we can have a successful harvest. This sets the stage for making tasty dishes with our fresh dill.
How to Harvest Dill Leaves
Harvesting fresh dill leaves is a rewarding task. It brings the vibrant flavors of this aromatic herb from your garden to your kitchen. Whether you’re planning a flavorful dish or preserving dill for later, learning how to harvest is key. Let’s explore the best techniques for a bountiful and flavorful dill harvest.
Snipping Technique
To harvest dill leaves, use a precise snipping technique. Gently grasp the dill stem near the base. Then, with sharp, clean scissors or herb snips, cut the leaves just above the leaf nodes. This method lets the plant keep growing and provide fresh dill all season.
Best Practices for Preserving Freshness
- Harvest dill leaves in the morning, when the plants are cool and the essential oils are most concentrated.
- Avoid cutting the leaves during the heat of the day, as this can cause them to wilt and lose their vibrant flavor.
- Handle the dill leaves gently, minimizing any bruising or damage to the delicate foliage.
- Store the harvested dill leaves in a plastic bag or airtight container in the refrigerator, where they can remain fresh for up to a week.
By following these simple guidelines, your freshly harvested dill leaves will stay crisp, aromatic, and flavorful. This way, you can enjoy the true essence of this versatile herb in your culinary creations.
How to Harvest Dill Seeds
Dill seeds are as valuable as the leaves. Harvesting them needs a keen eye and timing. We’ll show you how to spot mature seed heads and when to pick them for the best flavor.
Identifying Seed Heads
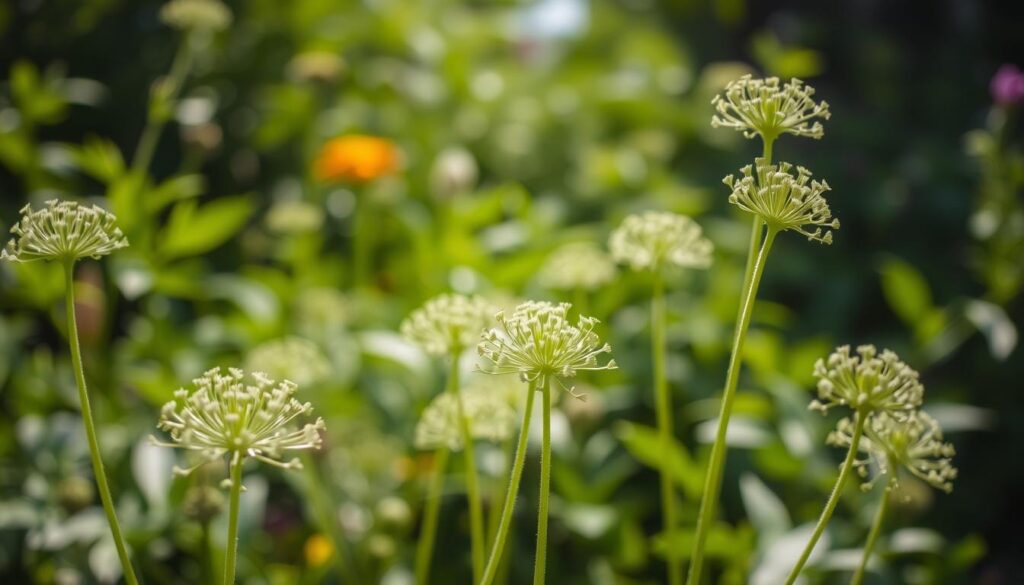
Start by knowing when seed heads are ready. As dill plants mature, the flower heads dry and turn brown. This means the seeds are ripe. Look for the umbel-shaped seed heads, like miniature umbrellas, for your harvest.
Harvesting Seeds at the Right Time
- Harvest dill seeds when the heads are light brown and seeds start falling off.
- Collect seeds on a dry, sunny day for the best flavor.
- Snip the seed heads off gently to avoid scattering the seeds.
By following these tips, you’ll get a lot of dill seeds. Use them to enhance your cooking for months.
Post-Harvest Care: What to Do Next
After harvesting our fresh dill, it’s important to care for it right. This keeps its flavor and aroma alive. Let’s look at how to clean and store our dill for the best kitchen use.
Cleaning the Dill
Rinse the dill gently under cool water to get rid of dirt. Don’t soak it in water to avoid soggy leaves. Use your hands to swish it, then dry the stems with a towel.
Storing Fresh Dill
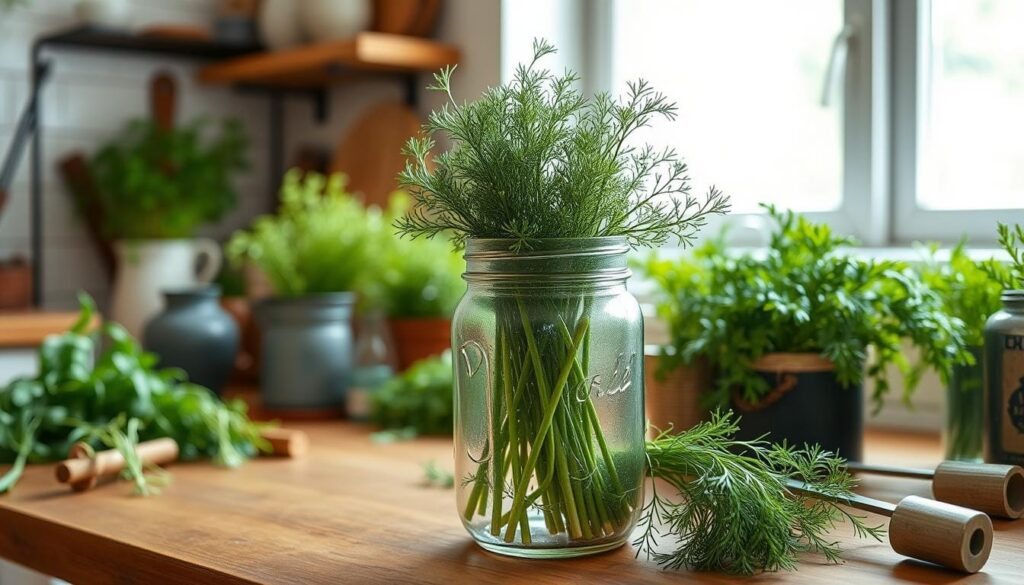
To keep our preserving fresh dill fresh, we need to store it right. Place the stems in a glass of water like cut flowers. Cover the stems with a plastic bag to keep moisture in. This method can keep dill fresh for a week in the fridge.
Or, wrap the dill in a damp paper towel or cloth and put it in a bag. This keeps it green and fresh for 3-5 days. It’s a great way to use dill harvesting tips to keep it fresh.
Good care after harvesting is key to enjoying our dill. By cleaning and storing it right, we can enjoy it for days.
Drying Dill for Long-Term Storage
Keeping the fresh taste and smell of your dill is key to enjoying it all year. There are many ways to drying dill for storage. This lets you preserve fresh dill and enjoy its special qualities even when it’s not in season.
Methods for Drying Dill
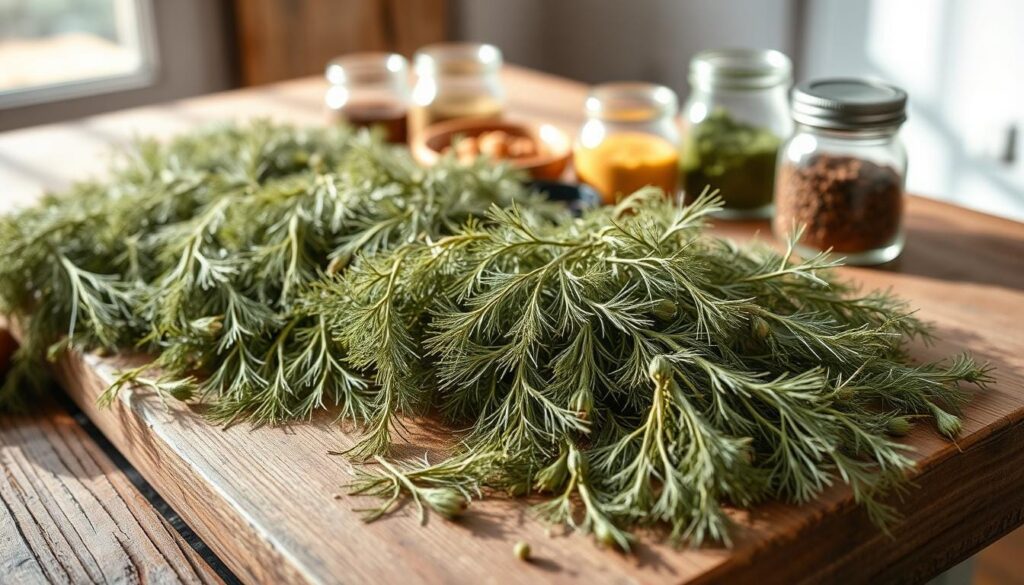
One easy method is air-drying. Just tie the dill stems in small bunches and hang them in a warm, dry spot. Make sure it’s away from direct sunlight. This slow drying keeps the dill’s strong flavor and smell.
For faster drying, try a food dehydrator. Set it to 95-115°F and lay the dill leaves or sprigs out on the trays. This method dries the dill evenly, keeping it green and full of flavor.
Tips for Ensuring Quality
- Harvest the dill in the morning, when the plant’s essential oils are at their peak.
- Carefully clean and pat dry the dill sprigs before drying to remove any dirt or debris.
- Maintain good air circulation throughout the drying process to prevent mold or mildew growth.
- Store the dried dill in airtight containers, such as glass jars or resealable bags, to preserve its flavor and potency.
By following these steps, you can dry dill for storage and preserve fresh dill. This way, you can enjoy its lively flavors in your cooking long after it’s in season.
Freezing Dill: A Simple Method
Many home cooks and gardeners want to keep dill fresh and green. Freezing dill is a great way to enjoy it all year. This method keeps the dill’s flavor and color, making it perfect for recipes any time.
Preparing Dill for Freezing
Start with fresh, quality dill leaves to freeze well. Harvesting tips suggest picking dill just before freezing. This keeps its flavors and smells fresh. Rinse the dill gently, dry it, and remove any bad leaves.
Storage Tips for Frozen Dill
There are a few ways to freeze dill. You can put it in an airtight bag or container. Make sure to remove air to avoid freezer burn. Or, freeze it in ice cube trays and then bag it once frozen.
Remember to label your frozen dill containers with the date and what’s inside. Frozen dill stays good for up to 6 months in the freezer.
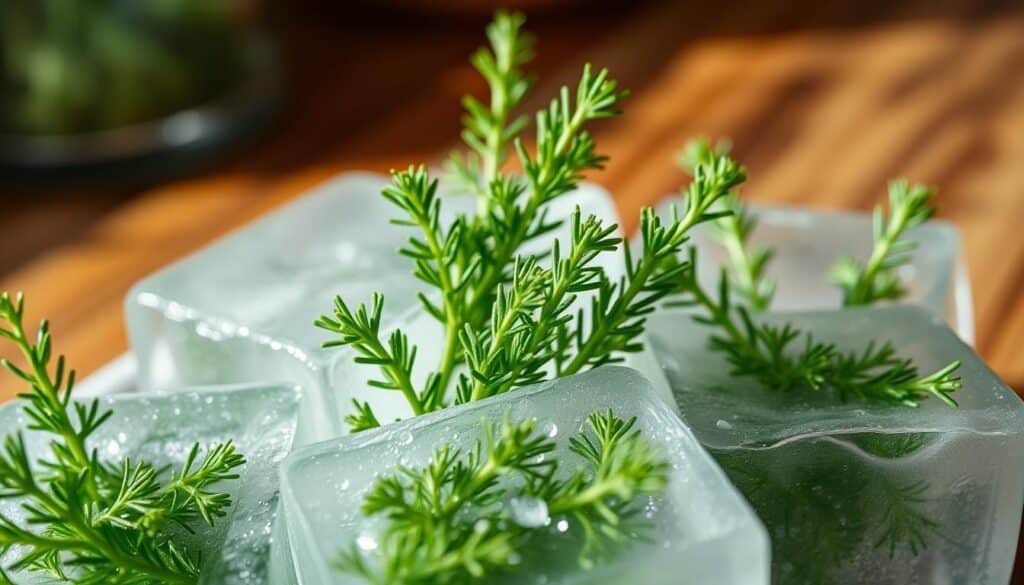
Freezing dill is a great way to keep it fresh all year. With a bit of prep and the right storage, you can enjoy your dill harvest long after it’s in season.
Using Dill in Our Kitchen
As home cooks, we love how fresh herbs can make our food better. Dill is especially great for adding flavor and aroma. Whether you grow it yourself or buy it, using dill in cooking can change your dishes.
Incorporating Fresh Dill in Recipes
Dill’s light, sweet taste goes well with many foods. Add it to dips like tzatziki or salmon mousse for a fresh touch. Sprinkle it on roasted veggies, grilled fish, or eggs for extra flavor and color.
For a fancy appetizer, put cream cheese on crackers and top with dill herb harvest.
Pairing Dill with Other Ingredients
- Match dill with lemon, garlic, or pepper for a balanced taste.
- Try dill with potatoes, cucumbers, and yogurt for a classic mix.
- Use dill in baked goods like savory scones or crackers for a twist.
Using dill in cooking will surely impress your taste buds. Enjoy your dill herb harvest and let your cooking skills shine.
Troubleshooting Common Issues
We all want our dill to grow well, but sometimes problems pop up. Here, we’ll look at common pests and how to stop them. This way, our dill will stay healthy and give us lots of harvests.
Pests That Affect Dill
Aphids are a big problem for dill. These tiny bugs suck the sap, slowing down growth and making leaves droop. But, we can fight them off with natural methods.
- Bring in ladybugs and lacewings to eat aphids.
- Check your dill often and remove aphids by hand.
- Use insecticidal soaps or neem oil to kill aphids.
Preventative Measures
Keeping our dill healthy means being proactive. Catching problems early helps avoid bigger issues.
- Give your dill the right sunlight, water, and soil.
- Follow a dill growing guide to weed and mulch regularly.
- Move your dill patch every year to stop pests and diseases.
By being proactive and quick to solve problems, we can have a great dill harvest every year.
| Common Dill Pests | Preventative Measures |
|---|---|
| Aphids | Encourage beneficial insects, manual removal, use insecticidal soaps or neem oil |
| Cutworms | Use barriers like cardboard collars around the base of plants, keep the soil free of debris |
| Dill Worms | Regularly inspect plants, remove affected leaves and stems, use organic pesticides |
Expanding Our Dill Harvest
We love growing dill and always look for ways to get more of it. In this section, we’ll talk about two cool ways to grow more dill: companion planting and regrowing dill from cuttings.
Companion Planting with Dill
Companion planting is when you put different plants together to help them grow better. Dill is great with many vegetables and herbs. For example, it keeps pests away from cabbage, tomatoes, and cucumbers. It also attracts good bugs like ladybugs and lacewings.
The smell of dill can also hide the scent of other plants. This makes it harder for pests to find them. By adding dill to our garden, we get more dill and help our other plants grow better too.
Regrowing Dill from Cuttings
Another way to have plenty of dill is to grow new plants from cuttings. Here’s how to do it:
- Take a 4-6 inch stem from a healthy dill plant, with a few leaves.
- Remove the bottom leaves, leaving just a few.
- Plant the cutting in moist potting mix, in a sunny spot.
- Mist the leaves often to keep the air humid.
- In 2-3 weeks, roots will form and new leaves will grow.
- When the new plant is strong, move it to your garden or a bigger pot.
By growing dill from cuttings, we can keep harvesting it longer. This way, we always have fresh dill for our cooking.
Using companion planting or growing dill from cuttings can really help you get more dill. These methods let us enjoy dill all season long.
Frequently Asked Questions About Dill Harvesting
We love gardening and cooking, and we often wonder about the best ways to harvest dill. Let’s tackle some common questions and solve any problems you might face while picking dill.
Common Concerns
Many people ask, “How do I know when my dill is ready to pick?” Look for the feathery, green leaves. Wait until the plant is at least 8 inches tall. This means it’s mature and ready to harvest.
Another worry is, “How can I stop my dill from flowering too early?” High temperatures or too little water can cause this. Keep your dill moist and plant it in a spot that gets some shade.
Troubleshooting Harvest Issues
If your dill leaves turn yellow or wilt, it might be because of too much water or not enough sun. Change your watering habits and make sure your dill gets 6 hours of direct sunlight daily.
Pests like aphids, spider mites, and caterpillars can harm your dill. Watch for them and use natural pest control like insecticidal soap or neem oil to fight them off.
By tackling these common problems, you can have a great dill harvest. Use it to make your dishes even more delicious. Happy harvesting!
Conclusion: Enjoying Our Dill Harvest
As we enjoy the last of our fresh dill, we feel truly satisfied. Growing our own dill has been a rewarding journey. Now, we can celebrate the delicious dishes we’ve made with this versatile herb.
Celebrating Our Culinary Creations
Our dill has made our cooking better. From the smell of dill-infused potatoes to the taste of homemade pickles, it’s been amazing. Each dish reminds us of the joy of using our own garden’s ingredients.
Future Dill Planting Plans
We’re already planning our next dill-growing project. We know more about growing dill and using it in our cooking. We’re excited to try new things and learn more.
