As summer sun warms the earth, we start looking forward to garlic harvest time. For many, digging up garlic bulbs is a special tradition. It connects us to nature’s cycles and shows our hard work paying off.
In this guide, we’ll walk you through harvesting garlic step by step. We’ll cover everything from knowing when to harvest to how to get the best yield. Whether you’re new to growing garlic or have been doing it for years, this article will help you succeed.
Key Takeaways
- Understand the importance of timing your garlic harvest for optimal results
- Learn the essential tools and safety gear needed for a successful garlic harvest
- Discover the proper techniques for gently uprooting and cleaning your garlic bulbs
- Explore the crucial steps of curing and storing your homegrown garlic
- Gain insights on common mistakes to avoid and how to protect your crop from pests and diseases
Understanding the Garlic Growth Cycle
As dedicated gardeners, knowing the garlic growth cycle is key for when to harvest garlic. It ensures a rich harvest. Each stage of garlic’s life cycle offers insights for perfect garlic harvest season timing.
Importance of Timing
Timing is crucial for garlic harvesting. Harvest too early, and the flavor won’t be fully developed. Wait too long, and the bulbs might split, affecting storage. Knowing the best time to harvest is essential for enjoying our garden’s fruits.
Signs of Maturity
- Yellowing leaves: As garlic matures, leaves turn yellow and die back, signaling harvest time.
- Dry, papery stems: Another sign is when stems dry and brown, bending without breaking.
- Visible bulb size: Check the soil around the plants to see the bulb size. When they’re the right size, it’s harvest time.
Watching for these signs helps us harvest garlic at the perfect time. This ensures the best flavor and storage for this versatile crop.
“Garlic is one of the most rewarding crops to grow in the home garden. With a little attention to timing and maturity, you can enjoy the fruits of your labor for months to come.”
Essential Tools for Garlic Harvesting
When we start harvesting garlic, having the right tools is key. We need garden forks, pruning shears, and more. These tools help us work efficiently and keep our hands safe.
Recommended Hand Tools
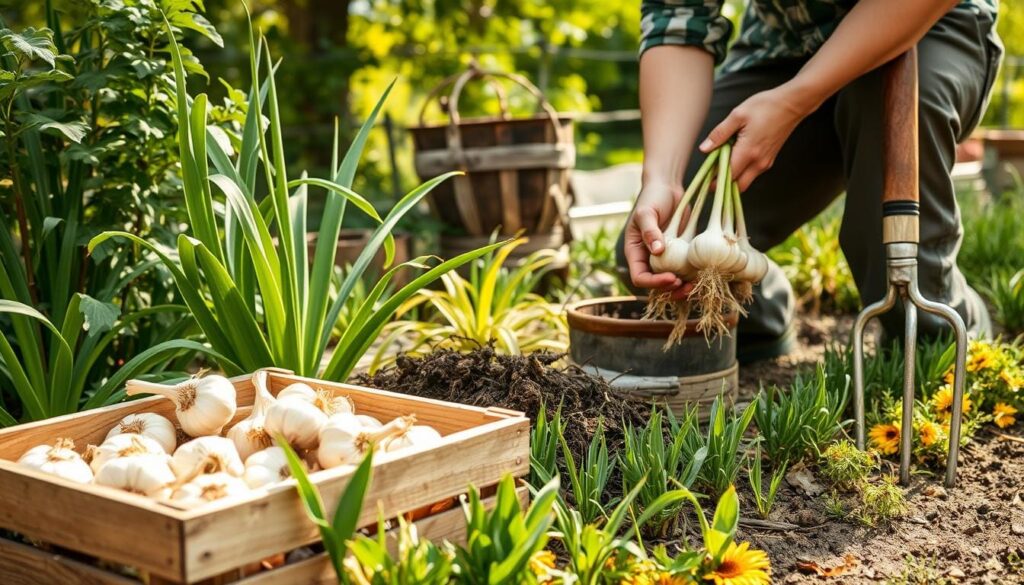
- Garden fork: This tool helps us gently loosen the soil around garlic bulbs. It lets us lift them without harming the roots.
- Trowel: A strong trowel is great for carefully removing garlic from the ground. It gives us precision and control.
- Pruning shears: Sharp pruning shears are needed for cutting garlic scapes and removing leaves. This prepares the bulbs for curing.
Safety Gear
It’s just as important to protect ourselves as it is to have the right tools. Here’s what we recommend:
- Gardening gloves: Good gloves protect our hands from dirt, debris, and scratches.
- Knee pads: Knee pads are great for comfort and joint protection when kneeling.
- Sun protection: Hats, sunglasses, and sunscreen keep us safe from the sun’s harmful rays.
With the right tools and safety gear, we can harvest garlic smoothly and safely. This way, we take care of ourselves while enjoying the process.
| Tool | Purpose | Importance |
|---|---|---|
| Garden fork | Loosening soil around garlic bulbs | Prevents damage to roots during uprooting |
| Trowel | Carefully removing garlic from ground | Provides precision and control during harvest |
| Pruning shears | Trimming garlic scapes and leaves | Prepares bulbs for curing after harvest |
| Gardening gloves | Protecting hands from dirt and scratches | Ensures comfortable and safe handling of garlic |
| Knee pads | Providing comfort and joint support | Prevents strain during kneeling activities |
| Sun protection | Shielding from harmful UV rays | Safeguards health and well-being during long hours in the garden |
With the right garlic harvesting techniques and tools, we can have a successful and fun garlic harvest. We also make sure our safety and comfort come first.
Preparing for the Harvest
As garlic grows to its peak, it’s key to prepare well for the harvest. This ensures a good yield and success. By picking the best day and checking the soil moisture, we’re ready for a smooth garlic harvest.
Choosing the Right Day
Timing is crucial for garlic harvesting. The best time is in summer, when leaves turn yellow and brown. This is usually 4 to 6 months after planting.
Don’t harvest on hot, sunny days. The heat can dry out the bulbs. Instead, choose overcast or cool days. This keeps the garlic moist and prevents it from wilting.
Checking Soil Moisture
Checking the soil moisture is vital before harvesting. The soil should be slightly moist but not too wet. To test, stick your finger into the soil up to the second knuckle.
If the soil clings to your finger and feels damp, it’s ready. If it’s dry and crumbly, wait a day or two and check again.
| Soil Moisture Level | Ideal for Harvesting? |
|---|---|
| Dry and Crumbly | No, wait a few days |
| Slightly Moist | Yes, ideal for harvesting |
| Saturated | No, wait for the soil to dry out |
By choosing the right day and checking the soil, you’re set for a successful how to harvest garlic experience. These steps help you confidently uproot your garlic bulbs.
How to Gently Uproot Garlic Bulbs
Harvesting garlic, whether it’s hardneck or softneck, needs care to keep bulbs intact. By using the right methods, we can get a good harvest from our garlic.
Techniques for Uprooting
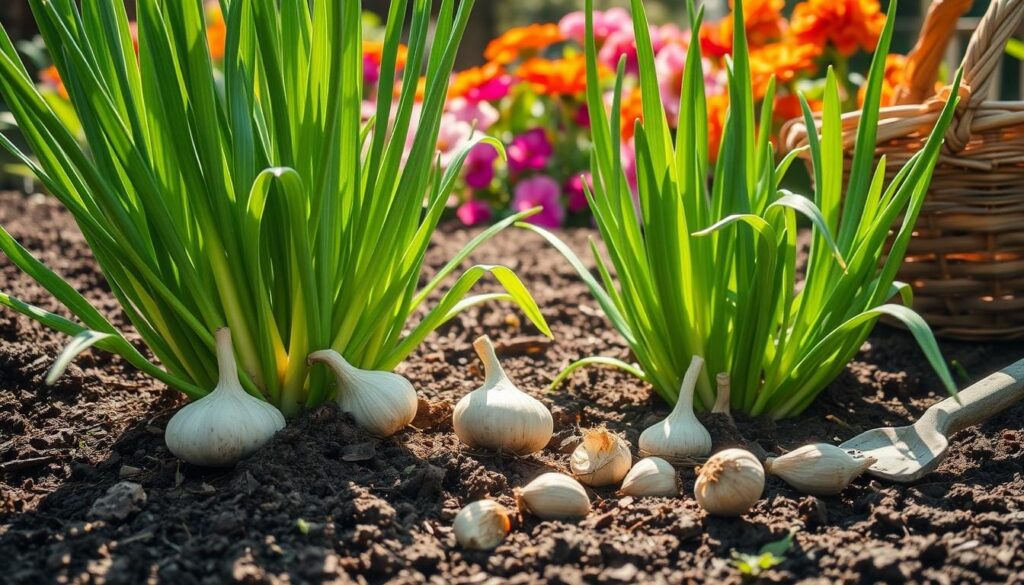
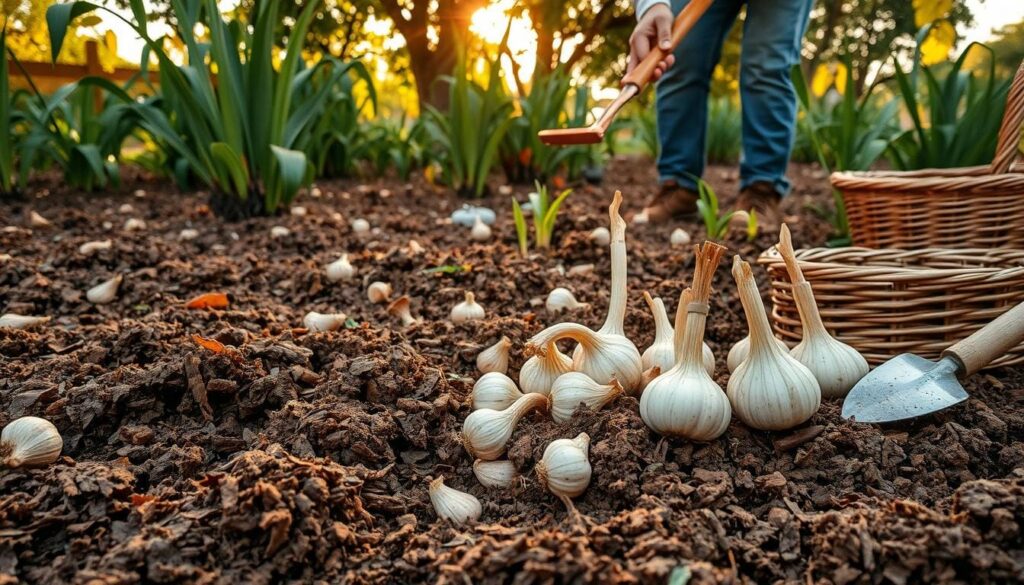
When uprooting garlic, work slowly and gently. Start by loosening the soil around the plant base with a fork or trowel. Make sure not to damage the bulb itself. After loosening the soil, grab the leaves or stems and pull the bulb out carefully.
Avoiding Damage to Bulbs
- Check the soil moisture. Garlic harvests best when the soil is a bit moist but not too wet.
- Use a garden fork or hand trowel to lift the bulbs, not by pulling on the stems.
- Don’t cut or scrape the bulbs. This can introduce harmful pathogens and shorten their shelf life.
- Be gentle when handling the harvested bulbs to avoid any damage.
By using these methods for harvesting hardneck garlic and harvesting softneck garlic, we can have a successful harvest. This means we can enjoy delicious garlic all year long.
Cleaning Your Garlic After Harvest
After carefully pulling out the garlic bulbs, the next step is to clean them well. This makes your garlic look better and last longer. We’ll look at how to remove extra soil and handle the bulbs carefully.
Removing Excess Soil
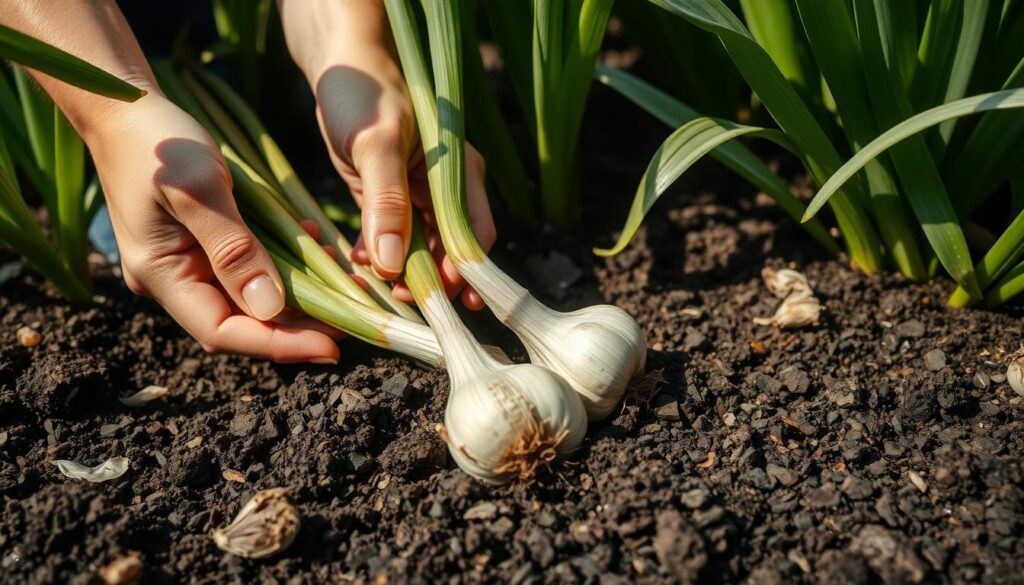
Start by gently shaking or brushing off any loose soil from the garlic bulbs. Don’t rub or scrub hard, as this can hurt the outer layers. Use a soft-bristled brush or your hands to gently remove the soil.
If some dirt is hard to get off, you can rinse the bulbs with a gentle stream of water. But be careful not to soak them too much.
Handling With Care
After cleaning, handle the bulbs carefully to avoid bruising or damage. Garlic is a delicate crop, and any injuries can make it spoil faster and lower its quality. Don’t pull or tug on the garlic stems, as this can tear the bulb wrappers.
Instead, gently hold the bulb itself when moving or carrying the garlic.
| Cleaning Technique | Recommended Approach |
|---|---|
| Removing Excess Soil | Gently shake or brush off loose soil; avoid vigorous scrubbing |
| Rinsing Bulbs | Use a gentle stream of water, but avoid submerging the bulbs completely |
| Handling Bulbs | Grasp the bulb itself, not the stems, to prevent damage |
By using these garlic harvesting techniques, you can make sure your garlic is clean, well-cared for, and ready for the next step in the curing process.
Curing Garlic: Why It’s Important
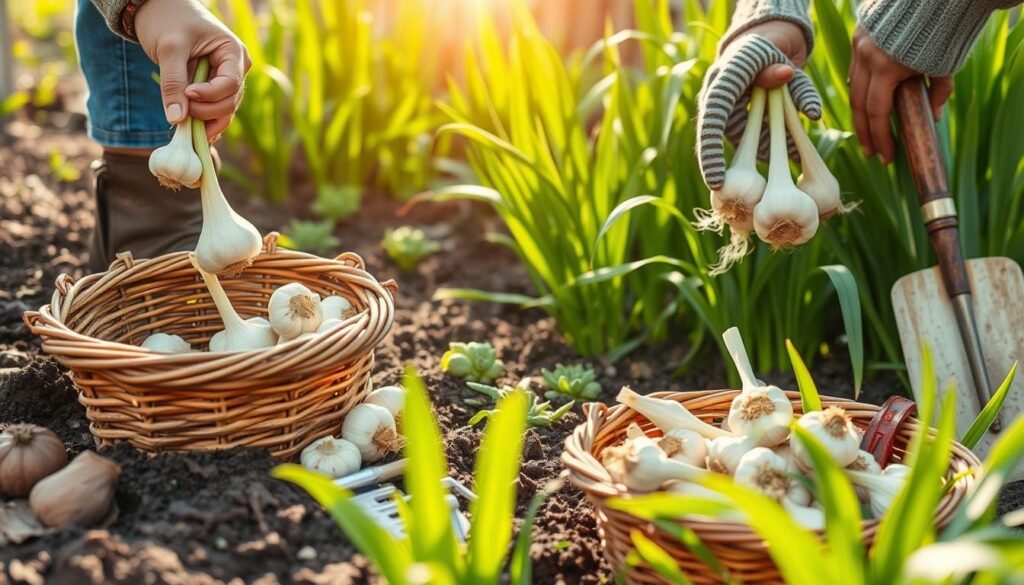
Curing garlic after harvesting is key to keeping its flavor and texture. It makes the garlic taste better and keeps it from spoiling. By learning about curing garlic after harvesting and garlic drying methods, gardeners can keep their garlic fresh for months.
Ideal Curing Conditions
To cure garlic right, you need the perfect environment. Here’s what’s best:
- Well-ventilated, shaded area with good air circulation
- Humidity levels between 60-70%
- Temperatures ranging from 60-80°F (15-27°C)
The Curing Process
The curing process takes 2-4 weeks, depending on the climate and garlic type. Here’s what happens during this time:
- The outer layers of the garlic bulb dry and become papery, protecting the cloves inside.
- Moisture content in the garlic decreases, extending its shelf life.
- Flavor compounds concentrate, resulting in a more robust and complex taste.
By using these garlic drying methods, gardeners can ensure their curing garlic after harvesting is done right. This preserves the quality and taste of their homegrown garlic.
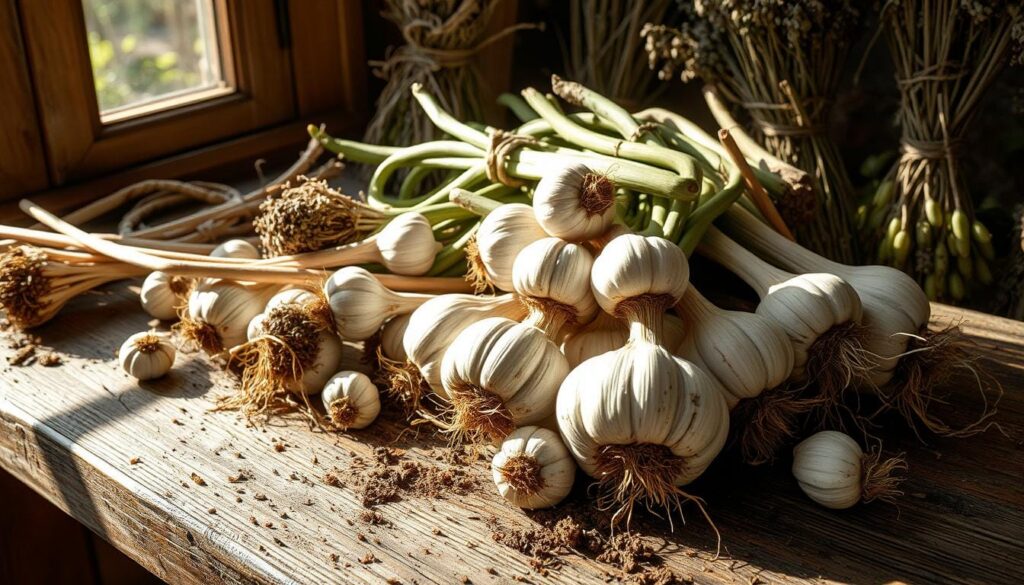
“Curing garlic is essential for developing its full flavor and extending its storage life. It’s a simple but crucial step that should not be overlooked.”
Best Practices for Storing Garlic
Storing your garlic right is key to keeping its taste, texture, and freshness. We’ve got tips for both short and long-term storage. Follow these to keep your storing fresh garlic at its best.
Short-Term Storage Tips
For garlic you’ll use in a few weeks, the trick is to store it right. Keep it in a cool, dry spot with air flow, like a pantry or cellar. Don’t put it in the fridge, as it can sprout too soon.
- Optimal temperature: 60-70°F (15-21°C)
- Ideal humidity: 60-70%
- Keep garlic bulbs whole and unpeeled
- Place in a mesh or paper bag to allow airflow
Long-Term Storage Solutions
For garlic you want to keep for months, try these methods:
- Braiding: Braid garlic stalks and hang them in a cool, dry spot. This keeps it fresh and stops cloves from drying out.
- Curing: Cure your garlic before storing. Spread bulbs in a well-ventilated area for 2-4 weeks.
- Freezing: Peel and chop garlic, then freeze in airtight containers. This keeps flavor for up to a year.
By using these storing fresh garlic tips, you can enjoy your garlic long after it’s harvested.
Common Mistakes to Avoid When Harvesting
Harvesting garlic is a rewarding experience, but it’s important to avoid common pitfalls. These mistakes can impact the quality and yield of your crop. As seasoned gardeners, we’ve learned a few lessons over the years. We’re here to share our insights to help you achieve a successful garlic harvest.
Over-Harvesting
One of the most common mistakes gardeners make is harvesting their garlic too early. While it’s tempting to get a head start, pulling the bulbs before they’re fully mature can result in smaller, underdeveloped cloves. Instead, wait patiently until the lower leaves have started to turn brown and the scapes (the curly flower stems) have begun to straighten out. This is typically a sign that the garlic is ready for harvest.
Improper Curing
After the garlic is harvested, proper curing is crucial. Many gardeners skip this step or don’t provide the right conditions. This can lead to issues like mold, rot, or a loss of pungency. Aim to cure your garlic in a well-ventilated, shaded area with low humidity for 2-4 weeks. This will help the bulbs dry out and develop their signature taste and aroma.
By avoiding these common garlic harvesting tips and following best practices for how to harvest garlic, you’ll be well on your way to a bountiful and flavorful harvest. Stay tuned for more insights on pest management, storage, and culinary uses for your homegrown garlic.
Pests and Diseases to Watch For
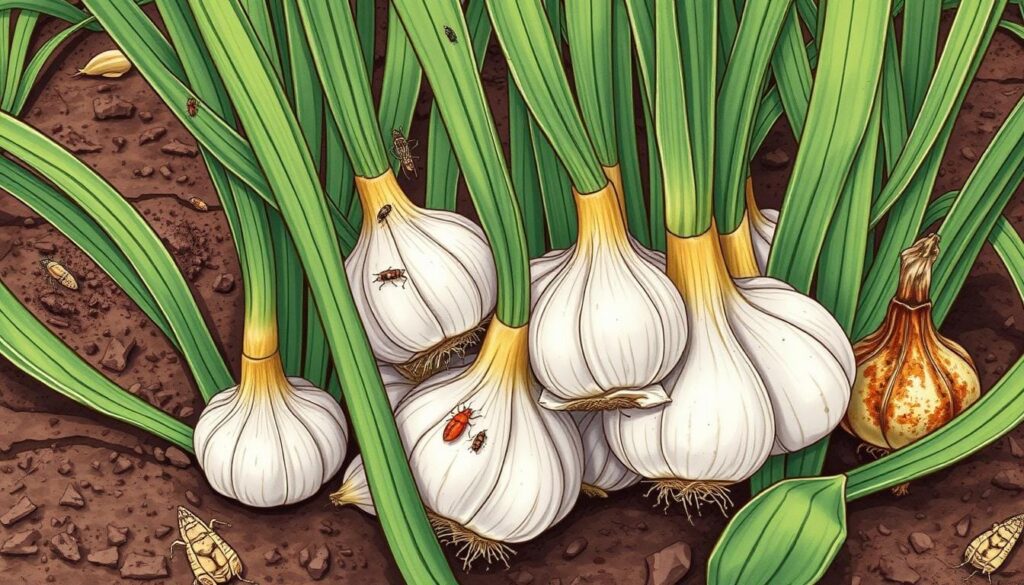
Keeping your garlic harvest healthy means watching out for pests and diseases. As gardeners, we need to act fast to stop these problems. This way, we can keep our garlic growing strong and healthy.
Common Garlic Pests
- Thrips: These tiny insects can cause significant damage by feeding on garlic leaves and bulbs, leading to stunted growth and reduced yields.
- Nematodes: Microscopic worms that burrow into garlic roots, disrupting nutrient and water absorption, resulting in weakened plants.
- Onion Maggots: The larvae of these flies feed on the garlic stems, causing the plants to wilt and eventually die.
Recognizing Garlic Diseases
Garlic growers also face diseases that can harm their crop. Knowing the signs early helps us take action. This way, we can save our garlic from disease.
| Disease | Symptoms | Management Strategies |
|---|---|---|
| White Rot | White, fuzzy growth on the base of the plant; rotting of the bulb and roots. | Practice crop rotation, use disease-resistant varieties, and avoid overwatering. |
| Downy Mildew | Yellowing and wilting of leaves, accompanied by a white, fuzzy growth on the underside. | Maintain good air circulation, apply fungicides, and remove affected plants. |
| Botrytis Neck Rot | Gray or white mold growth on the neck and upper portions of the bulb. | Ensure proper curing and storage conditions, and use disease-resistant varieties. |
By being careful and using good garlic harvesting techniques, we can keep our garlic safe. This way, we can enjoy a healthy and plentiful harvest every year.
Using Garlic in the Kitchen
Fresh garlic is a versatile ingredient that can make many dishes better. It can be roasted, sautéed, pickled, or fermented. This adds a unique taste and smell to both savory and sweet foods.
Culinary Uses
Storing fresh garlic opens up many cooking options. Roasting whole bulbs brings out their sweet flavor. Spread the soft cloves on bread or mix with roasted veggies.
Minced or sliced garlic is great in sauces, marinades, and stir-fries. It adds a strong flavor to every bite.
Try pickling your stored fresh garlic for a tangy twist. Fermented garlic, with its deeper flavor, is perfect for soups, stews, and dips.
Nutritional Benefits
Homegrown garlic is not just tasty; it’s also packed with nutrients. It’s full of vitamins, minerals, and antioxidants. These help with:
- Boosting the immune system
- Reducing inflammation
- Improving heart health
- Aiding in digestion
Eating fresh, stored garlic can boost your health. It’s a tasty way to support your well-being.
The Benefits of Homegrown Garlic
During the garlic harvest season, gardeners get to enjoy the fruits of their labor. Growing your own garlic brings unmatched flavor and health perks. These benefits far exceed what you can find in stores.
Flavor vs. Store-Bought Garlic
Homegrown garlic stands out in taste. The cloves from your garden are full of flavor, unlike store-bought garlic. This is because homegrown garlic gets to fully develop its taste.
Health Advantages
Fresh, homegrown garlic is also great for your health. It’s packed with compounds like allicin, which fights inflammation and acts as an antioxidant. Growing your own garlic means you get the freshest, most potent version.
Whether you love the taste or the health benefits, growing your own garlic is a smart choice. It’s a win-win for your kitchen and health.
Sharing Our Harvest
Growing our own fresh garlic brings us joy. We often have more than we can use. Instead of wasting it, we can share it with friends and family. We can make homemade gifts or host garlic-themed parties.
Ways to Share with Friends
Sharing garlic with loved ones is a great way to connect. You can host a garlic-themed potluck. Or, give out individual bulbs or braids of garlic drying methods as gifts.
- Organize a garlic-themed potluck with friends
- Create unique garlic-infused products like pesto or flavored oils
- Gift individual bulbs or braids of dried garlic
Preserving Garlic for Gifts
You can also preserve garlic for gifts. Storing fresh garlic through drying keeps it fresh for longer. This way, you can enjoy garlic all year round.
| Garlic Preservation Method | Benefits |
|---|---|
| Hanging Garlic Bunches | Maintains flavor and aroma, easy to display as a decorative element |
| Dehydrating Garlic Cloves | Extends shelf life, easy to grind into garlic powder or flakes |
| Infusing Oils or Vinegars | Creates flavored products for cooking and gifting |
Preserving garlic in different ways lets you make many gifts. You can give out fragrant garlic braids or homemade garlic products.
“The secret of good cooking is, first, having fresh, wholesome ingredients.” – Julia Child
Sustainable Garlic Gardening
We gardeners know how key it is to grow garlic sustainably. Using eco-friendly methods boosts our garlic harvesting techniques. It also keeps our soil and environment healthy for the future.
Crop Rotation
Crop rotation is a key part of sustainable garlic gardening. Switching between garlic and other veggies prevents pests and diseases. It also adds nutrients back to the soil.
This method makes our garlic plants stronger. It also makes our garden more diverse.
Natural Pest Control Methods
- Encourage beneficial insects: Ladybugs and lacewings help control pests without chemicals.
- Use organic mulches: Straw or leaves around garlic plants control weeds and save water.
- Try companion planting: Some herbs and flowers keep pests away and make plants healthier.
These sustainable practices make our garlic harvesting techniques better for the planet. They help our crops and keep our garden healthy for years to come.
Conclusion: Enjoying the Fruits of Our Labor
Looking back at our garlic harvest, we feel proud and accomplished. All the time and effort we put into our crop has paid off. Now, we get to enjoy the delicious results of our hard work.
Celebrating the Harvest
Now that our garlic is cured and stored, it’s time to celebrate. We’re excited to share a meal with loved ones, using our garlic. We also can’t wait to use it in our cooking and making preserves.
Planning for Next Season
Even as we enjoy this year’s harvest, we’re thinking about next season. We’ll use what we’ve learned to improve our garlic growing. We’re sure our future harvests will be even better and more flavorful.

