Growing your own pinto beans can make your garden vibrant and full of nutrition. Our guide will show you how to grow a successful bean harvest in your backyard. It’s perfect for new gardeners or those wanting to improve their skills.
Pinto beans, native to Mexico, are a great choice for home gardeners. They provide a nutrient-rich crop. Our guide will teach you the basics of growing beans, from picking the right seeds to harvesting your crop. We’ll cover everything you need to know for a great harvest.
Key Takeaways
- Pinto beans take 90-150 days to mature
- Requires 6+ hours of direct sunlight daily
- Best grown in soil pH between 6.0-7.0
- Suitable for growing zones 2-11
- Ideal for both bush and pole varieties
Introduction to Pinto Beans
Pinto beans have a long history, dating back thousands of years. They originated in Peru and have been a key food for humans for over 5,000 years. This makes them a beloved ingredient in many cultures around the world.
What Are Pinto Beans?
Pinto beans are known scientifically as Phaseolus vulgaris. They belong to the common bean family. These beans grow into bushy plants, reaching 18-20 inches tall. They are easy to grow and require minimal care.
Nutritional Benefits of Pinto Beans
Pinto beans are a nutritional powerhouse. They are packed with:
- High protein content
- Excellent source of dietary fiber
- Rich in vitamins and minerals
- Low in fat
Importance of Planting Process
To grow pinto beans successfully, you need to know their specific needs. They thrive in:
- Full sun exposure (6+ hours daily)
- Soil pH between 6.0-7.0
- Well-draining soil
- Proper seed spacing
By following these guidelines, you can enjoy a healthy crop of pinto beans. They are delicious and good for you.
Choosing the Right Time to Plant
Starting a pinto bean garden needs the right timing. Knowing when to plant is key to a successful harvest.
Timing is everything for growing pinto beans. Our guide will show you the best planting time for your area.
Ideal Planting Seasons
Pinto beans grow best in certain conditions. Here are the key times to plant:
- Plant after the last frost, usually between April and June
- Wait until the soil is at least 60 degrees F
- Choose a time with steady warm weather
Understanding Local Climate Conditions
Local weather is vital for growing pinto beans. Each area has its own needs:
- Find your local hardiness zone (zones 2-11 are good for pinto beans)
- Watch the soil temperature closely
- Don’t plant when frost is possible
“The key to successful pinto bean cultivation is understanding your local growing conditions.” – Agricultural Experts
To keep a steady supply, plant every two weeks. This way, you’ll have a constant harvest. Pinto beans take 88-95 days to grow, so plan your planting.
Pro tip: Use black plastic to warm the soil in spring. This lets you plant earlier and grow longer.
Selecting the Perfect Location
Choosing the right location is key for growing dry beans. Pinto beans need specific conditions to grow well. We’ll help you with the best legume planting tips for a great harvest.
Sunlight Requirements for Optimal Growth
Pinto beans love the sun and need full sun exposure. They require at least 6 to 8 hours of direct sunlight each day. When picking a spot, look for areas with:
- Unobstructed southern exposure
- No shade from buildings or tall trees
- Clear, open garden spaces
Understanding Soil Type and Preparation
Soil quality is vital for your pinto bean crop. We suggest using sandy loam soil that drains well and is rich in organic matter. Important soil factors include:
- Soil pH between 6.0 and 7.5
- Well-drained soil structure
- Soil temperature of at least 60°F
To prepare your garden, add 1 inch of well-composted organic matter per 100 square feet. This boosts soil fertility and gives your beans the nutrients they need to grow strong.
“The right location is the foundation of a successful bean harvest.” – Agricultural Experts
Preparing the Soil for Pinto Beans
Starting a pinto bean farm needs great soil prep. Our guide will show you how to make the perfect spot for your beans.
Soil prep for pinto beans is all about the details. We advise tilling the top 8-10 inches of soil. This makes it loose and ready for your seeds. It also helps roots grow well.
Understanding Soil pH Levels
Pinto beans do best in certain soil conditions. We recommend a pH between 6.0 and 7.0. This is a neutral to slightly acidic range that’s perfect for growing beans. To check your soil’s pH, you can:
- Use home pH testing kits
- Send soil samples to local agricultural extension offices
- Purchase professional soil testing services
Nutrient-Rich Soil Amendments
Boosting soil quality is key for growing pinto beans. We suggest adding organic matter to improve nutrients and soil structure. Here are some good options:
- Compost
- Well-rotted manure
- Aged leaf mold
- Balanced organic fertilizers
Focus on adding lots of nitrogen, phosphorus, and potassium. These nutrients help your beans grow strong and yield more.
Pro tip: Always test and amend your soil before planting to give your pinto beans the best possible start!
Choosing Quality Seeds
Choosing the right pinto bean seeds is key for a good harvest. Learning how to plant pinto beans starts with understanding seed quality.
Pinto bean seeds vary in type, each with its own traits. The Othello variety is popular for its high yield and flexibility in different growing conditions.
Types of Pinto Bean Seeds
When picking pinto bean seeds, consider these important factors:
- Bush varieties (typically 18 inches tall)
- Vining varieties (can grow up to 72 inches)
- Disease-resistant cultivars
- Local climate-adapted seeds
Importance of Seed Quality
High-quality pinto bean seeds are vital for strong plant growth. When buying seeds, look for:
- Certified disease-free packaging
- Recent harvest dates
- Uniform seed size and color
- Reputable seed suppliers
Pro tip: Most bean seeds are non-hybrid and self-fertile. This means you can save seeds from your current crop for future planting.
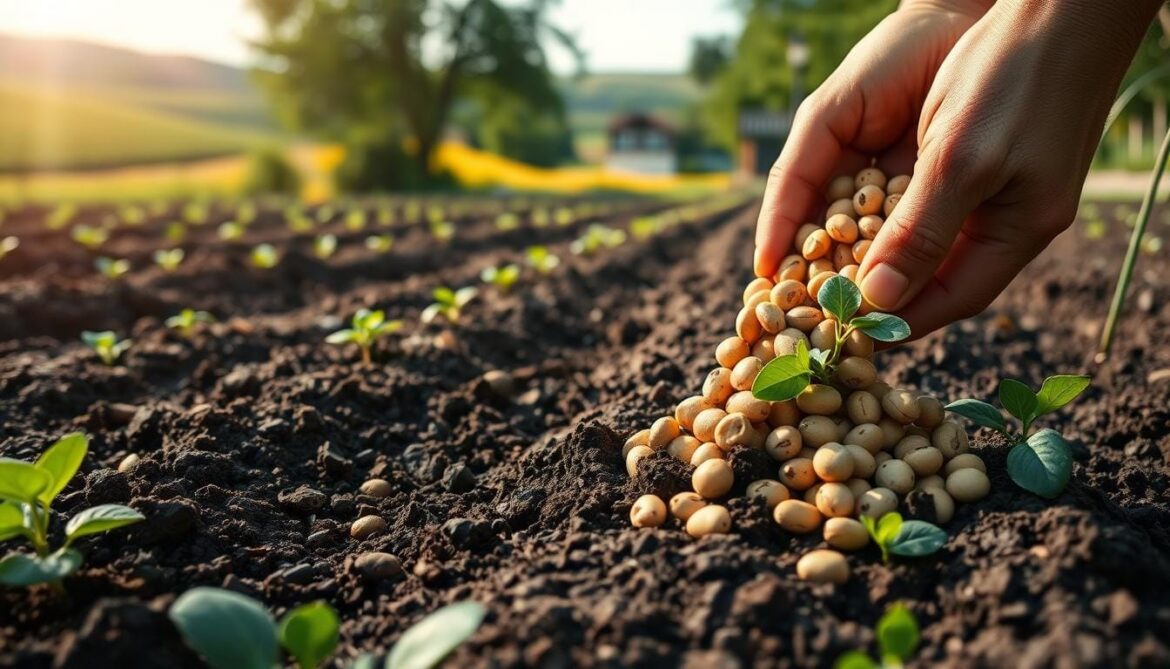
Pinto bean seeds should be planted 1-2 inches deep in well-drained soil. The ideal temperature for germination is between 70-90°F. Choosing the right seeds and planting them correctly will lead to a rich pinto bean harvest.
Planting Pinto Beans
Our pinto bean planting guide shows you how to plant beans successfully. Growing these legumes needs careful steps to get the best harvest.

Before planting pinto beans, knowing the right depth and spacing is key. Our tips will help you create the best spot for your bean plants.
Recommended Planting Depth
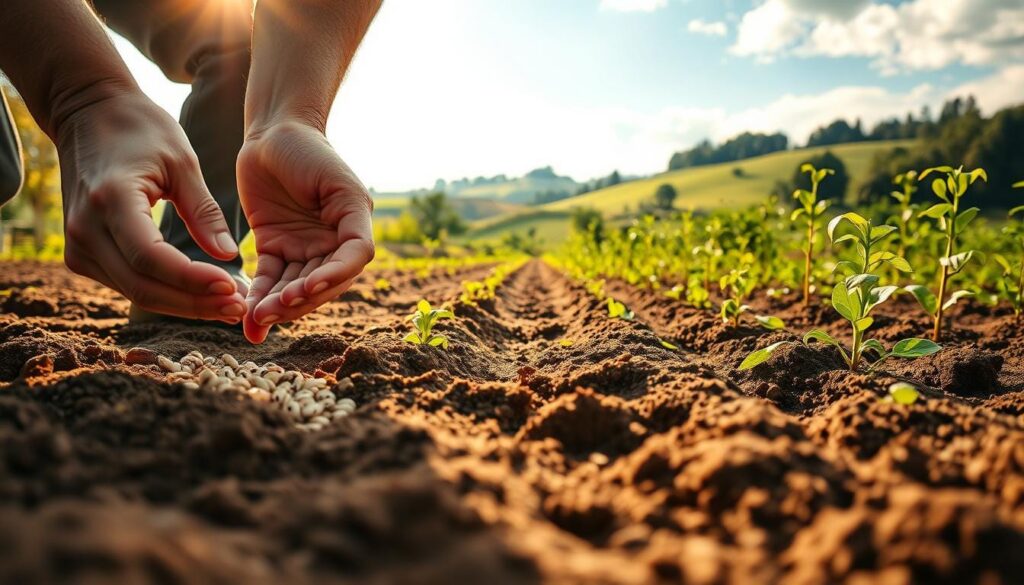
The secret to growing beans is planting them at the right depth. Pinto beans should be planted:
- Approximately 1½ inches deep
- With the bean’s eye facing downward
- In soil temperatures between 70-90°F
Seed Spacing Strategies
Spacing seeds correctly helps plants grow well and increases your bean yield. Follow these tips:
- Space seeds 4-6 inches apart within rows
- Maintain 2 feet between rows
- Thin seedlings to 6 inches apart after germination
Pro tip: Think about your garden layout. These spacing rules work for raised beds, rows, or containers.
With proper planting, your pinto beans will sprout in 8-14 days. This is the start of a rich harvest of tasty, healthy legumes.
Watering Techniques
Getting pinto beans to grow well depends a lot on how you water them. It’s important for their health and how many beans you’ll get.
Knowing how much water pinto beans need is key to a good harvest. They like consistent moisture, but it’s all about finding the right amount.
Irrigation Tips for Optimal Growth
- Water pinto beans every 1-2 weeks, adjusting based on environmental conditions
- Maintain consistent soil moisture, specially during germination
- Use the finger test: Check soil moisture by inserting a finger 2 inches deep
- Aim for soil moisture readings between 1-3 on a 1-10 scale
Recognizing Watering Challenges
| Watering Issue | Signs | Recommended Action |
|---|---|---|
| Overwatering | Yellowing leaves, root rot | Reduce watering frequency, improve drainage |
| Underwatering | Wilting, dry soil, stunted growth | Increase watering, monitor soil moisture |
Our pinto bean gardening experts suggest using drip irrigation or soaker hoses. These methods keep the soil moist and help beans grow well.
Mature pinto bean plants need about 1 inch of water a week. Adjust this based on rain, temperature, and soil type for the best growth and yield.
Pest and Disease Management
Keeping your dry bean crop safe is a big job. Pinto beans face many dangers from pests and diseases. Knowing these threats helps keep your plants healthy and boosts your yield.
Pests are a big problem for pinto bean crops. Our guide will show you how to spot and fight these pests.
Common Pests Affecting Pinto Beans
- Aphids: Tiny insects that make leaves yellow and distorted
- They can grow fast, producing 80 nymphs in two weeks
- Bean Leaf Beetles: Small insects, about 1/4 inch long
- They can lay 175-250 eggs
- They cause a lot of damage to leaves
- Spider Mites: Tiny pests that cause leaf stippling
- Females are about 1/64 inch long
- They can kill leaves completely
Organic Pest Control Strategies
We recommend a mix of methods for managing pests in dry bean crops. Here are some ways to protect your pinto beans:
- Bring in beneficial insects like ladybugs
- Plant marigolds and rosemary with your beans
- Use row covers to keep pests out
- Rotate your crops to break pest cycles
Watching your crops closely is important. This way, you can catch pests early and protect your beans. Being proactive helps ensure a healthy and successful harvest.
Fertilizing Pinto Beans
Pinto bean farming needs a smart plan for fertilizing. Knowing the right mix of nutrients can really boost your crop. It’s all about using the right fertilizers to help your plants grow strong.

We focus on three main nutrients: nitrogen, phosphorus, and potassium. These are key for different parts of the pinto bean’s life cycle.
Best Fertilizers for Pinto Beans
Choosing the right fertilizers is important. A 5-10-10 N-P-K ratio is great for most conditions. It makes sure the plant gets the nutrients it needs at each stage.
- Nitrogen helps with early growth
- Phosphorus boosts root health
- Potassium keeps the plant strong
When and How to Fertilize
When to fertilize is just as important as what to use. We suggest two main times:
- First, right after planting or when they start growing
- Then, again 4-6 weeks later
“Proper fertilization is the key to unlocking your pinto beans’ full potential” – Agricultural Research Team
Dryland pinto beans need different amounts of nitrogen. Inoculated crops might need 40 lbs N/acre. Non-inoculated ones could need up to 70 lbs N/acre. Always adjust based on soil tests and what the last crop left behind.
Look out for signs like yellow leaves or slow growth. Too much fertilizer can harm your beans. Regular soil tests help you get it just right for the best results.
Harvesting Pinto Beans
Knowing when and how to harvest your pinto beans is key to a good yield. Our guide will show you how to plant and harvest pinto beans at the right time.
Signs of Bean Readiness
Figuring out when to harvest your pinto beans takes some watching. Experienced gardeners say to look for these signs:
- Pods turn yellow to tan in color
- Pods begin to dry and slightly crack open
- Bean pods feel firm and reach pencil-thickness
- Plants start to yellow and dry out
Harvesting Techniques
Different pinto bean types need different harvesting methods. Bush varieties are usually harvested all at once. Pole beans, on the other hand, can be picked over weeks. Timing is everything in successful pinto bean cultivation.
For dry beans, wait until the pods are dry but not hard. Carefully take the pods off the plant to avoid damaging the beans. For fresh green beans, pick when they’re plump and 4-6 inches long.
Pro tip: Always harvest before seeds naturally fall to the ground to prevent loss and ensure the best quality for your pinto bean crop.
Our harvesting method helps you get the most from your garden. Each plant can produce 5-9 pods with 3-5 beans in each. By following these tips, you’ll learn how to plant and harvest pinto beans successfully.
Storing Pinto Beans After Harvest
Harvesting pinto beans is just the start. Storing them right is key to keeping their quality and nutrition. We’ll show you how to store pinto beans for a long time.
Best Practices for Drying Pinto Beans
Drying is the most important step in saving your pinto beans. Here are the top tips:
- Make sure beans are dry before you store them
- Check for a papery feel and a yellow color
- Use a dehydrator at a low temperature, below 35°C (95°F)
- Dry for about 24 hours until they sound rattly
“Proper drying is the key to long-lasting, high-quality pinto beans.” – Agricultural Preservation Expert
Long-Term Storage Methods
There are several ways to store your pinto beans:
- Airtight Containers: Mason jars are great
- Vacuum-sealed bags keep them fresh
- Refrigeration can make them last longer
Research shows that beans in special containers can last up to 10 years. A Brigham Young University study found beans stored for 30 years were over 80% good to eat.
Keep beans in a cool, dark spot. Beans stored well can last forever. The FoodKeeper App suggests eating them within 1-2 years for the best taste.
Conclusion: Enjoying Our Pinto Bean Harvest
Growing pinto beans has been a rewarding journey. We started by choosing the right seeds and cared for our plants for 90 to 150 days. This journey has taught us valuable skills, turning gardening into a way to grow food sustainably. Harvesting our own beans gives us a special connection to our food.
Our freshly picked pinto beans offer endless culinary possibilities. They can be boiled, baked, or mashed, making them perfect for soups, stews, salads, and casseroles. We encourage you to try different ways of cooking them to find your favorite. Our tips will help make your future harvests even more fruitful and tasty.
Serving Suggestions
Using fresh pinto beans in cooking opens up a world of flavors. Try making traditional Mexican refried beans, a hearty chili, or a refreshing bean salad. The key is to be creative with your homegrown beans. Each bean is a result of our hard work, from the soil to the sunlight.
Future Planting Tips
Looking back, we’re excited for our next pinto bean farming season. We plan to rotate crops, test the soil regularly, and keep a close eye on our plants. We’ve learned that success depends on understanding our plants’ needs, like warm weather and balanced nutrients. Our next harvest is sure to be even more successful.

