Every gardener dreams of growing more of their favorite plants. Clematis offers a great chance to do this. We’ll explore how to grow new clematis from a single vine. With over 250 species, your garden can become a colorful paradise.
Growing clematis is more than a task. It’s an art that connects us to nature. Whether you’re experienced or new, learning to propagate clematis opens up new possibilities.
Propagation is about nurturing new life. It’s about understanding plants and enjoying the growth of your own creations. We’ll show you how to bring new clematis plants into the world.
Key Takeaways
- Clematis can be propagated through multiple methods
- Late spring to early summer is the ideal propagation time
- Healthy parent plants are key for success
- Patience is essential during rooting
- Proper care boosts chances of success
- Different clematis varieties need unique techniques
Understanding Clematis and Its Varieties
Clematis plants are a world of beauty in gardens. They come in many colors, shapes, and grow in different ways. These flowering vines are part of the Buttercup family and grow in North America, Asia, and Europe.
Exploring clematis varieties shows a wide range that can change any garden. With hundreds of types, gardeners have many choices. This makes picking the right clematis exciting.
Overview of Clematis Types
Clematis plants fall into several groups. These groups are based on how they grow and how they bloom:
- Climbing varieties that scale trellises and walls
- Compact types suitable for containers
- Herbaceous perennial forms
- Shrub-like clematis varieties
Ideal Growing Conditions
Knowing the right growing zones for clematis is key. Each type needs specific conditions to thrive.
| Clematis Type | Preferred Growing Zones | Sunlight Requirement |
|---|---|---|
| Large-Flowered Hybrids | USDA Zones 4-9 | Full sun to partial shade |
| Montana Varieties | USDA Zones 6-9 | Full sun |
| Alpine Clematis | USDA Zones 4-7 | Partial shade |
Choosing the Right Variety for Propagation
When picking clematis for growing, think about your climate, garden space, and look. Clematis montana grows up to 6 meters, perfect for adding height to gardens.
Start with strong varieties that root easily and grow well in many places. Some clematis are easier for beginners, helping you succeed more often.
Preparing for Propagation
Starting with the right steps is key to growing clematis. We’ll show you how to create the best space for these climbing beauties.
Tools and Materials We Need
First, get these important tools ready:
- Sharp, sterilized pruning shears
- Rooting hormone powder
- Clean propagation containers
- Well-draining potting mix
- Plastic humidity dome or clear plastic bags
Selecting Healthy Parent Plants
Picking the right parent plant is vital. Look for established vines at least two years old. They should have:
- Vigorous growth
- No signs of disease
- Strong, healthy stems
- Multiple growth points
Timing: When to Propagate
Timing is everything for clematis. Late spring to early summer is the best time for cuttings.
| Propagation Method | Best Time | Estimated Rooting Time |
|---|---|---|
| Softwood Cuttings | April to June | 6-8 weeks |
| Semi-Ripe Cuttings | July to October | 8-10 weeks |
| Layering | Late Spring | 1-2 years |
Remember, take cuttings from healthy parts of the plant. This boosts your chances of success.
Methods of Propagation
Growing clematis through various methods is exciting for gardeners. We’ll look at the best ways to grow more clematis. This includes different methods for different plants and conditions.
There are many ways to grow more clematis. The main methods are softwood cuttings, hardwood cuttings, and layering. Each has its own benefits.
Softwood Cuttings: Quick and Effective
Softwood propagation is great for growing clematis from cuttings. Here’s how to do it:
- Take 4-6 inch cuttings in August
- Select semi-woody stems
- Use a 4-6 inch pot that can accommodate 3-5 cuttings
- Expect root development within 4-6 weeks
Hardwood Cuttings: Winter Propagation Option
Hardwood cuttings are another way to grow clematis in the winter. They need patience but can work well with the right steps.
Layering Techniques: Gradual and Reliable
Layering is a dependable way to grow clematis. Key considerations include:
- Best performed in spring
- Allows 1-2 years of growth attached to parent plant
- Requires 1-3 years to develop sufficient roots
| Propagation Method | Timing | Root Development |
|---|---|---|
| Softwood Cuttings | August | 4-6 weeks |
| Hardwood Cuttings | Winter | Several months |
| Layering | Spring | 1-3 years |
Choosing the right method depends on your clematis variety and gardening goals. Try different methods to find what works best for you.
Propagating Clematis from Cuttings
Growing clematis from cuttings is a fun way to add to your garden. It needs careful steps and knowing how the plant grows. Our guide will show you how to do it right.
The best time for clematis cuttings is in late spring and early summer. This is when the stems are soft but strong, usually between May and June.
Selecting the Perfect Cutting
When you’re ready to take cuttings, look for stems that are:
- Semi-green and not too woody or too soft
- About 3-4 inches long
- Near a leaf joint
- Healthy and free from disease or damage
Making Precise Cuts
How you cut the stems is very important. Gardening experts say to use clean, sharp tools. This helps avoid harming the plant and keeps diseases away.
| Cutting Technique | Details |
|---|---|
| Cut Location | 1/2 inch above leaf joint |
| Cutting Length | 3-4 inches |
| Rooting Time | 4-6 weeks |
Rooting Hormones: Enhancing Success
Using rooting hormone powder can really help your cuttings grow. Dip the bottom inch of each cutting into a 0.5% IBA rooting powder to help roots grow. Electric soil warming cables at 23 degrees Celsius can make roots grow faster, in about 14 days.
With patience and the right care, your clematis cuttings will grow strong roots. They’ll be ready to move to their new home by the next growing season.
Propagation by Division
Clematis division is a fun way to grow more plants. It’s best for mature clematis that have been in the same spot for years. We’ll show you how to divide clematis plants for their health and growth.
Selecting the Perfect Time for Division
Choosing the right time is key in clematis care. The best times are early spring or fall, when they’re not blooming. Look for these signs:
- Plants should be at least 3-4 years old
- Roots appear crowded or woody
- Plant shows reduced flowering or vigor
Step-by-Step Division Process
Dividing clematis needs careful steps. Here’s how to do it right:
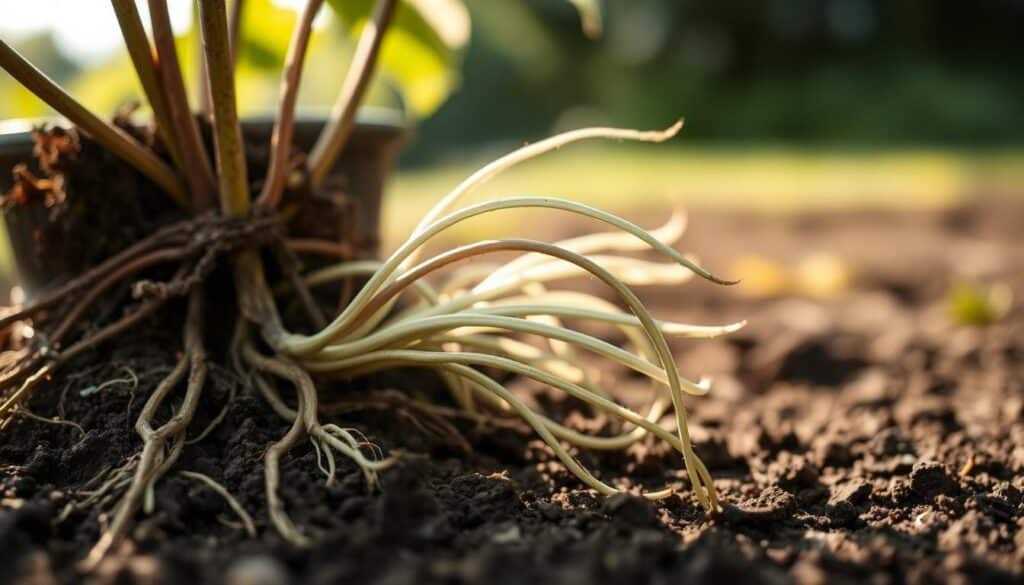
- Dig around the plant’s root system carefully
- Lift the entire plant gently from the ground
- Shake off excess soil to expose roots
- Use clean, sharp gardening tools for cutting
Aftercare for Divided Plants
Good care after division is essential. Consistent moisture and protection help your clematis grow strong.
| Care Aspect | Recommended Action |
|---|---|
| Watering | Keep soil consistently moist but not waterlogged |
| Sunlight | Provide partial shade for first few weeks |
| Fertilization | Wait 4-6 weeks before applying balanced fertilizer |
“Patience and gentle care transform division into a successful propagation strategy.” – Expert Gardener
By following these tips, you can grow more clematis and refresh older plants. Not every division works, so take extra sections for better chances.
Layering Technique Explained
Clematis propagation methods let gardeners grow more plants. Layering is a natural way to multiply clematis. It uses existing stems to grow new plants with little equipment.

Layering works best in spring and early summer. It helps stems grow roots while attached to the parent plant. This makes it easy for both new and experienced gardeners.
When to Use Layering
Consider layering when:
- The clematis is healthy and growing well
- The current season’s growth is flexible and rich in nutrients
- You want plants that are genetically the same
- Other methods haven’t worked
Types of Layering for Clematis
There are different layering methods for different clematis:
| Layering Type | Best For | Rooting Time |
|---|---|---|
| Simple Layering | Most climbing clematis | 6-12 weeks |
| Compound Layering | Vine-type clematis | 8-10 weeks |
| Air Layering | Thick-stemmed varieties | 10-14 weeks |
Ensuring Successful Rooting
To succeed with clematis propagation, follow these steps:
- Pick a healthy, flexible stem
- Make a 1-inch slanting cut between leaf nodes
- Use rooting hormone to help roots grow
- Cover the cut with moist soil
- Keep it moist
Learning these layering techniques makes growing clematis easy. You’ll see new plants grow from your existing ones.
Seed Propagation
Exploring clematis propagation methods opens up exciting possibilities for gardening enthusiasts. While seed propagation might not guarantee an exact replica of the parent plant, it presents a thrilling opportunity to potentially develop new clematis varieties.
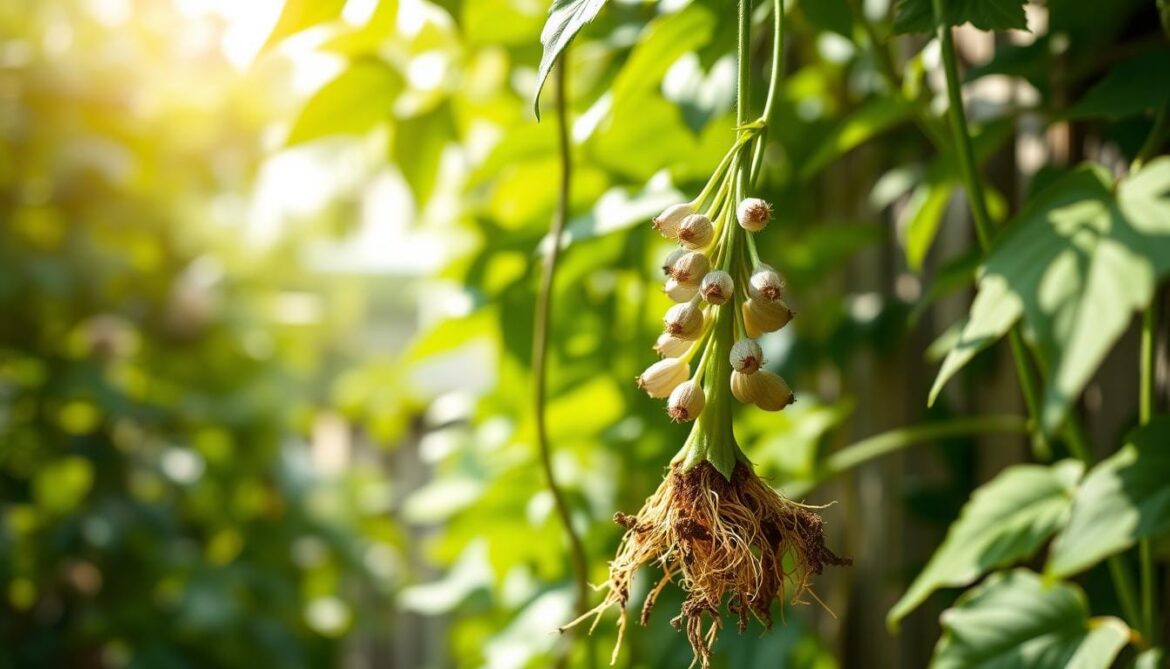
Seed propagation requires patience and careful attention to detail. Many clematis varieties produce fascinating seed heads that contain numerous small seeds, waiting to be collected and nurtured.
Collecting Clematis Seeds
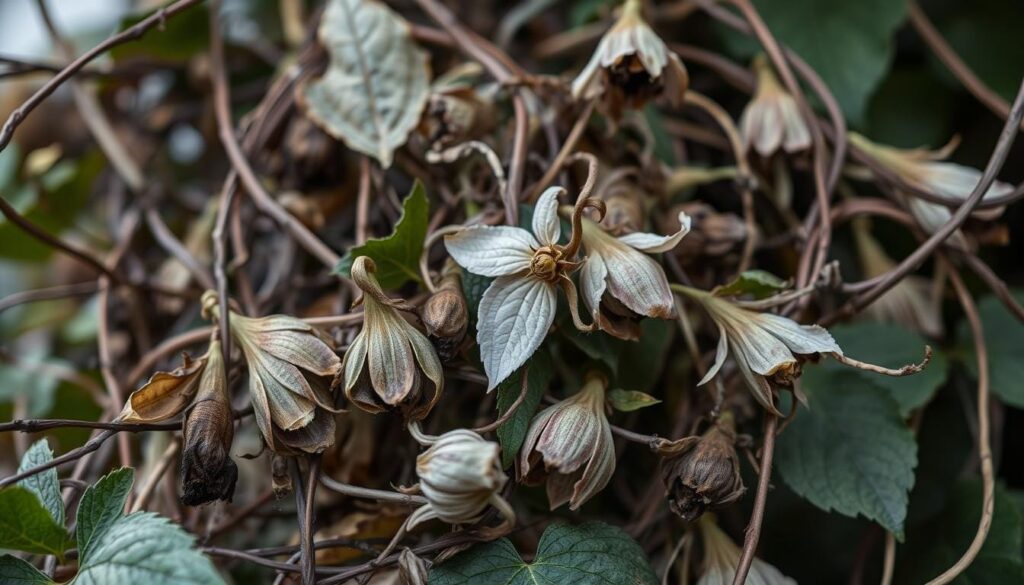
When collecting seeds from clematis plants, timing is key. Look for seed heads that have turned brown, indicating they are ready for harvesting. Here are key steps for successful seed collection:
- Wait until seed heads become fluffy and dry
- Gently remove seeds from the plant
- Store seeds in an airtight container
- Keep seeds in a cool, dry location
Seed Stratification Process
Stratification mimics natural winter conditions, essential for breaking seed dormancy. Our recommended process involves:
- Mix seeds with equal parts perlite and damp peat moss
- Place in a sealed plastic bag
- Refrigerate for 4-6 weeks
- Maintain consistent moisture
Germination Expectations
Clematis seed germination can be unpredictable. Expect germination times ranging from a few weeks to potentially three years. Success rates vary, with approximately 70% of seeds potentially sprouting within the first eight months.
When seedlings develop three sets of leaves, pinch out the growing tip to encourage branching. Transplant into individual pots once true leaves appear, using a well-draining, sterile soilless mix.
Caring for New Plants
After successfully propagating your clematis, it’s important to give them the right care. Our guide will help you take care of your young clematis plants. This will ensure they grow strong and healthy.
Watering and Light Requirements
Clematis plants need the right amount of water and sunlight. They do best in places with at least six hours of direct sunlight a day. Watering is key – they need steady moisture but not too much.
- Water weekly during the first growing season
- Provide approximately 1 inch of water per week
- Ensure well-drained soil to prevent root rot
Fertilizing Young Clematis
Good nutrition is essential for clematis growth. We suggest a balanced fertilizer. This helps them grow strong without getting too much.
| Fertilizer Type | Frequency | Application Time |
|---|---|---|
| 10-10-10 Balanced Fertilizer | Monthly | Growing season until pre-flowering |
Pest and Disease Management
Diseases and pests can harm your clematis. It’s important to watch for them and prevent problems.
- Inspect plants regularly for signs of disease
- Maintain proper air circulation
- Remove infected plant parts immediately
- Use organic pest control methods when possible
By following these tips, you’ll create a great environment for your clematis. They will grow into beautiful, healthy plants.
Troubleshooting Common Issues
Propagating clematis can be tough, even for experts. Knowing common problems in clematis care helps grow them well. It also avoids mistakes that can stop your gardening plans.

Not all clematis cuttings will grow roots. In fact, only about 50 percent of them do. Learning how to fix common problems can make you more successful.
Why Cuttings Fail to Root
Several things can affect how well clematis cuttings root:
- Incorrect moisture levels
- Inadequate temperature control
- Poor cutting selection
- Lack of proper rooting hormone
Addressing Root Rot
Root rot is a big problem in clematis care. It happens when the soil is too wet or doesn’t drain well. To stop root rot:
- Make sure the soil drains well
- Use clean potting mix
- Don’t water too much
- Keep air moving around the plant
Dealing with Pests
Clematis face many pests that harm their health. Aphids and spider mites are big problems. To fight pests:
- Check your plants often
- Use neem oil to control pests
- Bring in good bugs
- Get rid of sick parts right away
Understanding these issues helps gardeners protect their clematis. It also boosts their chances of success.
Transplanting to the Garden
It’s time to move your clematis from a propagation area to its forever home in the garden. This step is key for a healthy, blooming clematis plant. It will make your garden beautiful.
Choosing the right spot in your garden is next. Clematis loves sunlight. Experts say to pick a place with at least six hours of direct sunlight. But, also make sure it gets some shade in the afternoon if it’s very hot.
Choosing the Right Location
Think about these things when picking a spot for your clematis:
- Make sure it’s close to a strong trellis or climbing support
- Check if the soil drains well and is good quality
- Keep it away from strong winds
- Keep the soil moist but not too wet
Preparing the Soil
Soil is very important for clematis. They need rich, well-draining soil with lots of organic matter. Adding compost or worm castings can help a lot.
Proper Planting Techniques
How you transplant your clematis is very important. Experts say to dig a hole that’s much bigger than the root ball. This gives the roots room to grow. Plant it a bit deeper than before to help the roots grow strong and protect the crown.
“The key to successful clematis transplantation is patience and careful preparation.” – Garden Cultivation Experts
It might take a year for your clematis to really grow and show off. But with the right care, like watering and not disturbing it too much, it will do great in its new home.
Seasonal Care for Clematis
Caring for clematis all year needs special attention to pruning, protection, and feeding. Our guide will show you how to keep your clematis vines healthy and colorful through every season.
Pruning clematis depends on its type and how it blooms. Knowing these details is key to keeping your clematis strong and lovely.
Pruning New Plants
Each clematis group needs a different pruning method:
- Group 1 clematis: No pruning required, blooms on old wood
- Group 2 clematis: Prune in late winter, using the one-third rule
- Cut one-third back to 1-2 leaf buds
- Trim one-third to half their length
- Leave one-third unpruned
- Group 3 clematis: Hard prune to 12 inches in late winter or early spring
Mulching and Winter Protection
Keeping clematis roots warm in cold months is vital. Use a 2-3 inch layer of organic mulch around the base. Make sure it’s not touching the stem to avoid rot. For zones 4-5, add extra protection with burlap or barriers.
Fertilization Schedule
Feeding clematis right is important:
- Early spring: First balanced fertilization
- Pre-flowering: Nutrient boost for late-flowering varieties
- Post-flowering: Replenish nutrients for next season’s growth
Clematis loves well-draining, slightly alkaline soil and lots of sunlight. By following these care tips, you’ll have gorgeous clematis that make your garden beautiful every year.
Conclusion: Our Propagation Journey
Our journey into clematis propagation has been fascinating. We’ve learned about various methods and how to care for these plants. With 1,219 shares, it’s clear many gardeners want to grow more clematis.
Propagating clematis opens up new possibilities in gardening. You can use stem cuttings, layering, or seeds. Each method has its own joys and challenges. Imagine growing plants that bloom for 50 years, leaving a lasting beauty in your garden.
Starting your clematis journey requires patience and attention. Most clematis do well in zones 4 to 8. They need at least six hours of sunlight and soil pH between 6.5 and 7. By mastering these, you’ll grow your garden and bond with these amazing plants.
Our journey is far from over. Every cutting and seedling holds promise. We urge you to keep trying, learning, and exploring clematis propagation. Your garden is ready for the vibrant colors and elegant forms of these plants.

