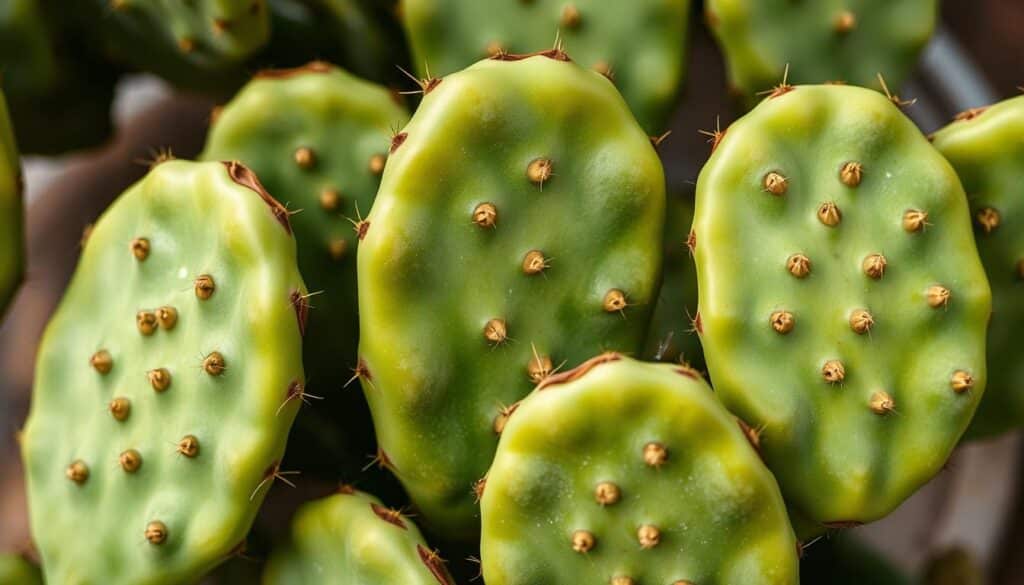
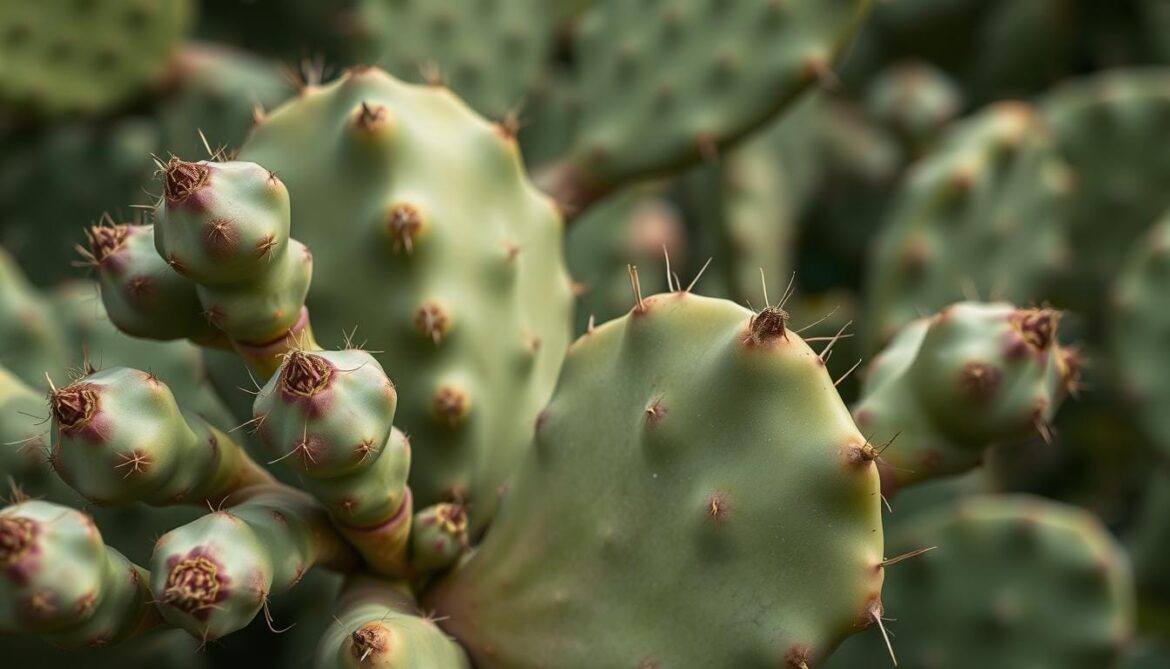
Desert landscapes are amazing, filled with tough plants. The prickly pear cactus is one of the most impressive. It’s part of the Opuntia genus, with 181 species ready to brighten your garden.
Propagating prickly pear is more than a gardening trick. It’s a way to connect with nature’s survival secrets. Whether you’re new to gardening or have lots of experience, it’s a fun way to learn.
The Opuntia genus is full of plants that love dry places. By learning how to grow prickly pear, we can make beautiful, easy-to-care-for gardens. These gardens celebrate the desert’s beauty.
Key Takeaways
- Prickly pear can be propagated through stem and leaf cuttings
- The ideal propagation time is during the growing season
- Cuttings require 5 days of drying to callus properly
- Root development typically takes up to 2 weeks
- Proper sunlight and drainage are critical for success
Understanding Prickly Pear Varieties
The world of prickly pear cacti is vast, with nearly 1,800 species in the Americas. Knowing the unique traits of different varieties is key to good care.
Exploring Popular Prickly Pear Types
Several varieties stand out for their special features:
- Opuntia ficus-indica (Indian fig):
- Grows 10-15 feet tall
- Commercial variety for pads and fruit
- Minimal glochids in many varieties
- Opuntia microdasys (Bunny Ears):
- Reaches 4-5 feet tall
- Spreads 3-4 feet wide
- Characterized by dense glochid clusters
- Opuntia robusta (Dinner Plate Nopal):
- Height range of 3-15 feet
- Produces bright yellow flowers
- Wide spread
Variety Characteristics to Consider
When picking a prickly pear variety, think about these important factors:
- Cold hardiness (some species survive below freezing)
- Growth patterns
- Fruit production
- Climate adaptability
Most prickly pear varieties do well in USDA zones 9-11. Some, like O. humifusa, can handle zone 4. Choosing the right variety ensures your care matches your climate.
Ideal Conditions for Propagation
Starting prickly pear cultivation means knowing what these desert plants need. It’s about creating the right environment, just like their natural home.
Soil Requirements for Thriving Prickly Pears
Soil is key for growing prickly pears. We suggest a mix that drains well, which is vital for these plants. Good soil preparation can help your plants flourish.
- Use sandy, well-draining cactus soil
- Avoid heavy clay or moisture-retaining substrates
- Mix in perlite or coarse sand for improved drainage
Temperature and Sunlight Considerations
Prickly pear cultivation needs careful attention to the environment. These plants do best in certain temperatures and light levels.
| Condition | Optimal Range |
|---|---|
| Minimum Night Temperature | 60°F |
| Best Propagation Season | Spring and Summer |
| Sunlight Exposure | Full Sun (6-8 hours daily) |
Young prickly pear plants need protection from cold and strong winds. Creating a stable microclimate helps them grow better.
Pro Tip: Keep the temperature steady and the humidity moderate to help roots grow strong during desert plant propagation.
Preparing for Propagation
Starting your succulent journey with prickly pear requires careful prep. Enthused fans know the importance of the right tools and materials. We’ll guide you to create the best environment for these unique cacti.
Essential Tools for Prickly Pear Propagation
To propagate prickly pear, you need specific gear for safety and success:
- Heavy-duty protective gloves to protect against tiny spines (glochids)
- Sharp, clean pruning shears
- Rubbing alcohol for sterilizing tools
- Well-draining potting mix
- Rooting hormone (optional but recommended)
Selecting Healthy Pads for Cutting
Choosing the right pad is key in our guide. Look for pads that are:
- At least 6 inches long
- Firm to the touch
- Uniform in color without blemishes
- Free from disease or pests
Our techniques stress picking mature, healthy pads from the parent plant. A young or damaged pad lowers your success rate. Opt for pads in spring or early summer when the plant is most active.
Propagation requires patience. Each pad you choose could become a new plant. So, the prep work is an exciting start to your cactus journey.
Steps for Vegetative Propagation
Opuntia propagation is a fun way to grow more prickly pear cacti. We’ll show you how to do it easily. This method is great for growing new plants with little effort.

Learning to propagate prickly pear starts with the cutting process. Choose healthy, mature pads from the parent plant. The best cuttings have:
- 2-3 leaves
- 4-8 inches long
- No damage or disease
Cutting the Pads
To get pads for opuntia propagation, use clean, sharp tools. Twist the pad gently at its natural seam or cut it with a sterile knife. Safety tip: Wear thick gloves to avoid getting hurt by the spines.
Allowing Pads to Callous
After cutting, let the pad dry out. Put it in a dry, shaded spot for 24-48 hours. This step stops rot and gets the pad ready to root.
Pro tip: Make sure the cut surface is dry and has a callous before planting.
Pad cuttings clone the parent plant quickly. You’ll see roots in a week. They grow strong before you need to pot them.
Planting Techniques for Success
Starting a prickly pear garden is all about the right planting methods. Cactus propagation needs careful prep and detail to help your plants grow well.
Preparing the Perfect Soil Mix
Getting the soil right is key for prickly pear success. Use a mix made for succulents or cacti that drains well. Your mix should have:
- Coarse sand
- Perlite
- Potting soil
- Small gravel
Good drainage is vital for cactus growth. Avoid heavy, clay-like soils that hold too much water.
Optimal Planting Depth and Positioning
Here’s how to plant your prickly pear pads right:
- Plant the callused pad about one-third deep in the soil
- Make sure the pad stays upright and stable
- Use a container with holes for drainage
- Place it in a spot with some sunlight
Good placement prevents rot and boosts root growth in your prickly pear plants.
Watering Guidelines Post-Planting
Prickly pear care needs a careful touch when it comes to watering. Knowing how much water your plant needs is key to its health. Young cactus cuttings and mature plants have different watering needs.
Initial Watering Needs
New prickly pear plants need special care with water. Here’s what to do in the first year:
- Mist the soil when it starts to dry
- Water well but not too often
- Make sure the soil is evenly moist, not too wet
Maintaining Moisture Levels
Keeping your prickly pear plant hydrated is important. Here’s how to keep the moisture right:
- Check the soil moisture every week
- Water only when the top 1-2 inches of soil are dry
- Water less often in winter
In spring and summer, water about 0.25 inches every 7-14 days, based on the temperature. When it gets cooler at night, water every 14 days. Look out for signs of too much water, like yellow leaves or soft cactus pads.
Caring for Young Prickly Pear Plants
Young prickly pear plants need special care in desert plant propagation. These tough cacti require specific attention for healthy growth.
Fertilization Practices for Optimal Growth
Prickly pear plants don’t need a lot of fertilizer. They grow well in poor soil. When you do fertilize, use a low-nitrogen, phosphorus-rich fertilizer sparingly.
- Apply fertilizer only once during the growing season
- Use a diluted cactus-specific fertilizer
- Avoid over-fertilizing, which can damage the plant
Managing Pests and Diseases
It’s important to protect your young prickly pear from pests and diseases. Some pests can harm your cactus quickly.
- Watch for cochineal scale insects
- Check regularly for mealybugs
- Inspect plants for signs of root rot
To prevent health issues, keep your prickly pear in well-draining soil. Make sure it gets enough sunlight and water properly. This helps avoid diseases.
Healthy plants are your best defense against pests and diseases in prickly pear cultivation.
When to Expect Growth
Watching your prickly pear grow is thrilling. But, patience is key when propagating these amazing plants. Knowing when to expect growth helps manage your excitement and ensures success.

Root Development Timeframe
In our guide, we found that root growth times vary. Roots usually start to show up in:
- 2-6 weeks for pad propagation
- 4-12 weeks for seed propagation
- Good conditions can speed up root growth
Identifying Healthy Growth Indicators
Seeing signs of successful growth is important:
| Growth Stage | Indicators |
|---|---|
| Initial Root Development | White/light-colored root tips emerging |
| Established Roots | Firmer plant base, increased stability |
| New Pad Growth | Soft, bright green pad emergence |
Pro tip: Keep watering consistent but light during this key growth time. Too much water can slow down roots and even cause rot.
Common Mistakes to Avoid
Propagating prickly pear can be tricky, even for experienced gardeners. Knowing common pitfalls helps ensure successful propagation and healthy plant growth.
Gardeners often face challenges when learning prickly pear care. We’ll look at critical mistakes to avoid during propagation.
Overwatering Dangers
Overwatering is the biggest threat to prickly pear survival. Our research shows that too much water can cause root rot, harming your plants.
- Water sparingly – cacti store moisture efficiently
- Allow soil to dry completely between waterings
- Use well-draining sandy soil mixes
Sunlight Mismanagement
Insufficient sunlight causes weak, elongated growth in prickly pear plants. Our data shows that these cacti need full sun exposure for best growth.
| Sunlight Requirement | Plant Response |
|---|---|
| 6-8 hours direct sunlight | Healthy, compact growth |
| Less than 4 hours | Weak, stretched stems |
Avoiding these common mistakes will greatly improve your success in prickly pear propagation and care.
Expanding Your Prickly Pear Collection
As you get better at opuntia propagation, our prickly pear gardening journey gets more exciting. You can grow and share these amazing plants. To expand your collection, try different ways to propagate beyond just cutting pads.
Seed propagation is a unique challenge for prickly pear fans. It takes more time than other methods but lets you discover many Opuntia varieties. Start by collecting seeds from ripe fruits and prepare them well to boost germination.
Sharing your plants is a great part of prickly pear gardening. Many gardeners enjoy swapping cuttings with neighbors or local groups. The Eastern prickly pear (Opuntia humifusa) is a great choice to share, as it grows well in USDA zone 4.
Our way of growing a prickly pear collection is all about patience, knowledge, and love for these tough plants. Whether you’re growing from pads or trying seeds, each new plant is a win in your gardening journey.

