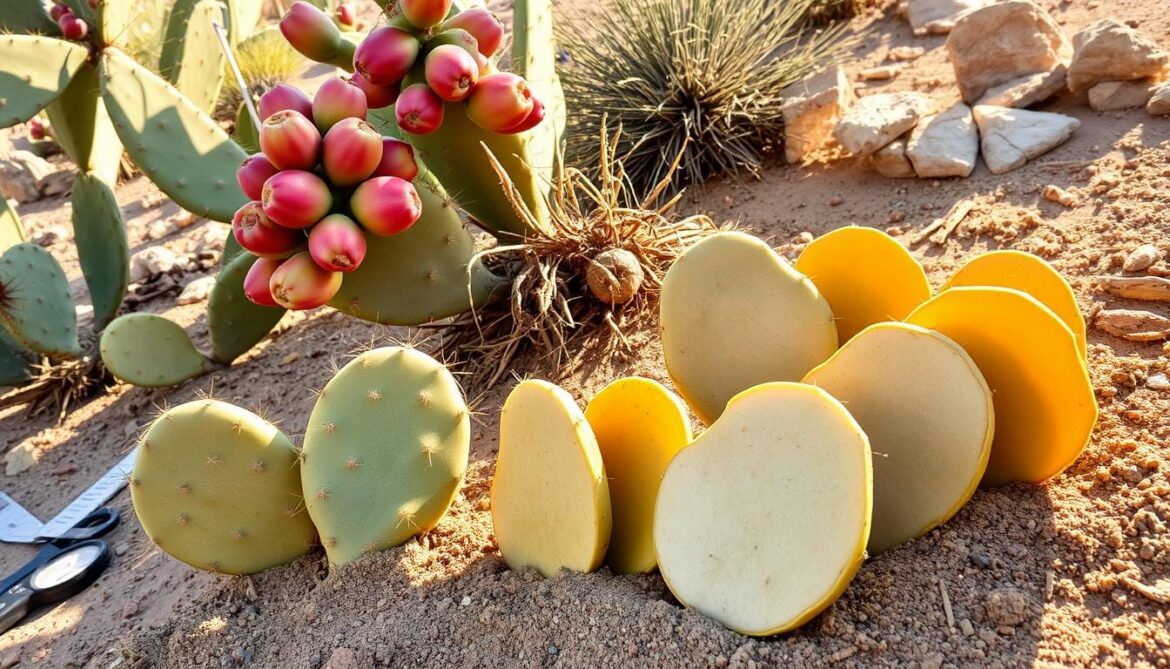
I’ve always loved gardening, especially with prickly pear cacti. These plants are tough and beautiful, reminding me of the Southwest. They bring the desert to life in my garden.
Today, I want to teach you how to grow these amazing plants. You’ll learn how to make more prickly pear cacti for your garden.
Propagating prickly pear cactus is easy and fun. This group has over 150 types, each unique. It’s great for growing more, sharing with friends, or starting a new hobby. lets learn how to propagate prickly pear cactus.
Key Takeaways
- Prickly pear cactus propagation can be done through cuttings or seeds, with cuttings being the preferred method for most gardeners.
- Cuttings can produce fruit faster than plants grown from seeds, typically needing to be a few years old before fruiting.
- Seed propagation requires patience, as the germination rate is often low and the time to see recognizable plants can take several months.
- Proper soil preparation and watering are crucial for the successful propagation and growth of prickly pear cacti.
- Propagating prickly pear cactus can be a cost-effective way to expand your garden, share plants with others, and foster an eco-friendly hobby.
Understanding Prickly Pear Cactus
Prickly pear cactus, also known as Opuntia, is a unique plant that loves dry places. It has flat, paddle-like stems and tiny spines called glochids. Knowing how to grow and propagate these plants is key for gardeners.
What is Prickly Pear Cactus?
Prickly pear cactus is part of the Opuntia family. These cacti are tough and can live in very dry places. They have flat stems that look like leaves, covered in tiny spines that can hurt if you touch them.
Common Varieties of Prickly Pear
There are many types of prickly pear cactus, each with its own look and size. Some popular ones include:
- Opuntia ficus-indica: A big, spineless type with tasty fruits and pads
- Opuntia microdasys: A small one with yellow spines and a fuzzy look
- Opuntia engelmannii: A type that varies in spine color and pad shape
Benefits of Growing Prickly Pear Cactus
Prickly pear cactus is great for gardens because it’s very hardy and doesn’t need much water. Many types have fruits and pads that are good to eat. Growing these plants helps keep their unique traits alive.
Learning about prickly pear cactus helps you grow and propagate them well. It’s all about understanding their features, types, and benefits.
Choosing the Right Time for Propagation
Timing is key when you’re propagating prickly pear cactus. The best time is late winter to early spring. This lets the new cactus pads grow well and thrive all season.
Best Seasons for Propagation
Spring and early summer are the best times for propagating Opuntia engelmannii pads. It’s important to pick the right season. Choose healthy, mature pads for the best results.
Signs of Healthy Cactus Pads
- Look for pads that are plump, firm, and free from any signs of disease or damage.
- Avoid using pads that are too young or weak, as they may not have the necessary resources to successfully root and grow.
- Ensure the parent plant is actively producing new growth and not in a dormant state, as this will increase the chances of successful propagation.
By choosing the right time and healthy pads, you can boost your prickly pear propagation methods and cactus propagation techniques.
“The key to successful prickly pear propagation is to choose the right time and the right pads. With a little care and attention, you can ensure your cactus cuttings thrive and grow into healthy, vibrant plants.”
Tools You Will Need for Propagation
Propagating prickly pear cactus (Opuntia) is rewarding but needs the right tools for success. Whether growing from cuttings or using a planting guide, the right equipment is crucial.
Essential Tools for Successful Propagation
- Heavy-duty gardening gloves: Protect your hands from the sharp spines and glochids (tiny barbed hairs) of the cactus pads.
- Sharp pruning shears or a clean, sharp knife: Precision is key when taking cactus cuttings, as clean cuts help prevent disease and promote healthy growth.
- Rooting hormone powder: This plant growth hormone stimulates root development in the cactus cuttings, increasing the chances of successful propagation.
- Well-draining soil or succulent potting mix: Prickly pear cacti thrive in fast-draining, nutrient-rich soil that allows excess moisture to flow through easily.
- Small containers with drainage holes: Individual pots or trays with good drainage are essential for rooting and establishing new cactus plants.
- Spray bottle: A fine mist sprayer helps maintain the optimal moisture levels for the cactus cuttings during the rooting process.
Safety Gear to Consider
Propagating prickly pear cactus requires extra care due to the plant’s sharp spines and glochids. In addition to the heavy-duty gloves, you may also consider wearing long sleeves and pants to protect your skin from potential irritation. Safety goggles can be a valuable addition to your toolkit, as they shield your eyes from the cactus’ defense mechanisms.
Having the right tools and safety gear on hand will make the propagation process smoother and safer. This increases your chances of successfully growing new prickly pear cacti from cuttings or seed.
Preparing for Propagation
Starting to grow prickly pear cactus needs careful steps for success. First, pick healthy cactus pads from a mature plant. Choose the top oval segments that are at least an inch long. Make sure they are not blooming paddles.
After picking the right pads, clean and disinfect your tools. This step stops diseases or pests from ruining your effort. Wear heavy-duty gloves and handle the cactus carefully to avoid getting hurt by its sharp parts.
| Propagation Preparation Checklist |
|---|
|
By preparing well, you ensure your prickly pear cactus will grow strong. This way, you avoid problems during the growing process. With the right start, you’ll grow a new batch of these interesting plants.
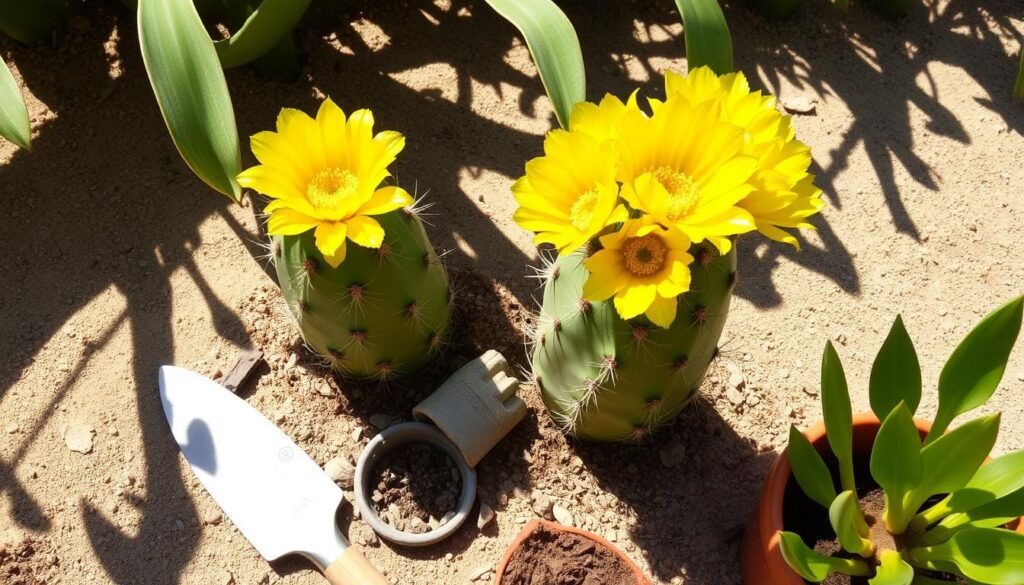
Techniques for Propagating Prickly Pear Cactus
Prickly pear cactus is a favorite among gardeners. It can be grown in several ways. Knowing these methods helps you expand your collection.
Leaf Pad Cuttings Method
Leaf pad cuttings are a popular way to grow prickly pear cactus. You take a mature pad from the plant and let it dry before planting. Then, it grows roots and becomes a new plant.
Seed Propagation Method
Seed propagation is slower but can create unique plants. Start by getting seeds from ripe fruit, clean them, and plant them. It may take weeks or months for them to grow, depending on the environment.
Grafting Method
Grafting is less common but still works. It involves attaching a piece of the plant you want to a rootstock. This can help the new plant grow faster and better.
Choosing the right growing conditions is key, no matter the method. Make sure to water, light, and control the temperature properly. With care, you can grow your own prickly pear cacti.
| Propagation Method | Key Advantages | Considerations |
|---|---|---|
| Leaf Pad Cuttings |
|
|
| Seed Propagation |
|
|
| Grafting |
|
|
How to Plant Cactus Pads
Planting prickly pear cactus pads is easy, but you need to do it right. We’ll show you how to prepare the soil, plant the pads, and care for them after planting.
Preparing the Soil
Prickly pear cacti love well-draining soil mixes. These mixes should have lots of perlite or pumice, about 80%. You can make your own mix by mixing cactus potting soil with perlite or similar materials.
Planting Depth for Cactus Pads
Plant the pads about one-third to halfway into the soil. Make sure the cut side is down. For bigger pads, lay them on their side with at least one-third buried. This helps them grow strong roots.
Watering after Planting
Water the soil lightly after planting. Keep the top of the cutting dry to avoid rot. Keep the soil moist for the first year but don’t overwater. Wait until the soil is dry before watering again.
Put the planted pads in a warm, sunny spot with filtered light. This is the best place for them to grow and thrive.
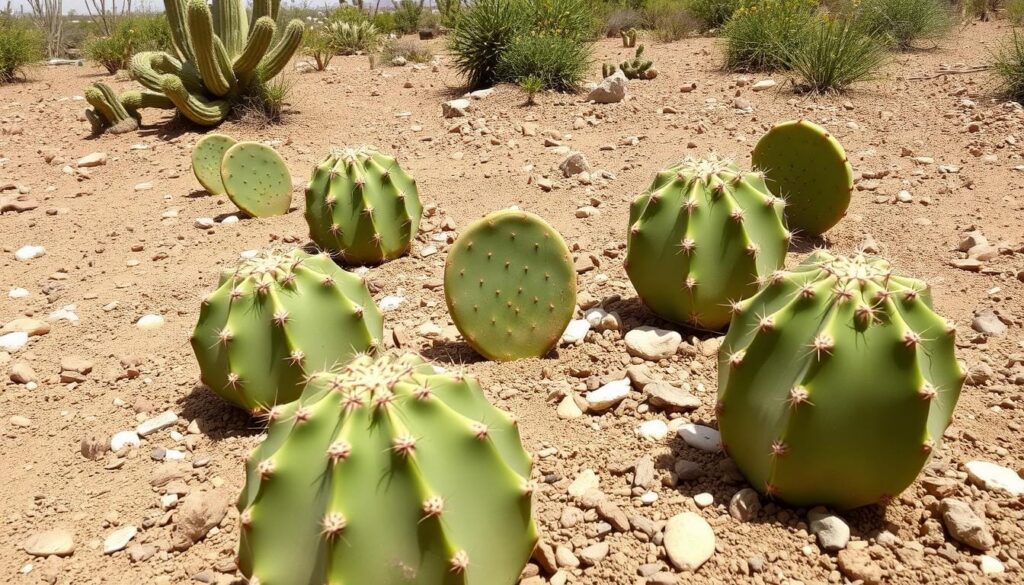
Caring for Newly Propagated Cactus
Taking care of your new prickly pear cactus seedlings or young plants is key. The right conditions help your prickly pear cactus cultivation efforts succeed. This way, you’ll have healthy, thriving plants.
Optimal Light Conditions
Prickly pear cacti need bright, indirect sunlight to grow well. Put your new plants in a spot with at least 6 hours of direct sunlight daily. Don’t let them get too much direct sunlight, as it can burn their pads. If indoors, place them near a sunny window or use a grow light.
Watering Guidelines for Cactus
Watering is vital for caring for prickly pear seedlings. Let the soil dry out fully between waterings, usually every two to three weeks in the growing season. Too much water can cause root rot. So, it’s better to water less than too much. Watch the soil moisture and adjust your watering as needed.
Fertilization Tips for Young Cacti
Give your new prickly pear cacti a balanced, diluted liquid fertilizer made for cacti and succulents. Use this fertilizer every four to six weeks when they’re actively growing, usually in spring and summer. Don’t over-fertilize, as it can cause too much growth and weaken the plant.
By following these tips for light, water, and fertilizer, you’ll ensure your prickly pear cactus cultivation efforts are successful. Your plants will thrive, bringing joy and beauty to your garden or indoor space for years.
“Prickly pear cacti are remarkably resilient, but providing the right care during the early stages of growth is crucial for their long-term success.”
Common Issues in Propagation
Propagating prickly pear cactus can be rewarding but comes with challenges. Knowing the common issues in prickly pear propagation and cactus techniques is key.
Pests and Diseases to Watch For
Pests and diseases are major concerns in cactus propagation. Mealybugs and scale insects can harm the plants by feeding on them. Fungal diseases like root rot are also a risk, especially in damp soil.
To avoid these problems, ensure good air flow and don’t overwater. Regularly check your plants for pests or diseases. Quick action and the right treatment can help your cacti stay healthy.
Signs of Overwatering
Overwatering is a big issue in cactus propagation. Watch for yellowing pads, soft bases, and declining health. It’s important to find the right balance between moisture and dryness.
By understanding these challenges and taking steps to prevent them, you can succeed in prickly pear propagation. This way, you can enjoy the beauty and resilience of these plants.
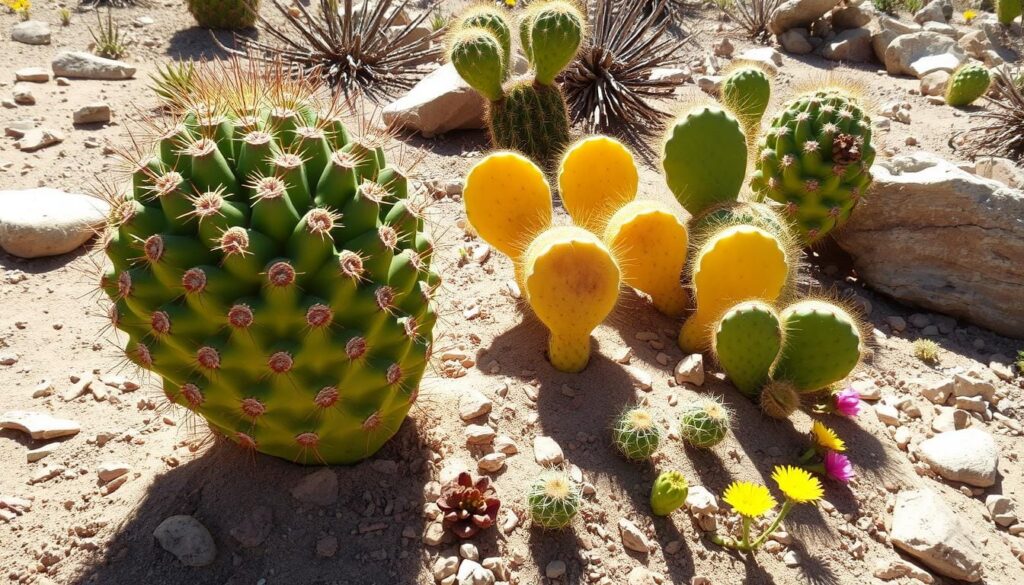
“Proper care and attention are the keys to overcoming the common issues in prickly pear propagation. With a little vigilance, you can ensure your propagated cacti thrive.”
How to Transplant Prickly Pear Cactus
Transplanting your prickly pear cactus is a big step in its care. You might be moving it to a bigger pot or outdoors. It’s important to do it right to keep your cactus healthy and thriving.
When to Transplant
The best time to move your prickly pear cactus is when its roots are strong. This usually happens a few months after you first planted it. It gives the cactus a solid base to adjust to its new home.
Steps for Successful Transplanting
- Choose a bigger pot with holes for water to drain or a spot outside with good drainage.
- Take the cactus out of its old pot carefully, watching out for the spines and tiny hairs.
- Put the cactus in its new spot at the same depth as before.
- Fill the area around the cactus with special cactus soil, making sure it’s not too tight.
- Water the cactus a little, but don’t overdo it.
- Let the cactus get used to its new place, watching for any signs of trouble.
Transplanting prickly pear cactus needs patience and attention. But if you follow these steps, your prickly pear planting guide or prickly pear cactus cultivation will do great.
“Careful transplanting is key to the long-term health and growth of prickly pear cacti.”
Understanding Root Development
Propagating prickly pear cactus (rooting prickly pear pads) is all about root growth. This can take weeks or even months. But, remember, patience is essential. As you start your prickly pear plant multiplication journey, here’s what you’ll see during the rooting phase. And why healthy roots are so vital.
What to Expect During Rooting
When you start propagating prickly pear cactus, you’ll notice small, white roots at the pad’s base. These tiny roots show the cactus is growing and getting ready to expand. Be careful during this time, as touching the cactus can harm its delicate roots.
Importance of Root Health
Healthy roots are key for a prickly pear cactus to grow well. They help the plant absorb nutrients and water, and keep it stable in the soil. By giving your cactus the right growing conditions, like good soil and the right amount of water, you’ll help it develop strong roots. This will set your cactus up for success.
| Rooting Timeframe | Ideal Soil Conditions | Watering Considerations |
|---|---|---|
| Several weeks to months | Well-draining, cactus-specific potting mix | Lightly water, allowing the soil to dry out between waterings |
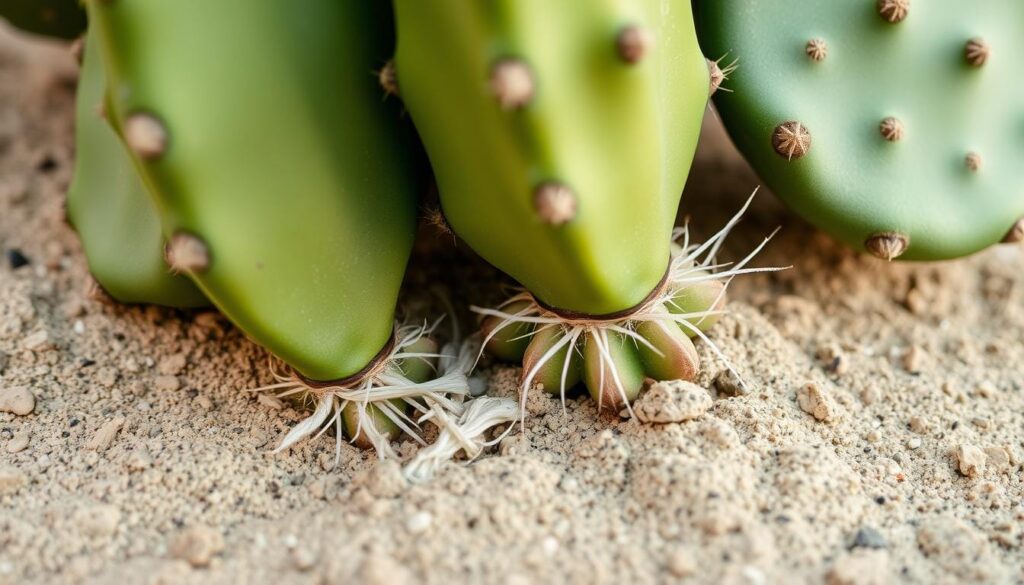
“Patience and proper care are key when it comes to propagating prickly pear cactus. By understanding the root development process and prioritizing the health of your cactus, you’ll be well on your way to successful prickly pear plant multiplication.”
Encouraging Growth in Prickly Pear Cactus
To grow prickly pear cacti well, we need to care for them seasonally. Knowing their needs helps them grow strong and healthy. Here are some key tips for making your prickly pear cactus bloom.
Seasonal Care Tips
In spring to fall, prickly pear cacti need more water and food. Water them every two to three weeks, adjusting as the soil dries. As they grow, they might need more water, especially in summer.
In fall and winter, they need less water. This helps them rest and get ready for spring.
Pruning Techniques for Better Growth
Pruning your prickly pear cactus helps it grow better. Start by cutting off any damaged or diseased parts. Use sharp tools to avoid spreading disease.
Pruning also helps with air flow. This prevents problems like root rot. Be careful with how you prune, as different types of Opuntia grow differently. For example, Opuntia santa-rita can grow up to 6 feet tall, while “Baby Rita” stays smaller.
By following these care tips and pruning wisely, your prickly pear cactus will thrive. Remember, prickly pear cacti are tough and can handle many conditions. They make great additions to any garden or indoor space.
Troubleshooting Propagation Problems
Propagating prickly pear cactus can be rewarding but comes with challenges. Knowing common mistakes and solutions can help. Let’s look at how to overcome these issues.
Identifying Common Propagation Mistakes
One big problem is overwatering. Too much water can cause rot and kill your cactus pads. Not enough light can also be a problem, leading to weak growth. Using the wrong soil mix can make things worse too.
Solutions for Failed Propagation Efforts
If your prickly pear cactus isn’t doing well, don’t give up. Check the environment and make changes if needed. Make sure your cactus gets enough sunlight and the soil drains well. Don’t overwater, let the soil dry a bit between waterings.
If your cactus pads are rotting, it’s time to start fresh. Before replanting, let the cut surfaces dry out to prevent more rot. Keep the soil moist but not too wet while the roots grow.
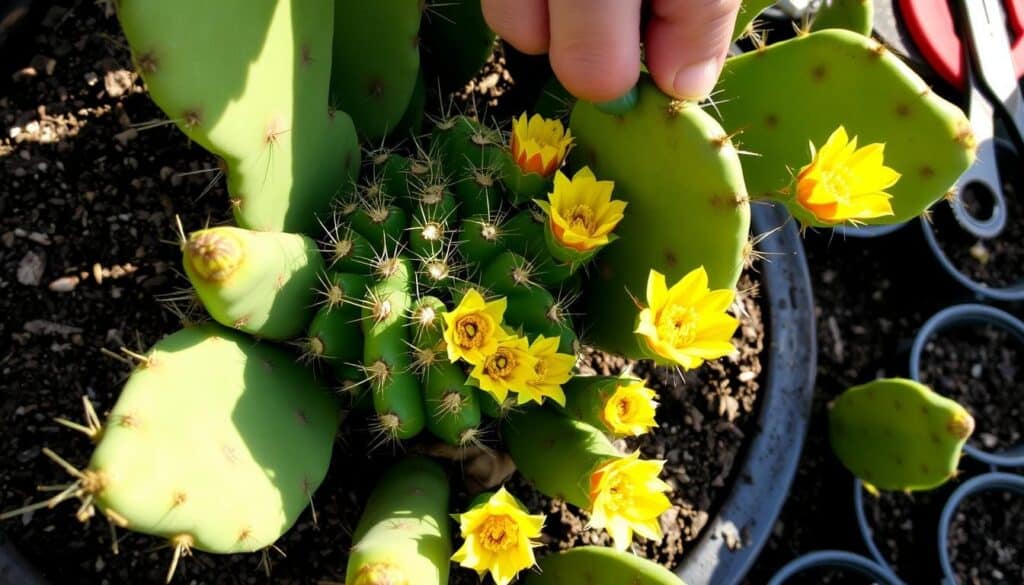
By knowing and fixing common mistakes, you can succeed in growing prickly pear cactus. Remember, patience and attention to detail are crucial.
Frequently Asked Questions
Starting your prickly pear cactus journey? You might have some questions. Let’s tackle a few common ones to help you feel more confident.
Can Prickly Pear Cactus Be Grown Indoors?
Yes, you can grow prickly pear cactus indoors. They need bright, direct sunlight. Place them near a south-facing window or under a grow light.
They also like well-draining soil and don’t need much water. This makes them easy to care for indoors.
How Long Does it Take to Root Cactus Pads?
Rooting prickly pear cactus pads takes time. It can be a few weeks to several months. It depends on the species and the environment.
Keep the soil moist but avoid too much water. This can cause rot. With care, your cactus will grow strong.
Remember, growing prickly pear cactus and rooting prickly pear pads needs the right balance. Light, water, and soil are key. By understanding their needs, you can create the best environment for them to flourish, indoors or outdoors.
Conclusion and Final Thoughts on Propagation
Learning how to propagate prickly pear cactus takes patience and attention to detail. Start by picking healthy pads and letting them callus. Then, plant them in soil that drains well and care for them properly. This way, you can grow your own prickly pear cacti.
Summary of Key Steps
To multiply prickly pear plants, choose the right time and use clean tools. Keep the growing conditions just right. You can grow new plants from leaf pads, seeds, or grafting. Just follow the best methods for healthy growth.
Encouragement for New Growers
New growers can do it with practice and persistence. You can grow more plants or share them with friends. Seeing your prickly pear cacti grow is very rewarding. So, start your journey, learn from any problems, and enjoy growing your prickly pear cacti.
