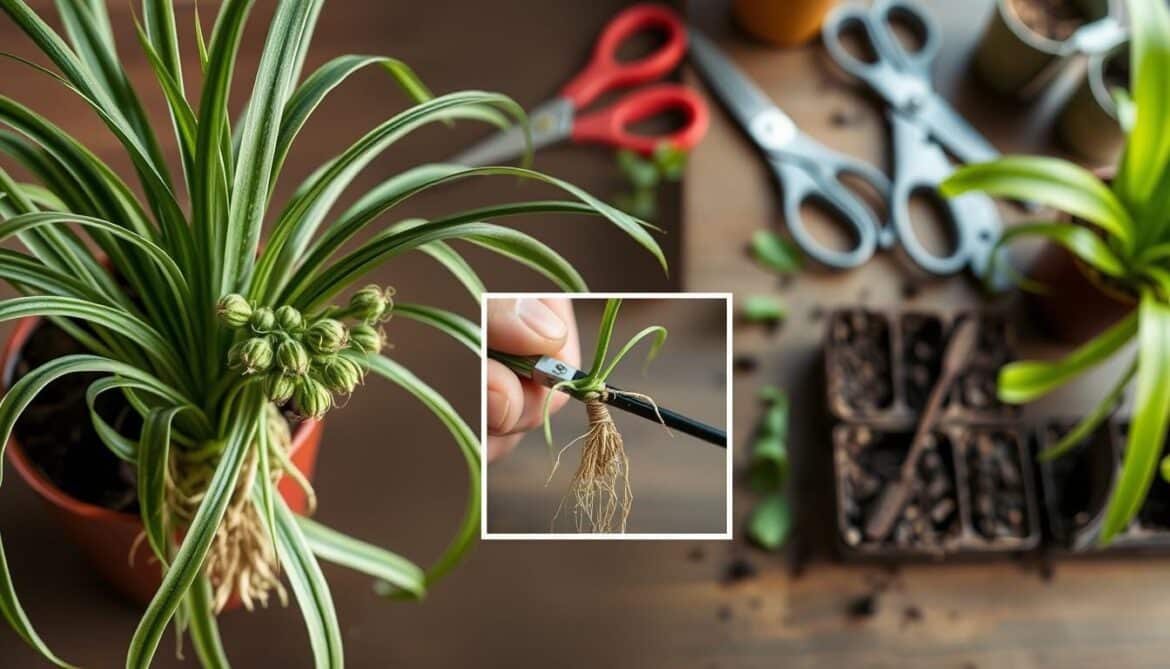
Watching a single plant grow into a family is magical. Spider plants, with their playful vines and baby plantlets, turn small spaces into thriving gardens. Whether you’re new to gardening or have lots of experience, learning how to repot and propagate these plants is rewarding and easy. Propagating spider plants is more than just growing more plants. It’s a way to connect with nature’s simplicity.
Imagine sharing a tiny plantlet with a friend or filling your home with lush greenery without spending a dime. This guide will walk you through every step, from finding healthy offsets to nurturing new roots. Learn why spider plants are great for indoor gardens and how to propagate them easily, no matter your skill level.
Key Takeaways
- Spider plant propagation boosts plant health and expands your collection effortlessly.
- Popular methods include offsets, water rooting, and soil planting, each detailed in this guide.
- Proper repotting ensures healthy roots and prevents common issues like yellowing leaves.
- Spider plant propagation saves money and enhances home decor with minimal effort.
- Follow step-by-step instructions for success, even if you’re new to gardening.
Understanding Spider Plants and Their Growth Habits
Spider plants (Chlorophytum comosum) are loved for their toughness and simple care. They grow well in many places, making them perfect for indoor gardens. Their long, curved leaves, sometimes with white or green stripes, bring beauty. Taking good care of them keeps them healthy and helps them grow new “babies” for more plants.
“Spider plants adapt to diverse environments, but proper conditions boost their vitality,” say indoor plant experts.
Overview of Spider Plant Characteristics
Key traits include:
- Variegated leaves with white or yellow edges
- Plantlets that dangle on long stems
- Ability to purify indoor air
Ideal Growing Conditions
Successful growth depends on these factors:
| Factor | Requirement | Note |
|---|---|---|
| Light | Bright indirect light | Avoid direct sunlight |
| Temperature | 60–75°F (15–24°C) | Stable indoor temperatures preferred |
| Humidity | Moderate to high | Misting helps in dry climates |
Lifespan and Maintenance
With the right care, spider plants can live for decades. Here are some basics:
- Water when soil dries top-inch; avoid overwatering
- Fertilize lightly during spring and summer
- Trim brown tips and yellow leaves to encourage growth
Healthy plants have upright leaves and grow new plantlets often. Following these tips helps them grow strong and makes it easier to share them with others.
Benefits of Propagating Spider Plants
Propagating spider plants brings many benefits. These plants are easy to care for and can save you money. They also help improve your home’s look and connect you with others.
Cost-Effective Gardening
- Reduce expenses by 90% compared to buying new plants
- Create clusters of plants for fraction of retail costs
- Year-round propagation opportunities eliminate seasonal purchasing spikes
Enhancing Home Decor
| Aspect | Benefit |
|---|---|
| Vertical Growth | Drapes gracefully from hanging pots or bookshelves |
| Air Quality | NASA research confirms their toxin-removing abilities |
| Space Adaptability | Thrives in low-light areas where other plants struggle |
Sharing with Friends and Family
“A rooted spider plantlet makes a living gift that keeps on giving.” – Urban Green Collective
Sharing plants with friends and family is a thoughtful gesture. Micro-propagation kits and care instructions make it a special gift. It also helps build a gardening community and grows your collection.
Types of Spider Plant Propagation
Spider plant propagation offers three effective ways to grow more plants. Each method is suited for different needs and settings. Choose the right method based on your setup and goals.
Gardening experts often note that spider plant propagation methods offer flexibility for both beginners and seasoned growers.
Propagation through Offsets
Offsets, or “pups,” grow on long stems called stolons. Cut the stolon near the mother plant and plant the offset in moist soil. This method is 90% successful and thrives in warm, humid places. Tip: Make sure the soil is firmly in contact with the roots.
- Pros: Fast root growth, minimal materials needed.
- Challenges: Stolon cutting requires precision to avoid damaging the mother plant.
Water Propagation Method
Submerge offsets in clean water until roots are 2 inches long. Change the water weekly to prevent rot. Once the roots are established, move the plant to soil. This method is great for those who like to see the roots grow. Success rate: 80% if water is kept fresh.
- Pros: Visible progress, low maintenance.
- Challenges: Requires consistent water changes to avoid mold.
Soil Propagation Technique
Plant offsets directly into soil while they’re attached to the mother. Roots will form in 3-4 weeks. This method works best in loose, well-draining soil. Pro tip: Keep the soil moist but not too wet during this time.
- Pros: No need to transfer from water later.
- Challenges: Slower progress compared to water methods.
Preparing for Propagation
Starting with the right tools is key for tips for propagating spider plants. You’ll need sharp scissors, small pots, and soil that drains well. Optional items include rooting hormone and clean containers. Make sure all tools are clean to avoid spreading disease.
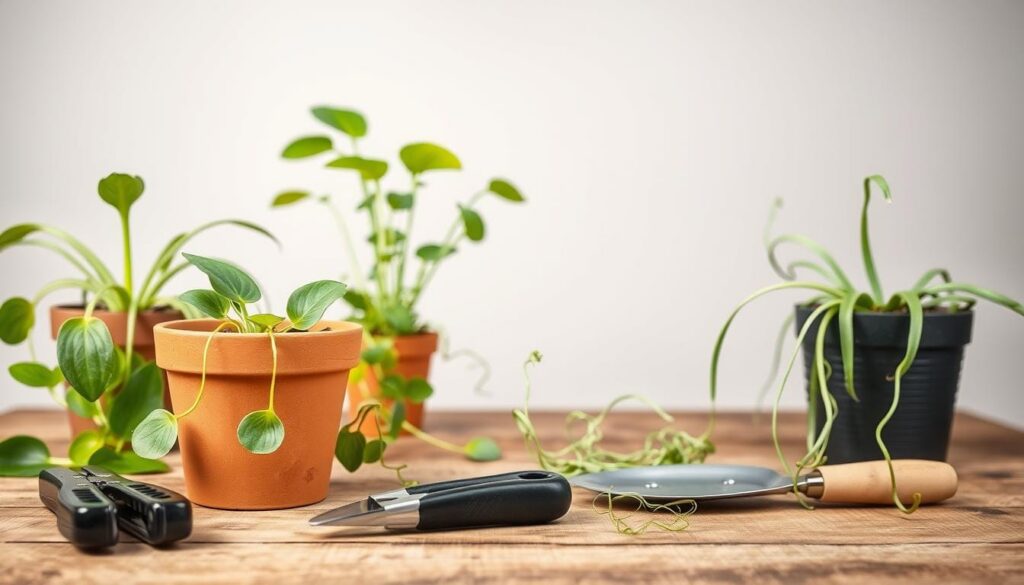
Choosing a healthy parent plant is essential. Look for plants with strong leaves and active growth. Stay away from plants with yellow leaves or weak stems. For more tips, check out Martha Stewart’s guide.
Tools and Materials Checklist
- Clean, sharp scissors or shears
- Small pots or containers
- Well-draining potting mix
- Rooting hormone (optional)
- Watering can and spray bottle
Choosing the Right Time and Environment
Spring and summer are the best times to propagate. Indoor plants can be done all year, but keep temperatures between 65–75°F. Make sure the new plant gets indirect light and good air flow.
Pre-Propagation Steps
- Moisten soil before planting to avoid transplant shock
- Trim dead leaves from parent plants before taking cuttings
- Prepare water containers if using the hydro method
Getting ready properly helps your new plants grow strong. By following these steps, you’ll have healthy plants with little effort.
Propagating via Offsets
Spider plant babies, or offsets, grow along runners from the mother plant. These small plants can be separated and grown on their own. Follow these steps for success.
Identifying Offsets
Look for spider plant babies hanging from long stems. Healthy offsets have green leaves and roots at their base. Choose those at least 3 inches long for best results.
- Check for firm leaves and no yellowing.
- Root nodules signal readiness to detach.
Removing Offsets
Clean scissors or shears prevent disease. Cut the stolon ½ inch below the offset. Handle gently to avoid root damage. Let the offset sit for 1-2 days to form a callus before planting.
Planting Offsets
Use a mix of potting soil and sand in a small pot. Bury the offset so its base sits just above soil level. Water lightly and place in bright, indirect light. Keep soil moist but not waterlogged. For soil tips, see cactus soil guidelines for drainage inspiration.
Wilting leaves? Increase humidity with a pebble tray. Slow root growth? Ensure soil isn’t too wet. Yellow leaves may mean too much direct sun—move to shadier spots.
Water Propagation Method
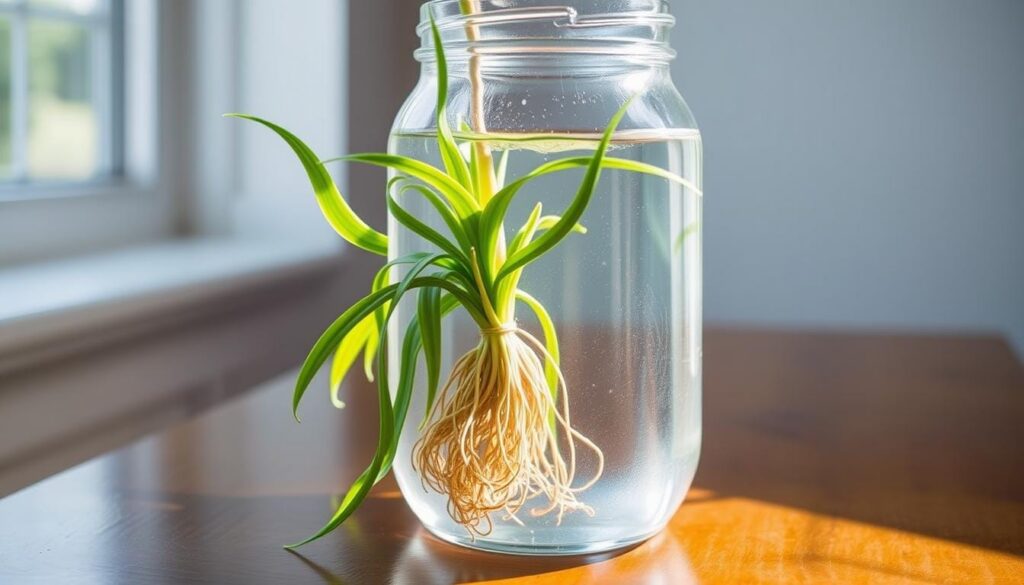
Water propagation is great for beginners because you can see the roots grow. To start, pick healthy offsets. Follow these steps for how to propagate spider plant in water.
Preparing the Water
Use filtered or distilled water to prevent chlorine damage. Pick a clear glass jar or vase. Make sure the offset’s base touches the water without covering the leaves. Clean your containers every week to stop algae.
Rooting Timeframe
- Roots appear within 7-14 days
- Strong roots develop in 3-4 weeks
- Look for white tendrils longer than 1 inch
Transplanting from Water to Soil
Move plants to soil when roots are 2-3 inches long. Use a mix of potting soil and sand in a small pot. Gently bury the roots, leaving the base exposed. Water well after planting.
Keep the soil moist daily until new leaves grow. Mist the roots lightly if they look dry in the first week.
Soil Propagation Technique
Soil propagation is a direct way to grow new spider plants. It skips the water-to-soil transition. This method focuses on creating the best conditions for roots to grow fast. Start by preparing the soil mix for healthy growth from the start.
Choosing the Right Soil Mix
For a good soil mix, combine:
- Peat moss for moisture retention
- Perlite to aerate the soil
- Vermiculite for balanced water absorption
Avoid heavy soils that can cause waterlogging. Mix the ingredients in equal parts for the best drainage.
Planting Depth and Spacing
Plant offsets in 4-inch pots. Cover the base but keep the crown at soil level. Bury roots gently without squishing the soil. Space multiple offsets 2-3 inches apart in group pots to let roots expand.
Watering After Planting
Water thoroughly after planting to settle the soil around the roots. But, never let pots sit in water. For ongoing care, water only when the top inch of soil dries out. For more tips, explore LivelyRoot’s guide on maintaining soil moisture levels.
Keep new plants out of direct sun and temperature swings until new leaves grow. Mist foliage weekly to keep humidity up, helping roots establish.
Caring for New Spider Plant Offsets
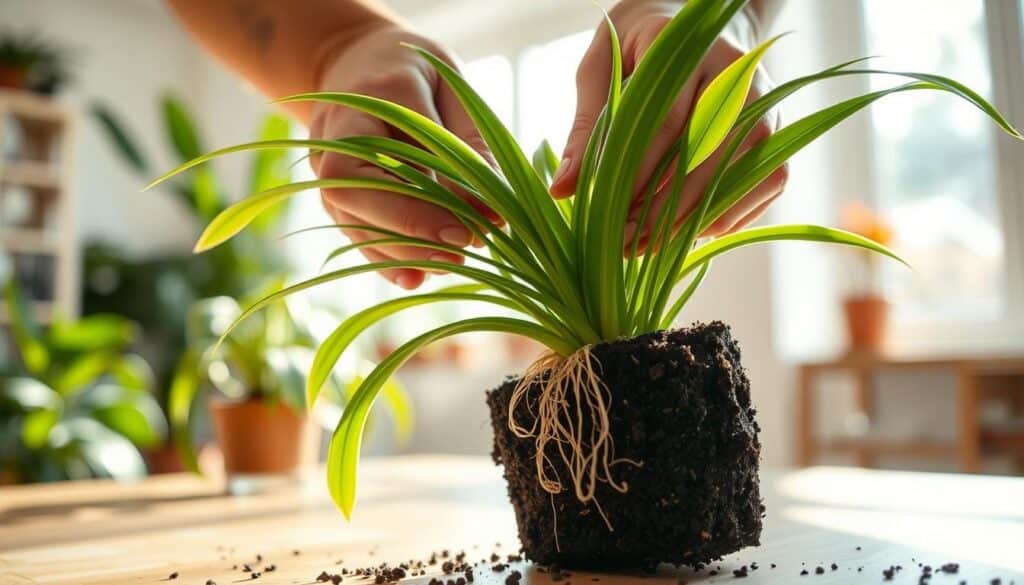
After propagating spider plants, it’s key to care for them right. New offsets need regular care to grow well. Here’s how to help them grow strong:
Light Requirements
- Put offsets in bright, indirect light. East-facing windows are perfect.
- Stay away from direct sunlight to prevent leaf burn.
- If they get too tall, move them closer to light.
Watering Schedule
- Check if the soil is dry by poking the top inch. Water only when it is.
- Water less in winter to avoid stressing young roots.
- Use water at room temperature to protect tender roots.
Fertilizing Young Plants
- Wait 2-3 months after propagation to start fertilizing.
- Use a balanced liquid fertilizer, but dilute it to half strength.
- Fertilize every month in spring and summer. Skip in fall and winter.
Watch for yellow leaves or wilting. These are signs of too much water or not enough nutrients. Fix these issues quickly to keep propagating spider plants thriving.
Common Mistakes to Avoid
Spider plant care needs careful attention to avoid problems. Many gardeners struggle with overwatering, poor lighting, or ignoring temperature needs. Here’s how to avoid these issues for healthy plants.
Overwatering Issues
Too much water is a big problem. Wait until the soil is 1–2 inches dry before watering. Make sure pots have drainage holes. If roots rot, cut off the bad parts and put the plant in new soil.
Poor Lighting Conditions
Not enough light makes plants grow weak and produce fewer babies. Too much sun can burn the leaves, leaving brown edges. Spider plants do best in bright, indirect light. Turn them every month to help them grow evenly. In winter, move them away from direct sunlight.
Neglecting Temperature Requirements
Spider plants like temperatures between 60–80°F (15–27°C). Avoid placing them near vents or heating/cooling units. Watch out for cold nights below 50°F (10°C), as they can slow growth. Keeping temperatures steady helps plants thrive.
“Consistency in care routines makes all the difference,” says the American Horticultural Society. “Preventive steps save time and plants.”
Troubleshooting Growth Problems
Even with proper care, issues may arise when growing new spider plant babies. Common problems include stunted growth, pests, and yellowing leaves. Here’s how to address each issue effectively.
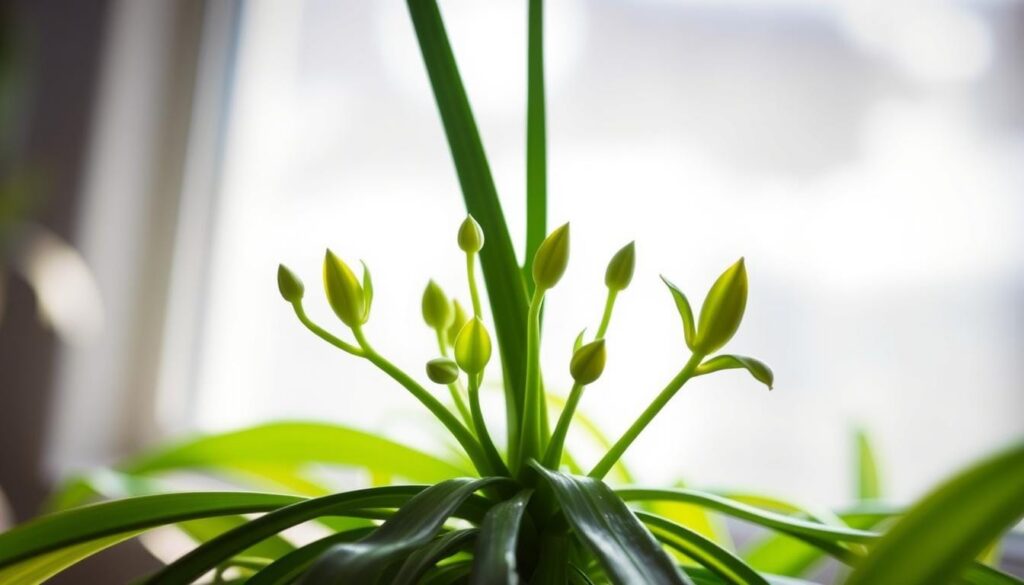
Identifying Stunted Growth
Slow or halted growth signals a problem. Check for these causes:
- Root-bound plants need repotting
- Poor soil nutrients
- Insufficient light or overwatering
Trim roots if crowded, add balanced fertilizer, and adjust watering/light exposure.
Addressing Pest Infestations
Spider mites, aphids, or mealybugs can weaken plants. Steps to take:
- Inspect leaves weekly
- Use insecticidal soap for small infestations
- Neem oil sprays for heavy outbreaks
Isolate infected plants to protect others. Wipe leaves with alcohol to remove pests manually.
Rectifying Yellowing Leaves
Yellow leaves often indicate stress. Troubleshoot with these steps:
- Overwatering? Let soil dry completely
- Underwatering? Increase watering frequency
- Check for chlorine in tap water—use filtered water if needed
Trim damaged leaves and adjust care routines promptly.
Maintaining healthy growing new spider plant babies requires quick action. Early detection prevents permanent damage. Monitor plants weekly and adjust care as needed.
Best Practices for Long-Term Care
To keep spider plants healthy, you need to care for them regularly. This care helps them live longer and grow more offsets. Keeping them well-maintained makes them strong and ready to produce new plants.
Regular Pruning and Maintenance
- Trim yellowing leaves at their base with clean scissors.
- Cut back overgrown stolons to redirect energy toward root development.
- Remove spent flowers immediately to prevent energy depletion.
Repotting Considerations
Here are signs your plant needs a new pot:
- Roots visible through pot drainage holes
- Reduced new leaf growth despite adequate watering
- Soil drying out within 1–2 days of watering
When repotting, choose a pot 2″ larger than the current one. Gently loosen the roots before moving them to fresh soil.
Seasonal Care Tips
| Season | Care Actions |
|---|---|
| Spring | Increase watering frequency, fertilize monthly |
| Summer | Provide indirect light, mist leaves weekly |
| Fall | Reduce fertilizer to every 6 weeks |
| Winter | Cut watering by 50%, avoid cold drafts |
Follow these spider plant propagation tips to keep your plants healthy. Regular care ensures they stay strong and can produce new offsets for future projects.
Creating a Spider Plant Collection
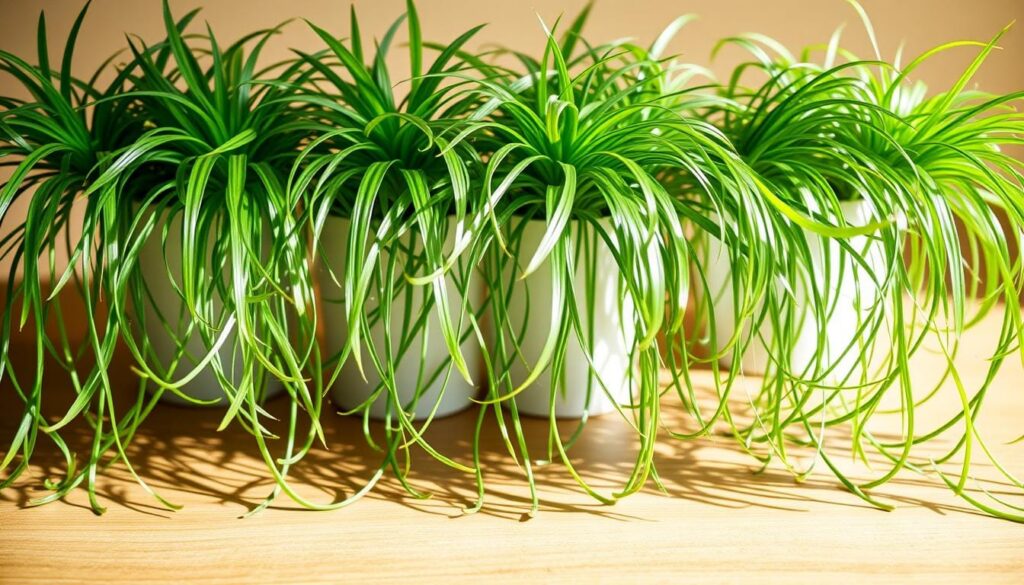
Starting a spider plant collection is like an art form. Pick varieties like Chlorophytum comosum ‘Vittatum’, ‘Variegatum’, or ‘Bonnie’ for a diverse collection. Each variety has its own look and needs a bit of different care. For instance, variegated plants need indirect light to keep their colors bright.
Selecting Varieties for Propagation
Rare variegated plants do best in humid places, while solid green ones can handle low light. Use guides like separating offsets to care for these special plants. Here are some varieties to consider:
- ‘Vittatum’: Classic striped leaves; easy to propagate from spider plant babies.
- ‘Variegatum’: Cream-edged leaves; avoid direct sun.
- ‘Bonnie’: Curly leaves; pairs well in hanging baskets.
Arranging Plants for Aesthetic Appeal
Group spider plants in containers like hanging pots or wall planters. Here’s a guide to help you design:
| Container Type | Best Use | Design Tip |
|---|---|---|
| Hanging baskets | Showcase cascading spider plant babies | Hang at eye level for best effect |
| Wall-mounted pots | Maximize vertical space | Use staggered heights for visual interest |
Tips for Grouping Plants
Grouping plants creates mini-ecosystems. Here are some tips:
- Place taller plants behind shorter ones to avoid shading.
- Keep 12-18 inches between pots for good airflow.
- Mix baby plants with mature ones for a layered look.
“Variety diversity adds texture and color to any indoor space.” – Indoor Gardening Experts
Watch your plants grow from babies to full size. This collection not only makes your home look great but also helps you learn about different care methods.
Eco-Friendly Ways to Propagate
Make propagation eco-friendly by using methods that cut down on waste. Focus on materials and techniques that are good for the planet. This approach also boosts the health of your plants.
Using Biodegradable Pots
Opt for pots made from natural materials to avoid plastic waste. Here are some good options:
- Coconut coir pots: They break down over time, so you don’t have to remove plants when transplanting.
- Compressed peat containers: They’re lightweight and can be composted after use.
- Seed-starting paper pots: They dissolve in soil, which means less root disturbance.
| Pot Type | Pros | Cons |
|---|---|---|
| Coconut Coir | Nutrient-rich, sturdy | Potentially slower decomposition |
| Peat | Inexpensive, widely available | May dry out quickly |
| Paper | Easy to make at home | Less durable than alternatives |
Composting Tips for Spent Soil
Compost spent soil to reuse it. Here’s how:
- Layer soil scraps with kitchen waste in a compost bin.
- Turn the pile weekly to aerate and speed decomposition.
- Use finished compost as nutrient-rich mulch for new spider plants.
Sustainable Gardening Practices
Adopt methods that use fewer resources:
- Collect rainwater in barrels for watering.
- Use neem oil or insecticidal soap for pest control.
- Repurpose items like egg cartons for seedling trays.
These steps save money and reduce environmental impact. They help your spider plants grow healthy in eco-friendly setups.
Conclusion: Your Journey in Spider Plant Propagation
Learning how to propagate spider plants is rewarding. You can use offsets, water, or soil. Each method has its own benefits, like quick results or watching roots grow.
Recap of Propagation Techniques
Offsets are the easiest to use. Just separate and plant them. Water propagation lets you see roots grow before transplanting. Soil propagation is a mix of both, needing moisture but less care.
All methods require clean cuts, well-draining soil, and patience.
Encouragement for New Gardeners
New gardeners might feel unsure, but spider plants are easy to care for. Mistakes like too much water can be fixed. Keep a journal to track your plants’ growth.
Join online forums or local plant groups for tips and help. Every mistake is a chance to learn and grow.
Final Thoughts on Spider Plant Care
Spider plants need bright indirect light and monthly water. Trim brown tips and repot every two years. This keeps them healthy.
If you’re interested in other succulents, check out how to propagate prickly pear cactus. Celebrate small wins, like seeing roots grow. With time, your garden will flourish, showing even beginners can grow beautiful plants.
