I’ve always loved plants and found peace in my indoor garden. The spider plant is a favorite of mine. Its leaves and new shoots remind me of life’s simple joys.
Today, I want to teach you how to repot a spider plant. It might seem hard, but it’s very rewarding. We’ll learn how to care for these plants so they grow well and make our homes greener.
Key Takeaways
- Understand the benefits of regularly repotting your spider plant
- Learn to identify the signs that it’s time to transplant your plant
- Discover the ideal soil mix and pot size for optimal growth
- Gain confidence in the repotting process, from root pruning to proper watering
- Discover how to provide the perfect post-repotting care for a thriving spider plant
Why It’s Important to Repot Spider Plants
Keeping a spider plant healthy and lively needs regular care. One key part is repotting. It’s vital for their growth and health. Knowing when and why to repot helps your spider plant stay vibrant for years.
Benefits of Repotting
Repotting your spider plant brings many advantages:
- Improved Nutrient Uptake: Plants use up soil nutrients as they grow. Fresh potting soil from repotting gives your spider plant the nutrients it needs to grow well.
- Enhanced Root Health: Spider plant roots can get cramped in their pots. Repotting lets the roots spread out, getting the oxygen and moisture they need for growth.
- Rejuvenated Appearance: A repotted spider plant looks fresh and vibrant. It becomes a beautiful addition to your home.
When to Consider Repotting
Knowing when to repot your spider plant is important. Repot every 12-18 months or when roots start coming out. Spring or early summer is best for repotting, as the plant is growing.
Understanding repotting’s benefits and timing helps your spider plant thrive. Regular transplanting houseplants and repotting indoor plants keeps your spider plant healthy and lively for years.
Identifying the Right Time to Repot
Knowing when your spider plant needs a new home is key for its health and growth. Paying attention to signs of a potbound plant helps. This way, your spider plant can keep thriving for many years.
Signs Your Spider Plant Needs Repotting
One clear sign is when roots start coming out of the drainage holes or soil surface. This means the plant has outgrown its pot. Also, if growth slows or leaves turn yellow, it’s time for a new pot.
Seasonal Considerations
- The best time to repot is in spring or early summer, when the plant is growing fast.
- Don’t repot in winter, as it can stress the plant and slow growth or even put it into dormancy.
- If your spider plant needs a new pot, act quickly, even if it’s not the best season. Your plant’s health is most important.
Watching for signs of potbound plants and considering the season helps. This ensures your spider plant care meets its needs. With the right timing and care, your spider plant will flourish and stay vibrant for years.
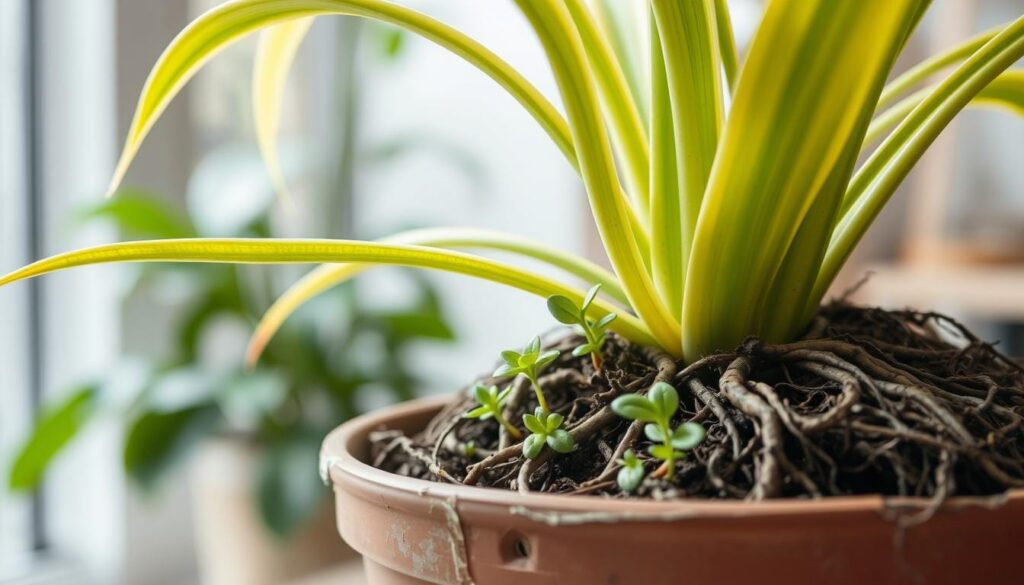
Choosing the Perfect Pot for Your Spider Plant
Choosing the right pot for your spider plant is key to its health and growth. The size and material of the pot matter a lot. A good pot size helps your spider plant thrive.
Recommended Sizes and Materials
Spider plants do well in pots that are 4-6 inches (10-15 cm) wide. This size lets the roots grow without getting too crowded. For materials, clay or terracotta pots are great because they breathe and drain well.
Plastic pots can work too, but they don’t breathe as much as clay or terracotta.
Drainage Considerations
- Make sure your pot has holes at the bottom to avoid waterlogging. This prevents root rot and other problems for your spider plant.
- Adding gravel or small stones at the bottom helps with drainage and air flow for the roots.
- When repotting indoor plants, pick a pot with holes to keep the right moisture for your spider plant.
By picking the right pot size and material, and focusing on drainage, you’ll give your spider plant a great home. It will help it grow and stay healthy.
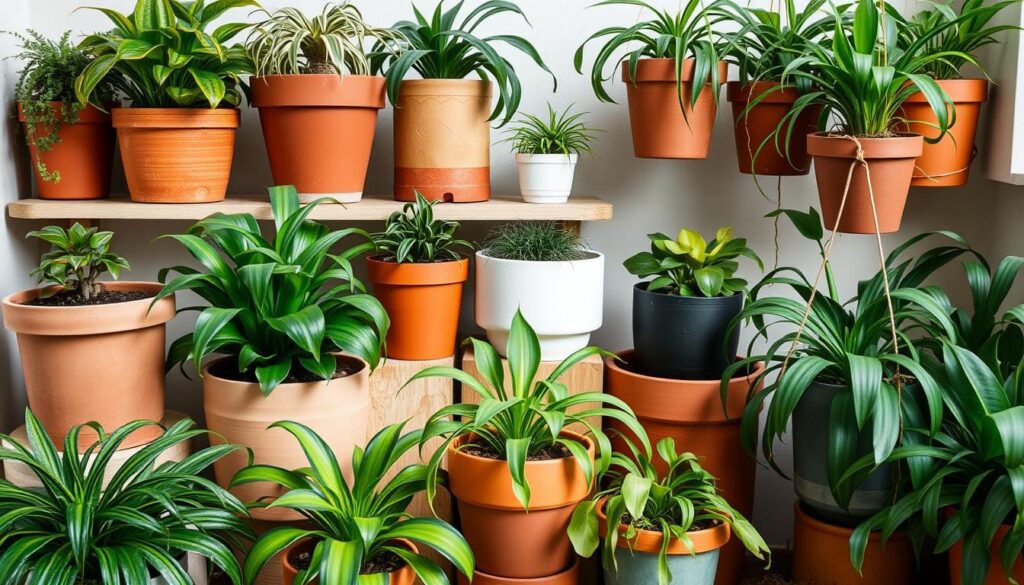
Selecting the Best Soil Mix for Spider Plants
Choosing the right soil mix is key for your spider plant’s health and growth. The best mix should be well-draining, rich in nutrients, and hold moisture well. Organic or synthetic options can greatly impact your plant’s growth.
Ideal Soil Composition
The perfect mix for spider plants is well-draining, nutrient-rich, and holds moisture. Here’s what you need:
- Peat moss or coconut coir to keep moisture and improve drainage
- Vermiculite or perlite for better aeration and drainage
- Compost or aged bark for essential nutrients
- A bit of sand or crushed granite for better soil structure
The mix should have a slightly acidic pH, between 6.0 and 6.5. This is where spider plants do best.
Organic vs. Synthetic Options
You can choose between organic and synthetic soil mixes for your spider plant. Organic potting mixes use natural materials like peat moss, compost, and bark. They’re eco-friendly and sustainable. Synthetic potting mixes blend peat moss, perlite, and fertilizers for a controlled nutrient profile.
Both organic and synthetic mixes can be good for spider plant care. Your choice depends on your preferences and your plant’s needs. Organic mixes offer a natural, slow-release nutrient profile. Synthetic mixes give more control over the soil’s composition.
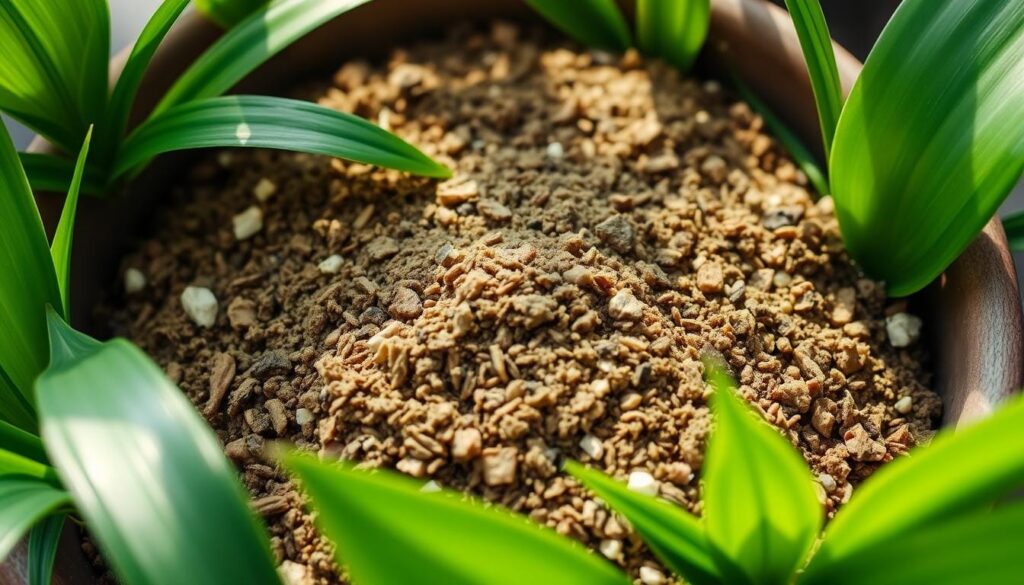
It’s important to pick a mix that drains well and balances nutrients, moisture, and aeration. This ensures your spider plant thrives.
Preparing Your Workspace for Repotting
Starting the journey of how to repot a spider plant needs careful planning. Setting up a neat and efficient workspace is key for a smooth repotting. We’ll look at the tools and supplies you need and why cleaning and organizing your area is important before you start.
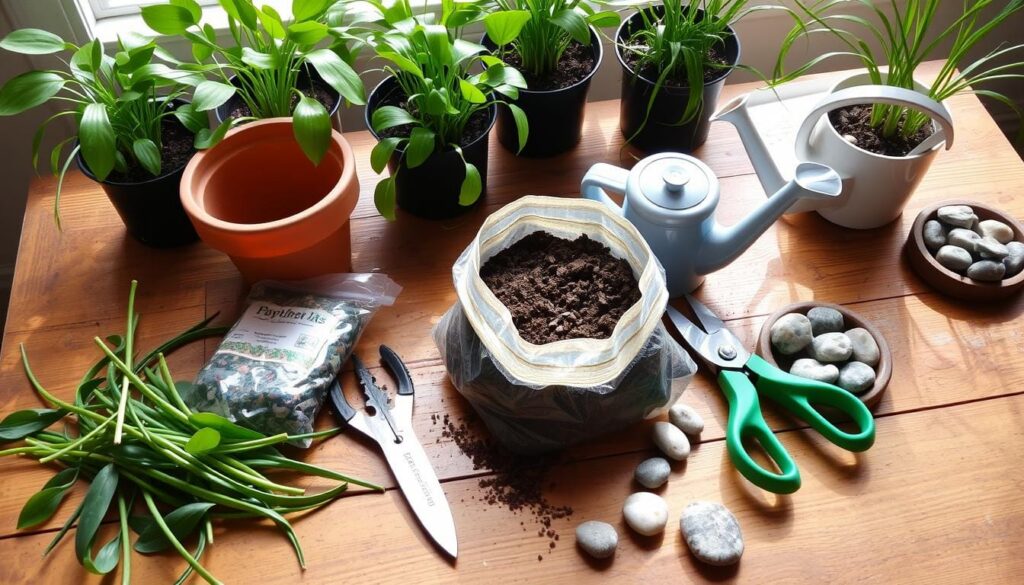
Essential Tools and Supplies
To transplant houseplants like spider plants well, you’ll need a few things:
- A new pot or container, sized right for your spider plant’s needs
- Fresh, high-quality potting soil made for houseplants
- A trowel or small shovel for gently taking the plant out of its pot
- Pruning shears or scissors for trimming the roots, if needed
- A clean, flat surface to work on, like a table or sturdy work bench
- A clean cloth or paper towels to wipe down the work area
- Gloves to protect your hands (optional, but a good idea)
Cleaning and Organizing
Before starting the repotting, clean and organize your workspace. Wipe down the surface you’ll use, making sure it’s free of dirt, debris, or contaminants. This creates a clean, safe space for your spider plant’s transplant.
Also, put all your tools and supplies in one place. This way, you can easily find them as you work. Preparing your workspace helps you focus on the task and avoid problems.
Removing Your Spider Plant from Its Current Pot
Removing your spider plant from its pot is a key step in repotting. It’s important to do this carefully to avoid damaging the roots. We’ll show you how to safely remove the plant and check the roots for any problems.
Techniques for Safe Removal
Start by watering the soil a day or two before you plan to remove the plant. This makes the soil easier to work with. When you’re ready, gently tip the pot and slide the plant out, supporting it with your hand.
Avoid pulling the plant by the leaves. This can harm the delicate leaves.
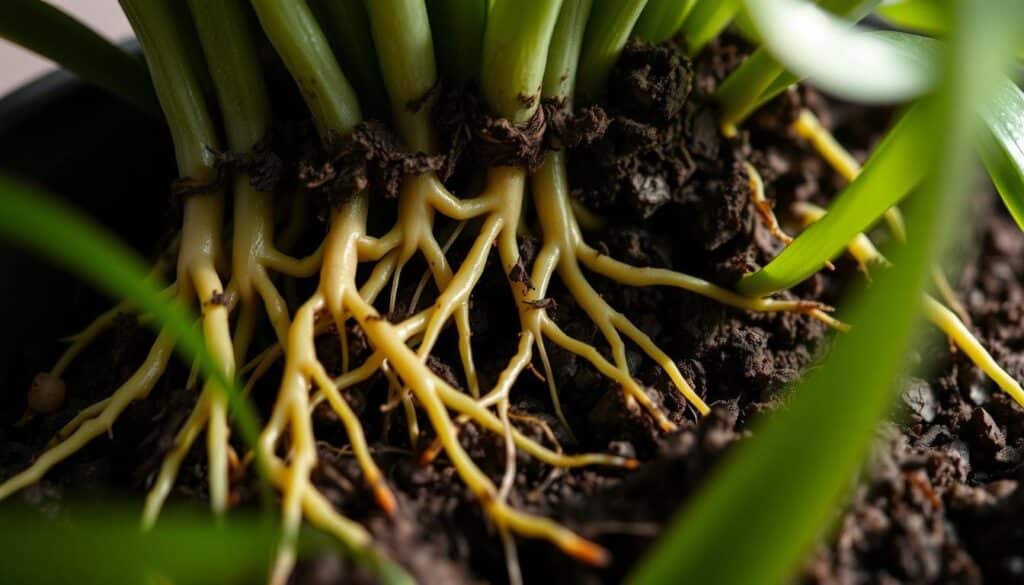
Inspecting the Root System
- After removing the plant, examine the roots closely. Healthy root-bound plants have a dense, intertwined root system.
- Look for any damaged roots, like discoloration or rot. These may need trimming before repotting.
- Overcrowded or circular roots mean it’s time to repot your indoor plants.
By carefully removing and inspecting your spider plant, you can spot any issues. This prepares the plant for a successful repotting.
Trimming and Pruning the Roots
Proper root care is key when repotting your spider plant. Trimming and pruning the roots help the plant thrive in its new home. They also promote better growth and health. Let’s explore how to identify healthy roots and prune them safely.
Identifying Healthy Roots
Checking your spider plant’s root system is the first step. Healthy roots are firm, white or pale, and free of discoloration or rot. Unhealthy roots may be brown, mushy, or smell bad.
It’s vital to inspect the entire root ball. This ensures a strong, vibrant foundation for your plant’s growth.
How to Prune Without Damage
- Start by gently loosening the root ball, being careful not to pull or tear the roots.
- Using a clean, sharp pair of scissors or pruning shears, carefully snip off any damaged, dead, or excessively long roots. Avoid cutting more than a third of the total root mass.
- When pruning, make clean, angled cuts to encourage new root growth and prevent any further damage.
- Discard the trimmed roots, as they can harbor pests or disease that could harm your plant.
By following these steps, you can ensure your spider plant’s roots are ready for repotting. A healthy root system is crucial for a thriving spider plant. It will continue to beautify your home for years.
Adding Soil to the New Pot
When you repot your spider plant, adding soil correctly is key. Use the right layering and ensure good drainage. This helps your plant grow well.
Layering Techniques
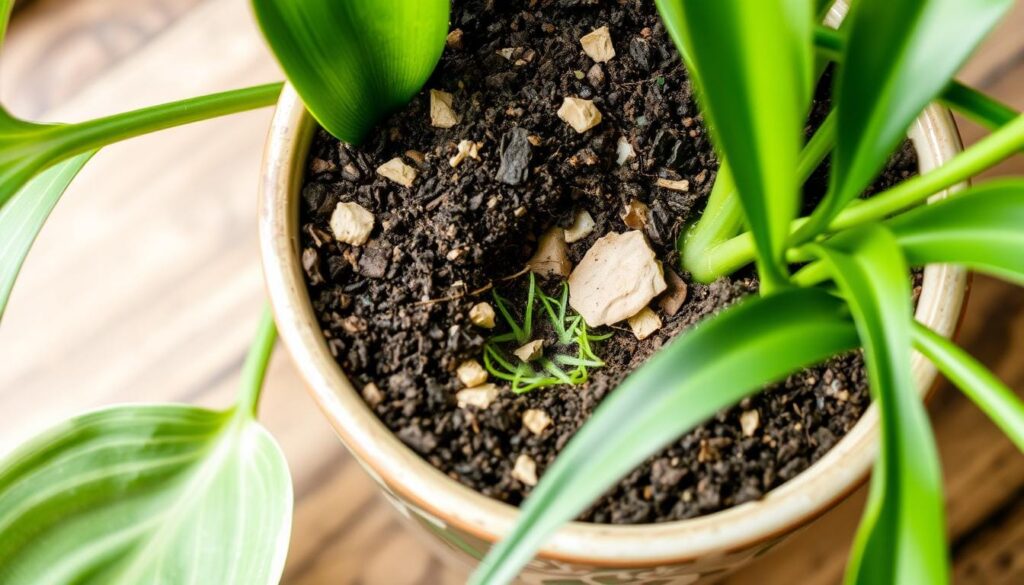
Begin by adding a layer of potting mix for spider plants at the bottom of the new pot. This gives your plant a strong base. Then, put your spider plant in the pot’s center, making sure it’s straight.
Fill the space around the plant with more potting mix. Be careful not to press the soil too hard.
- Choose a high-quality, well-draining potting mix for spider plants for the best growth.
- Don’t pack the soil too tightly, as it can harm your plant’s roots.
- Leave a small gap between the soil and the pot’s rim for easy watering.
Ensuring Proper Drainage
Good drainage is vital for your spider plant’s health. Make sure the new pot has enough drainage holes at the bottom. This lets excess water out, preventing root rot.
- Check the pot for enough drainage holes, usually at least one big hole in the center.
- Adding a layer of pebbles or gravel at the bottom can help with drainage.
- Keep an eye on the soil moisture after repotting to avoid overwatering.
By using these layering techniques and ensuring proper drainage, you’re setting your spider plant up for success. With the right soil and pot, your plant will flourish.
Placing Your Spider Plant in the New Pot
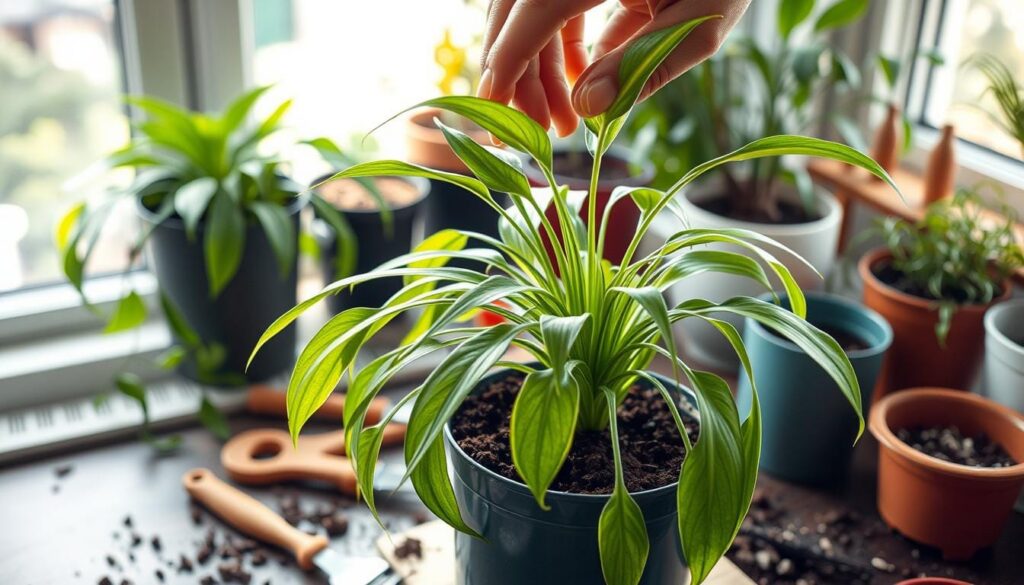
Putting your spider plant in its new home is key for its health. We’ll show you how to make sure it’s centered and the soil is even. This helps your plant grow strong and healthy.
Centering the Plant
Start by slowly putting your spider plant in the middle of the new pot. Be gentle to avoid hurting the roots. Place it so it’s right in the middle and even with the pot’s edges.
This makes your plant look good and helps it grow evenly. It also makes sure it gets nutrients all around.
Leveling the Soil
- After placing the plant, press the soil around it gently to make it even.
- Don’t pack the soil too hard. This can stop water and air from getting to the roots, which is bad for repotting indoor plants and spider plant care.
- Make sure the soil is a bit below the pot’s edge. This leaves room for water and prevents the soil from spilling over.
By centering your spider plant and leveling the soil, you’re helping it grow well in its new spot. It will focus on getting bigger and stronger.
Watering After Repotting
Proper watering is key for your spider plant’s health after repotting. It’s a careful process to keep your plant thriving and avoid problems.
Initial Watering Guidelines
Start with a light touch when watering your repotted spider plant. Water just enough to moisten the soil without making it too wet. Overwatering can cause root rot and other issues.
In the first week, water your spider plant every 2-3 days. Check the soil’s moisture by feeling the top inch. If it’s dry, it’s time to water. Water slowly and evenly, letting the soil soak up the water before adding more.
Signs of Overwatering
Watch out for signs of overwatering in your spider plant. Yellow or wilted leaves and a mushy root system are warning signs. If you see these, cut back on watering and let the soil dry a bit before watering again.
Keeping the right water balance is crucial for your spider plant’s health. By following these tips and watching your plant’s needs, you’ll help it settle well into its new home.
Providing Proper Light Conditions Post-Repotting
After repotting your spider plant, it’s key to give it the right light. This helps it stay healthy and adjust well to its new home. Make sure it gets the perfect amount of light to thrive.
Ideal Light Levels
Spider plants love bright, indirect sunlight. Put your repotted plant in a spot with filtered light all day. Don’t let it get direct sunlight, as it can burn the leaves.
Look for a place with 4-6 hours of bright, indirect light each day. This is just right for your plant.
Monitoring for Sunburn
Watch your spider plant closely after repotting. Check for sunburn signs like wilting, color change, or dry leaves. If you see these, move it to a less sunny spot.
Adjust the light as needed to keep your plant happy. This way, your spider plant will do well in its new pot. With the right care, it will grow strong and add beauty to your home.
Ongoing Care After Repotting
After repotting your spider plant, it needs the right care to thrive. Use good fertilizing methods and adjust your watering to help it grow. This care is key during the plant’s recovery.
Fertilizing Strategies
It’s vital to fertilize your spider plant often. Use a balanced, water-soluble fertilizer made for houseplants. Dilute it to half strength and apply every two to three weeks from spring to fall.
Don’t overdo it with the fertilizer. Too much can harm your plant. Instead, give it a steady dose of nutrients for healthy growth and bright leaves.
Adjusting Watering Routines
- Keep a close eye on your spider plant’s soil moisture after repotting. It might need less water as it settles.
- Water only when the top inch of soil feels dry. Let the soil dry a bit between waterings.
- Change your watering schedule as needed. Consider temperature and humidity, which can affect how much water your plant needs.
By balancing fertilizing and watering, your spider plant will flourish after repotting. It will grow strong and healthy.
| Fertilizer Type | Application Frequency | Dilution Rate |
|---|---|---|
| Balanced, water-soluble houseplant fertilizer | Every 2-3 weeks during growing season | Half the recommended strength |
Common Mistakes to Avoid When Repotting
Repotting your spider plant can make it grow better and stay healthy longer. But, there are common mistakes to watch out for. We’ll talk about avoiding overpotting, underpotting, and ignoring root damage.
Overpotting vs. Underpotting
Choosing the wrong pot size is a common mistake. Overpotting means using a pot too big for your plant. This can cause waterlogging, slow growth, and fungal infections. On the other hand, underpotting means using a pot too small. It can lead to root constriction, nutrient deficiencies, and a stressed plant.
When picking a new pot for your spider plant, aim for a size that’s just a bit bigger. Look for one that’s 2-3 inches larger than the current one. This size allows your plant’s roots to grow without getting too wet or crowded.
Ignoring Root Damage
Another mistake is not checking for root damage before repotting. Look for signs of rot, disease, or compaction in the roots. Cutting out damaged roots helps your plant grow new, healthy ones. It also stops infections or pests from spreading.
By carefully checking and preparing the roots, you help your spider plant adjust smoothly. This reduces stress and ensures your plant stays healthy and strong for a long time.
Troubleshooting Problems After Repotting
Repotting your spider plant is key, but it can cause unexpected issues. As plant owners, we must be ready to solve any problems after repotting. Knowing the signs of stress and how to fix them helps our spider plants do well in their new spot.
Identifying Symptoms of Stress
After repotting, your spider plant might show signs of stress, like:
- Wilting or drooping leaves
- Yellowing or browning of foliage
- Stunted growth or lack of new leaf production
- Root rot or fungal infections
These signs mean your spider plant is adjusting and might need extra care.
Corrective Measures
If you see these issues, don’t worry. There are steps to help your spider plant recover:
- Adjust Watering Routines: Make sure you’re not over or underwatering. Keep a regular watering schedule and check the soil moisture often.
- Provide Appropriate Lighting: Spider plants like bright, indirect light. Place your plant in a spot with the right sunlight. Avoid direct sunlight, which can stress it more.
- Fertilize Carefully: Use a balanced, diluted fertilizer to help your plant regain strength and grow well.
- Prune Damaged Foliage: Gently remove yellowing, browning, or damaged leaves. This encourages new growth and improves the plant’s look.
- Monitor for Pests and Diseases: Check your spider plant often for pests or fungal infections. Act quickly if you find any.
With patience and the right care, your spider plant will get over repotting stress and keep thriving.
| Common Post-Repotting Issues | Possible Causes | Corrective Measures |
|---|---|---|
| Wilting or Drooping Leaves | Underwatering, transplant shock | Adjust watering, provide bright, indirect light |
| Yellowing or Browning Foliage | Overwatering, root rot, nutrient deficiency | Check soil moisture, apply balanced fertilizer |
| Stunted Growth | Insufficient light, root damage | Relocate plant to brighter spot, prune damaged roots |
| Fungal Infections | Excess moisture, poor air circulation | Improve drainage, increase air flow around plant |
By watching closely and taking the right steps, you can help your spider plant overcome repotting challenges. With proper care, your spider plant will keep growing and bring you joy for years.
Conclusion: Enjoying a Thriving Spider Plant
With the right techniques, your spider plant is set to thrive. As it settles in, get ready for exciting growth and changes. Soon, you’ll see new offshoots, or “pups,” that can be used to grow more plants.
Anticipating Future Growth
Spider plants grow well and fast. Watch as your plant grows new leaves and produces spider-like plantlets. These can be removed and replanted, sharing the joy of growing spider plants with others.
Sharing Our Success Stories
As your spider plant thrives, share your success with others. Post photos, share tips, and connect with gardening fans online or in local groups. This way, we can all learn and grow together, enjoying these amazing houseplants.

