Ever looked at your aloe vera and thought it seemed less lively? Maybe it’s time to repot it. Our guide will show you how to repot your aloe, helping it grow strong and healthy.
Aloe vera plants are more than just pretty faces. They’re full of healing powers and can thrive with the right care. Learning how to repot them can turn a weak plant into a strong, healthy one, adding beauty and benefits to your home.
Key Takeaways
- Repotting is key for aloe vera plant health
- Choose the right pot size and drainage for optimal growth
- Timing is important – best done in spring or early autumn
- Use specialized succulent potting mix for best results
- Handle roots gently to minimize transplant shock
- Wait a few days after repotting before watering
- Monitor plant health after transplanting
Why We Need to Repot Our Aloe Vera Plants
Caring for aloe vera plants means knowing their growth habits and needs. Repotting is key to keeping them healthy and thriving. Our plants tell us when they need a new home through signs we can spot.
Recognizing the Signs Aloe Needs Repotting
Knowing when to repot your aloe vera is important. It helps avoid stress and promotes growth. Here are the main signs your aloe vera needs a new pot:
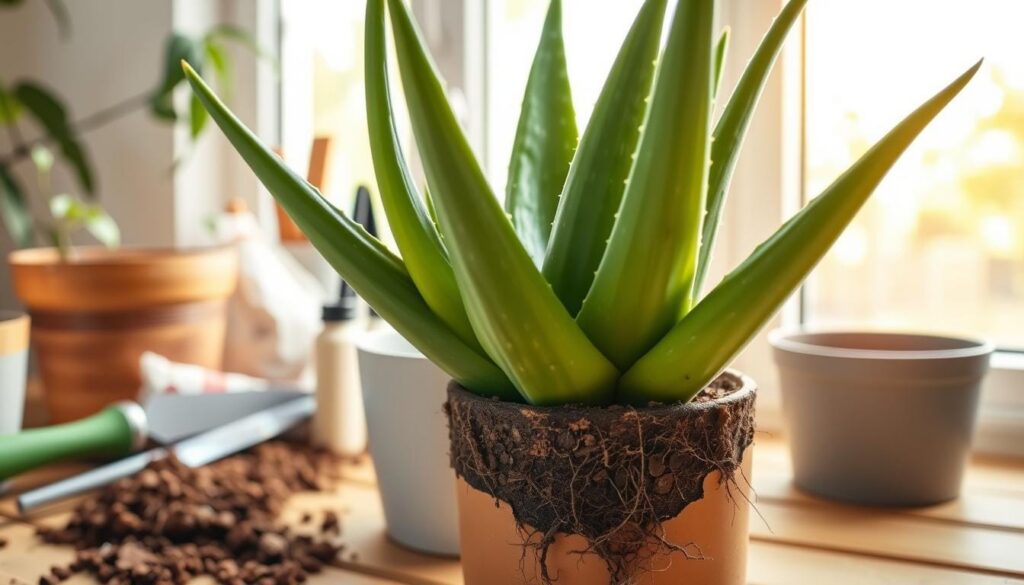
- Roots emerging from drainage holes
- Stunted leaf growth or wilting leaves
- Plant becoming top-heavy or leggy
- Visible overcrowding with multiple pups
Benefits of Repotting Aloe Vera
Repotting your aloe vera has many benefits. It gives your plant fresh nutrients and prevents it from becoming root-bound. It also helps with root growth.
| Repotting Benefit | Impact on Plant Health |
|---|---|
| Fresh Nutrients | Revitalizes soil composition |
| Root Space | Prevents root constriction |
| Growth Promotion | Encourages healthy leaf development |
Our aloe vera plants usually need repotting every 2 to 5 years. This depends on their growth and the environment. By watching for these signs and knowing the benefits, we can keep our aloe plants healthy and productive.
Choosing the Right Pot for Our Aloe
Choosing the perfect pot is key when replanting aloe vera. The right container helps your plant grow well and thrive. Knowing about aloe pot size and drainage is important for your plant’s health.
Ideal Pot Dimensions for Aloe Vera
Here are some important tips for aloe pot size:
- Choose a pot 5-10% wider than the current plant size
- Select containers 2-3 inches larger in diameter than the existing pot
- Ensure the new pot allows room for root expansion
Best Materials for Aloe Vera Containers
The material of the pot is very important. Porous materials like terracotta and ceramic are best. They:
- Promote excellent air circulation
- Allow moisture to evaporate naturally
- Prevent water from becoming stagnant
Drainage Considerations
Drainage is critical for aloe plants. Look for pots with multiple drainage holes to prevent root rot. A good pot keeps your plant safe from too much water and helps it grow well.
Pro tip: Always check the bottom of the pot for adequate drainage before planting!
Selecting the Best Soil for Aloe Vera
Choosing the right aloe potting mix is key for aloe plant care. Our aloe vera’s health depends on the soil we give it. It’s vital to know what these succulents need.
The best soil for aloe vera needs good drainage and air. Choosing the right soil prevents root and helps plants grow strong.
Characteristics of Ideal Soil
- Well-draining composition
- pH level between 5.5 and 7.5
- Lightweight and porous structure
- Minimal water retention
Recommended Soil Mixes
We suggest making a custom aloe potting mix with these ingredients:
- 1 part coarse sand
- 1 part perlite
- 1 part potting soil or cactus mix
Commercial mixes for succulents and cacti are great for aloe vera. They offer the right mix of drainage and nutrients for healthy plants.
Tools and Supplies We Need
Getting ready for aloe repotting needs careful planning and the right tools. Having the right equipment makes the process smooth. It also ensures our succulent stays healthy. Let’s look at the essential items for successful aloe repotting.
Essential Tools for Repotting Aloe
To repot aloe, we need the right tools. Here are the key items we’ll need:
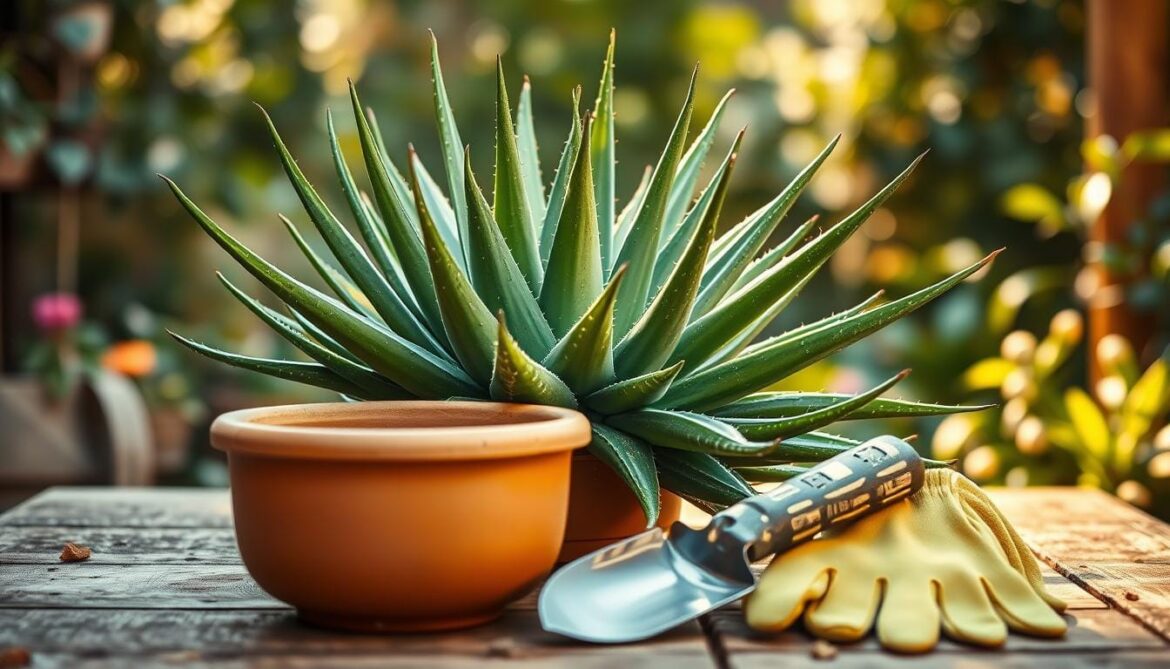
- Protective garden gloves to shield our hands from aloe’s sharp spines
- A clean, sharp hand trowel for precise digging and transplanting
- A sterile pruning knife for trimming roots or removing pups
- Appropriately sized ceramic or terracotta pots with drainage holes
Additional Supplies to Consider
To make our aloe repotting tips even more effective, we can enhance our process with these supplementary items:
- High-quality succulent or cactus potting mix
- Perlite or coarse sand for improved drainage
- Wooden plant supports for taller aloe varieties
- Newspaper or drop cloth to protect work surfaces
By carefully selecting our tools and supplies, we set ourselves up for a successful aloe repotting experience. Remember, the right equipment makes the process easier. It also helps protect our plant’s health during transplantation.
Preparing Our Aloe Vera for Repotting
Starting with good aloe plant care means preparing well before replanting. Getting your plant ready for its new home is key. It helps avoid stress and encourages growth.
- Water the plant 24-48 hours before repotting
- Gather necessary tools for gentle removal
- Prepare a clean work area
Gently Removing the Plant
Removing an aloe vera from its pot needs care. Here’s how to do it right:
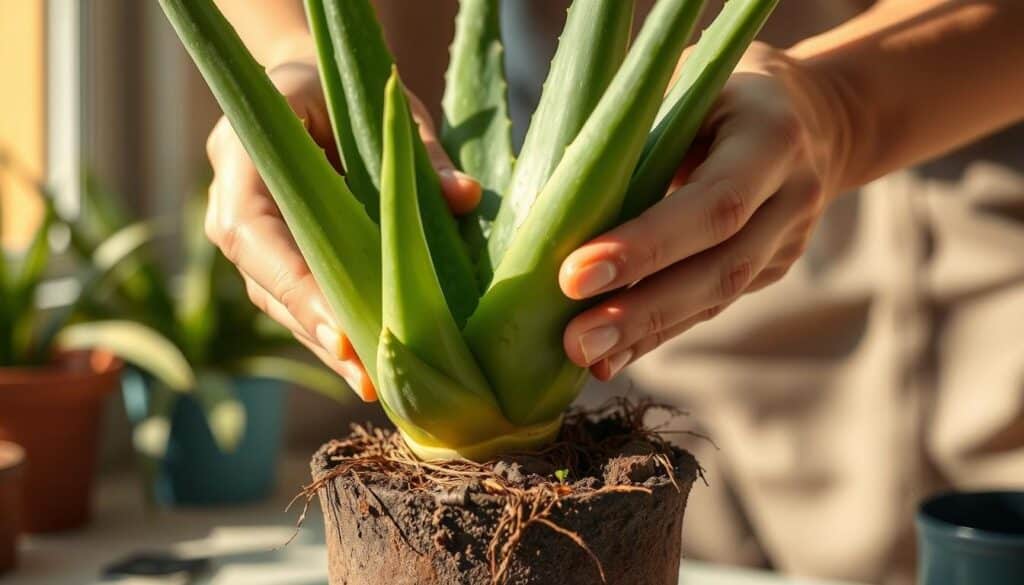
- Press softly on the sides of the pot to loosen the rootball
- Run a clean knife around the pot’s interior edge
- Tilt the pot and support the plant’s base while removing
“Patience is key when extracting your aloe vera plant – rushing can cause root damage.”
Inspecting the Roots
Checking the roots is vital in aloe plant care. Look for these signs:
- Healthy roots should be firm and white or light tan
- Remove any dark, mushy, or rotted roots
- Check for signs of pest damage or disease
By following these steps, we ensure a smooth transition for our plant. This way, it stays healthy.
Step-by-Step Guide to Repotting Aloe
Repotting aloe vera might seem scary, but our guide will make it easy. You’ll learn how to move your plant to a new spot. It’s all about being patient and paying close attention.

First, get all the things you need. You want to make a cozy new place for your aloe to grow well.
Transferring Aloe to the New Pot
Here’s what to do when repotting aloe:
- Choose a pot that’s 5-10% bigger than your current one
- Make sure the pot has holes for water to drain
- Put small stones at the bottom for better drainage
- Fill the pot with soil up to one-third
- Carefully take the aloe out of its old pot
How to Plant and Water
Now, let’s talk about how to plant and water:
- Put the aloe in the middle of the new pot
- Make sure the roots are a bit above the pot’s edge
- Fill the sides with soil, breaking up any clumps
- Leave about one inch of space at the top
Wait 24 hours before you water. When you do, water gently all over. Aloe vera likes dry air, so don’t overwater.
Post-Repotting Care for Aloe Vera
After repotting your aloe vera, it’s key to care for it right. This ensures it grows well in its new home. Aloe plant care needs patience and focus on the details during recovery.
Adjusting Watering Habits
Watering is vital after repotting. Wait 5-7 days before watering again. This lets the soil settle and any root issues heal.
- Wait 5-7 days before first watering
- Check soil moisture by touching the top 1-2 inches
- Water only when the top layer is completely dry
- Reduce watering frequency during colder months
Optimal Lighting Conditions
Aloe vera plants prefer bright, indirect sunlight. After repotting, keep it in its usual spot. If moving it, do it slowly to avoid stress.
- Maintain bright, indirect sunlight
- Avoid direct sunlight to prevent leaf damage
- Watch for signs of stress or leaf discoloration
- Rotate the plant periodically for even light exposure
Common Mistakes to Avoid
Aloe plant care is all about attention, mainly when repotting. We’ve gathered key tips to steer clear of common mistakes. These can hurt your aloe’s health and growth.

Knowing what not to do is key to successful aloe repotting. Our tips will help you dodge errors that could harm your succulent.
Overwatering Dangers After Repotting
Overwatering is the biggest risk for succulents. Many think their aloe needs lots of water after repotting. But this can cause big problems:
- Root rot development
- Mushy brown/gray roots
- Leaf swelling and possible collapse
- Less plant vitality
Selecting the Right Container
The wrong pot can harm your aloe. Our care tips stress the need for the right container:
- Choose a pot only one size larger than the current one
- Make sure it has multiple drainage holes
- Avoid big pots that hold too much water
- Use pots that don’t let water collect
By knowing these key points, we can keep our aloe plants safe. This ensures their health and growth for a long time.
When to Consider Professional Help
Most aloe plant care can be done at home. But, there are times when you need a pro. Issues like health problems, strange growth, or trouble with aloe propagation mean it’s time to get help. Our journey with succulents isn’t always easy.
Experts at garden centers or botanical places can help when your aloe looks sick. Repotting problems like root rot, pests, or weird leaf colors need a pro’s eye. Look for local experts in succulent care who can fix your aloe’s issues.
Signs We Should Seek Expert Advice
Signs you need a pro include slow growth, yellow leaves, or weird roots. If your aloe doesn’t grow after trying to repot it, or if it looks like it’s missing nutrients, get help. A botanical expert can save your plant and teach you new ways to grow aloes.
Finding Qualified Garden Centers or Botanists
Look for local botanical gardens, nurseries, or succulent care places that offer advice. University extension programs have experts who know a lot about aloe care. You can also talk to certified botanists online for help with tough plant problems.

