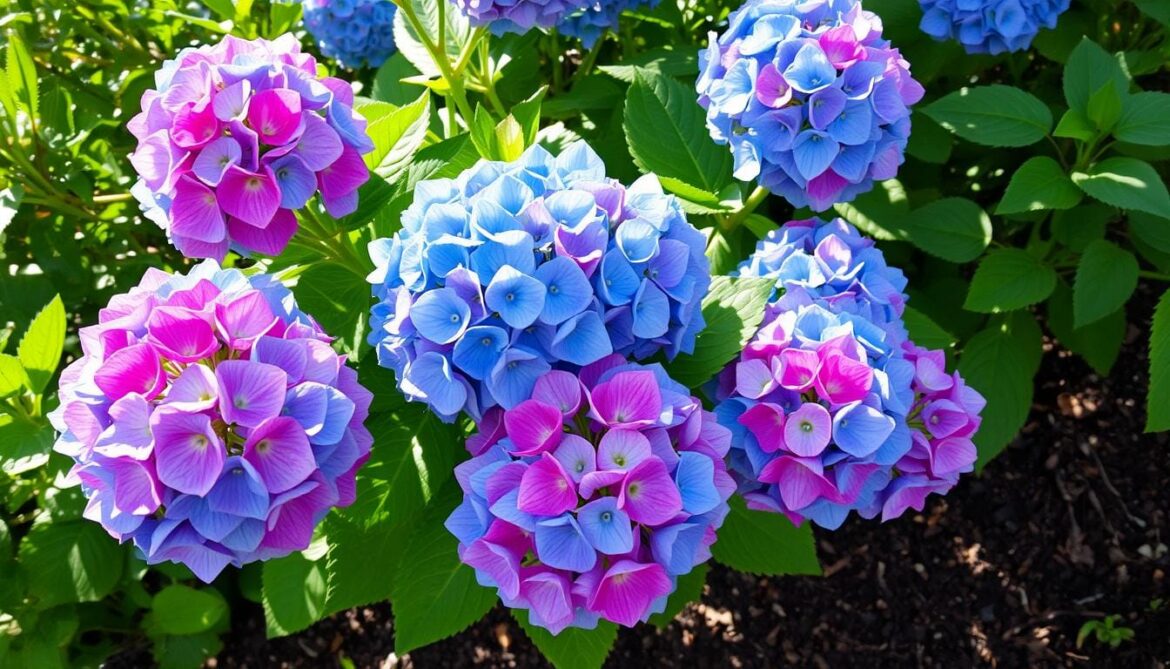
As summer sun shines on our hydrangea blooms, we often want to share these plants. Splitting hydrangeas is a great way to grow your garden and share beauty with loved ones. By dividing one plant, you can get new hydrangeas to brighten your outdoor space. let learn how to split hydrangea plants.
Hydrangeas bring color and interest to any garden with little effort. They love partial shade and moist soil, making them easy to grow. Whether you’re new to gardening or have years of experience, splitting hydrangeas is a fulfilling task.
Key Takeaways: how to split hydrangea plants
- Splitting hydrangeas is an economical way to expand your garden and share these beautiful plants with others.
- Hydrangeas are low-maintenance, thriving in partial shade and moist soil, making them a versatile choice for many gardens.
- The process of dividing hydrangeas can be a deeply rewarding and satisfying gardening experience.
- With the right techniques and care, you can successfully split hydrangea plants and enjoy their stunning blooms for years to come.
- By following a few simple steps, you can ensure the healthy growth and long-term success of your divided hydrangeas.
Understanding Hydrangea Varieties
As gardeners, we have many hydrangea varieties to choose from. Each has its own look and growth pattern. From mophead and lacecap to climbing and oak-leaved hydrangeas, there’s a hydrangea for every garden.
Types of Hydrangeas We Can Split
Many popular hydrangeas can be split to make more plants. Big-leaf, oakleaf, and smooth hydrangeas are great for dividing. But, panicle and climbing hydrangeas are harder to split.
Ideal Growth Conditions
Hydrangeas love moist, well-draining soil and partial shade. They grow well in different soils, including acidic and alkaline ones. The soil’s pH can change the flower color of some hydrangeas, making them interesting in any garden.
Signs Our Hydrangea Needs Splitting
When hydrangeas get too crowded or weak, it’s time to split them. Splitting them helps them grow better and bloom more. By watching our hydrangeas, we can know when to divide them and keep them healthy for years.
Best Time for Splitting Hydrangeas
The best time to split hydrangeas is in early spring. This is when new buds start to swell and open. It’s also good to split them in mid-to-late fall.
Seasonal Considerations
Don’t split hydrangeas in hot or dry weather. This can stress them out. Spring and fall are better because the weather is cooler and more stable.
Climate Impact on Splitting
The best climate for splitting hydrangeas is mild and moist. Places with harsh winters or dry spells might need to adjust their timing. Watch your plants closely in unpredictable weather and split when they’re actively growing.
Signs of Optimal Splitting Time
- Swelling green buds along the stems
- Newly emerging foliage
- Absence of flowers or spent blooms
- Mild, moist weather conditions
Choosing the right time to divide your hydrangeas helps them thrive in their new spots.
Tools We Need for Splitting
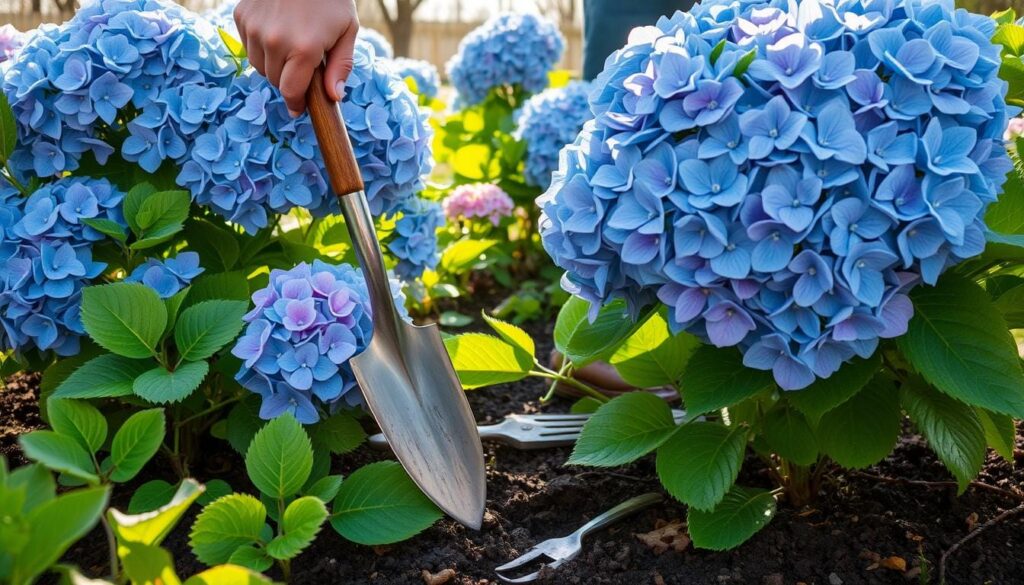
Propagating hydrangeas through division is easier with the right tools. We’ll look at the essential tools, optional ones for convenience, and safety tips.
Essential Gardening Tools
- Spade shovel: A sturdy spade shovel is crucial for digging around the hydrangea plant and separating the roots.
- Garden fork: This tool helps loosen the soil and gently pry apart the plant’s root system.
- Garden gloves: Protect your hands from blisters and potential thorns by wearing a sturdy pair of gardening gloves.
Optional Tools for Ease
While the essential tools are necessary, some extra items can make splitting hydrangeas easier:
- Pruning shears: Using sharp pruning shears can help trim any excess foliage or uneven roots, ensuring a clean division.
- Garden knife: A sharp garden knife can be helpful for making precise cuts and separating the plant’s rhizomes or root clumps.
- Small pot: Having a small pot on hand can be useful for temporarily housing a divided hydrangea before replanting it in its permanent location.
Safety Equipment Considerations
When working with hydrangeas, safety is key. In addition to gardening gloves, consider these safety tips:
- Wear sturdy, closed-toe shoes to protect your feet and prevent slips or falls.
- Use caution when handling sharp tools, such as the spade shovel or pruning shears, to avoid cuts or injuries.
- Work in a well-ventilated area and take breaks as needed to avoid fatigue or muscle strain.
With the right tools and safety precautions, you’ll be ready to successfully propagate your hydrangeas through division.
Preparing Our Hydrangea Plants
Starting to transplant hydrangea sections requires careful preparation. This step is key for a successful division and helps our hydrangeas grow well in their new spots.
Watering Before Splitting
Water the hydrangea well the day before splitting. This makes the soil around the roots easier to work with. Make sure the soil is moist but not too wet.
Assessing Plant Health
Check the hydrangea’s health before splitting. Look for strong, green stems and leaves. This shows the plant is healthy and ready for division.
Clearing the Surrounding Area
Clear the area around the hydrangea for easy access. Remove any extra growth, damaged roots, or broken stems. This makes the workspace clean and helps us focus on the division.
By preparing our hydrangeas well, we set them up for success. These steps ensure a smooth division and help our plants stay healthy and strong.
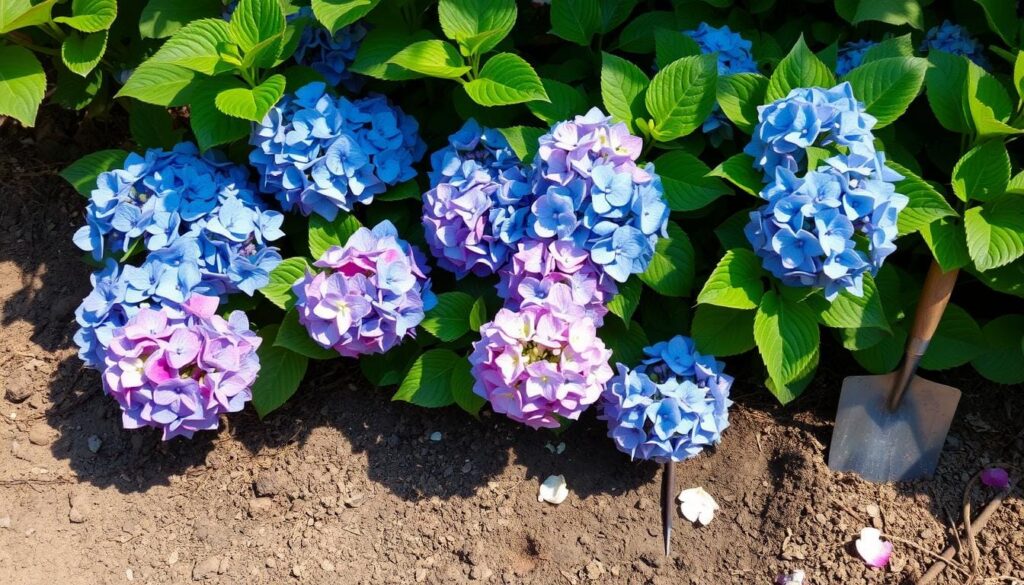
“Proper preparation is the key to a successful hydrangea division. Taking the time to ensure the plant is healthy and the surrounding area is clear will pay dividends in the long run.”
Techniques for Splitting Hydrangeas
Dividing hydrangeas is a great way to grow more of these beautiful plants. We’ll look at three main methods to help your new plants thrive.
Dividing by Roots
Dividing at the roots is a top method. Start by digging two feet away from the base. Then, use a garden fork to carefully lift the root ball.
Look at the roots to find natural sections or where stems meet the root crown. Use your hands or a sharp spade to separate these sections. Make sure each part has healthy roots.
Using a Sharp Spade
If the roots are tough, a sharp spade can help. Place the spade halfway between the center and the edge of the plant. Press down to cut through the roots.
Keep doing this around the plant until you have the right number of divisions.
Handling the Division Process
When dividing, handle the sections carefully. Don’t pull or yank them apart, as this can harm the roots. Instead, use your hands or tools to gently separate them.
After dividing, replant the sections right away. Make sure to plant them at the right depth and prepare the soil well.
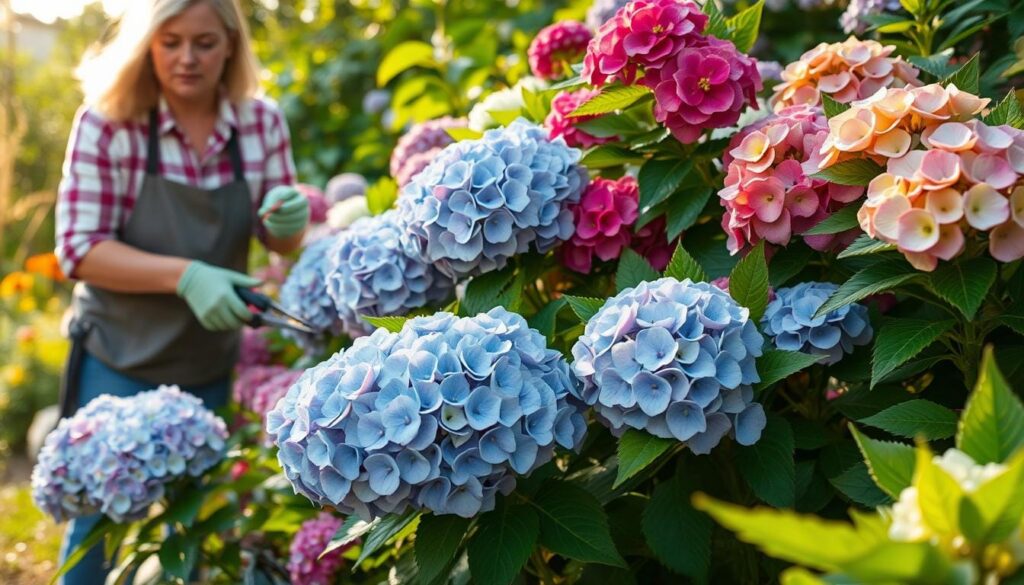
Learning these techniques will help you grow a new batch of vibrant hydrangeas. These plants are easy to care for and add beauty to any garden.
Caring for Divided Hydrangeas
After splitting our hydrangea plants, we need to care for them right away. This ensures they grow well in our gardens. By following a few simple steps, we can help our divided hydrangeas thrive.
Immediate Post-Splitting Care
Right after dividing, we should plant the new sections quickly. Place them gently in their new spots, being careful not to hurt the roots. Then, water the soil well to help it settle around the roots.
Soil and Nutrient Requirements
Hydrangeas love soil that drains well and is full of nutrients. We can add compost or organic matter to the soil. This will give our plants the nutrients they need for strong growth and beautiful flowers.
Watering Guidelines
Watering is crucial for the first few weeks. Keep the soil moist but not too wet. As the plants settle, we can water less, aiming for about an inch of water a week. Mulching around the plants helps keep the soil moist too.
By following these care tips, we can help our divided hydrangeas adjust smoothly. With a bit of extra care at the start, we’ll enjoy lush, healthy hydrangeas for many years.
Choosing New Locations for Hydrangeas
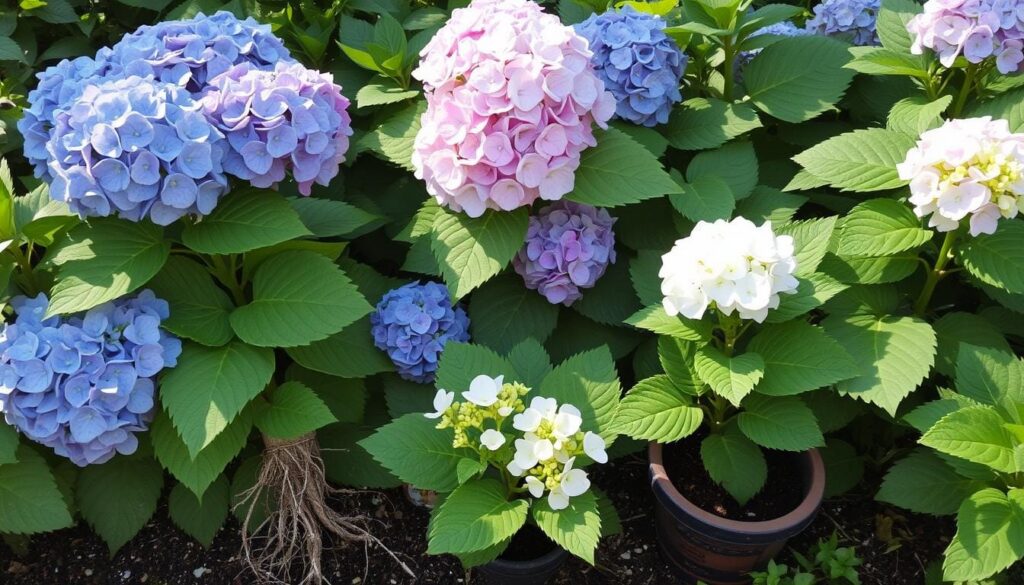
When picking a spot for your divided hydrangea sections, think about a few key things. Hydrangeas love partial shade, so finding the right mix of sun and shade is important. Also, make sure there’s enough room between plants to avoid overcrowding and let them grow fully.
Factors to Consider
Good soil drainage is key for hydrangeas’ health. The new spot should have soil that drains well and supports the plant’s roots. Also, protect your hydrangeas from strong winds, as they can get damaged easily.
Sunlight and Shade Balance
Hydrangeas do best in partial shade, with a mix of sun and shade all day. Look for a spot that gets morning sun and afternoon shade, or the other way around. This will give your hydrangeas the best chance to grow.
Space Between Plants
When moving your hydrangea sections, think about how they’ll grow and spread. Give them about 3-4 feet of space to prevent overcrowding and let each plant thrive. This also makes it easier to care for them.
| Key Considerations | Ideal Conditions |
|---|---|
| Soil Drainage | Well-draining soil |
| Sunlight Exposure | Partial shade with a balance of sun and shade |
| Space Between Plants | 3-4 feet of separation |
| Protection from Winds | Sheltered from strong gusts |
By thinking about these factors when picking a new home for your hydrangea sections, you’ll help them grow and flourish.
Ensuring Successful Replanting
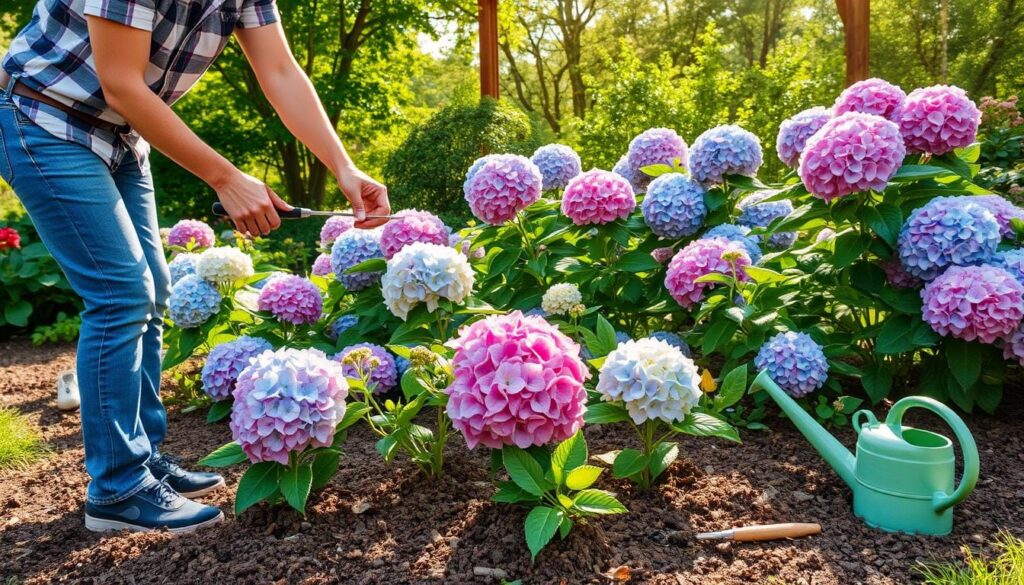
When replanting your divided hydrangeas, consider a few important factors. These include planting depth, position, mulching, and fertilizing after planting. These details are crucial for the long-term health and growth of your plants.
Planting Depth and Position
Make sure the hole is as deep as the root ball and wide enough for the roots. Place the plant upright and centered in the hole. Avoid burying the crown too deeply to help the plant establish a strong root system.
Mulching Techniques
Apply a 2-3 inch layer of organic mulch around the plant. Keep the mulch a few inches away from the stem. This helps retain moisture, suppress weeds, and insulate the roots.
Fertilizing After Planting
Avoid heavy fertilization right after planting. Instead, use a light, balanced fertilizer or compost in the soil. This gentle nutrient boost helps the plant focus on root growth, reducing transplant shock.
By following these steps, you can give your hydrangeas a great start in their new homes. This sets them up for a healthy and thriving future in your garden.
Avoiding Common Mistakes
Splitting and propagating hydrangeas can be rewarding. But, it’s key to avoid common mistakes for success. We’ll look at three main areas where gardeners often go wrong: ignoring drainage, poor soil, and neglecting aftercare.
Overlooking Drainage Needs
Hydrangeas need well-draining soil to thrive. Without it, they can suffer from root rot. This can stunt their growth. Make sure your soil drains well by adding organic matter or using raised beds.
Good drainage is crucial for your hydrangeas’ health. It sets them up for success.
Poor Soil Preparation
Healthy soil is vital for hydrangeas. Before dividing, prepare the soil well. Add compost or aged manure to enrich it.
This step is crucial. Without it, your hydrangeas may not grow well. They could lack nutrients.
Neglecting Maintenance Post-Splitting
After splitting, care is key. Keep watering, watch for stress signs, and avoid over-pruning. This helps your hydrangeas settle and grow.
By avoiding these mistakes, you’ll do great with hydrangea propagation. Paying attention to detail and caring for your plants will reward you. You’ll enjoy their blooms and foliage for years.
Signs of Stress in Split Hydrangeas
When we transplant hydrangea sections, watching for stress signs is key. This ensures our hydrangeas stay healthy and bloom well.
Recognizing Wilting Leaves
Wilting leaves are a first sign of stress in hydrangeas. If leaves droop or lose color, it’s time to act. Adjusting water and care can help them recover.
Changes in Flowering Patterns
Stress can also affect a hydrangea’s flowers. If blooms are fewer or smaller, it’s a sign of trouble. Watching the flowers helps us see if the plant is doing well.
Monitoring Root Growth
Checking root growth by gently pulling on the plant is helpful. Resistance means roots are growing well. Easy pulling might mean roots are struggling. Regular checks help us catch problems early.
By watching for stress signs, we can help our hydrangeas thrive. A bit of care and attention can make them happy in their new home.
Long-term Care for Hydrangeas
To keep hydrangeas healthy, we need to prune, fertilize, and water them regularly. These steps help our hydrangeas grow strong and bloom beautifully every year.
Seasonal Pruning Techniques
Pruning hydrangeas at the right time is crucial. We should do it in late winter or early spring, just before new growth starts. This helps the plant focus on growing strong stems and flowers.
When we prune, we remove dead, damaged, or messy stems. Cut them back to a healthy bud or branch. This keeps the plant looking good.
Fertilization Schedule
Fertilizing hydrangeas right is key to their health. In spring, use a balanced, slow-release fertilizer. This gives nutrients all growing season. But, avoid fertilizers high in nitrogen, as they can make too much foliage and fewer flowers.
Ideal Watering Practices
Hydrangeas need consistent moisture, especially when it’s dry. Keep the soil moist but not too wet. Water them once or twice a week, based on the weather and soil.
Also, check the soil pH. It can change the color of blooms in some hydrangeas.
By following these care tips, our hydrangeas will keep blooming beautifully. With a little effort, we get lots of color in our gardens all year.
| Pruning Technique | Optimal Timing | Objective |
|---|---|---|
| Deadheading | Late Spring/Early Summer | Encourage more blooms |
| Thinning | Late Winter/Early Spring | Promote air circulation |
| Rejuvenation | Late Winter/Early Spring | Revitalize older plants |
“Proper pruning and maintenance are key to keeping hydrangeas healthy and productive for years to come.”
Troubleshooting Hydrangea Issues
Nurturing hydrangeas can be rewarding but also challenging. They face issues like pests, diseases, and poor growth. Knowing these problems and how to fix them helps our hydrangeas thrive.
Pests and Diseases to Watch For
Aphids are a common problem for hydrangeas. These tiny insects suck sap, causing leaves to turn yellow and curl. A simple water spray or insecticidal soap can get rid of them.
Powdery mildew is another issue. It’s a fungal disease that makes leaves look white and powdery. Using a fungicide or pruning affected leaves can help control it.
Taking Action on Poor Growth
Poor growth in hydrangeas can be due to several reasons. It might be because of bad soil, not enough sunlight, or too little water. Fixing these problems can help our hydrangeas grow well again.
When to Seek Professional Help
At times, we might need a professional’s help with our hydrangeas. If they keep struggling despite our efforts, it’s best to ask for expert advice. A horticulturist or local garden center can offer specific solutions and treatments.
By being proactive and seeking help when needed, we can overcome hydrangea challenges. This ensures these beautiful plants thrive in our gardens for years.
| Pest/Disease | Symptoms | Treatment |
|---|---|---|
| Aphids | Yellowing, curling leaves | Water spray, insecticidal soap |
| Powdery Mildew | White, powdery coating on leaves | Fungicide, pruning affected foliage |
Conclusion: Embracing Our Hydrangeas
As we wrap up our guide on splitting hydrangeas, we feel a deep sense of joy and accomplishment. We’ve learned how to multiply these beautiful plants, making our gardens more vibrant and diverse. This journey has shown us the beauty of gardening.
Reflecting on Our Gardening Journey
Our journey with hydrangeas has been incredibly rewarding. We’ve learned about the different types and how to care for them. Each time we divide them, we see them flourish in their new homes.
Sharing Success Stories
We invite all gardeners to share their own stories of success with hydrangeas. By sharing tips and experiences, we can inspire each other. Together, we can build a community of hydrangea lovers, celebrating their beauty.
Encouraging Community Gardening
Splitting hydrangeas is more than a hobby; it’s a way to connect with others. By sharing our knowledge, we can encourage more people to grow these plants. This way, we can make our green spaces more vibrant and sustainable for everyone.
