As summer sun warms my garden, I eagerly await garlic harvest time. Digging up those fragrant bulbs is incredibly rewarding. This guide will help you understand when, why, and how to harvest garlic, whether you’re new or experienced.
Garlic is a key ingredient in many dishes, bringing flavor and depth. From seed to plate, garlic’s journey is interesting and complex. We’ll explore the details of growing garlic, helping you get the most from your harvest and create delicious dishes.
Key Takeaways
- Understand the critical growth stages of garlic, from germination to bulb development
- Learn about the ideal soil, climate, and watering requirements for successful garlic cultivation
- Discover the signs of garlic maturity and the best time to harvest for different varieties
- Explore the essential tools and techniques for a bountiful and effortless garlic harvest
- Gain insights into post-harvest handling, storage, and ways to enjoy your fresh garlic
Understanding Garlic Growth Stages
To get the best garlic, knowing its growth stages is key. By understanding each phase, we can pick the perfect time to harvest. This ensures our garlic is at its best.
Germination and Early Growth
Garlic starts with planting cloves. These cloves grow roots and then green shoots. This early stage is all about building a strong base.
Bulb Development
As garlic grows, it focuses on forming a bulb underground. This is when the plant works hard to create the garlic bulb. Watching the bulb grow helps us know when it’s ready.
Maturation Signs
When garlic is almost ready, we can tell by looking at it. The leaves turn yellow and dry, and the scapes stiffen. These signs help us harvest at the right time for the best taste.
Knowing garlic’s growth stages helps us harvest at the best time. We can use the right garlic harvesting techniques for a great crop. Watching for signs garlic is ready for harvesting lets us make the most of our garlic-growing efforts.
Ideal Conditions for Garlic Cultivation
To get a great garlic harvest, knowing the best growing conditions is key. This includes the right soil and how much water to give. Let’s look at what makes garlic grow well.
Soil Requirements
Garlic loves well-drained, fertile soil with a pH between 6.0 and 7.0. It needs organic matter like compost for nutrients. A loose, sandy soil lets garlic bulbs grow big.
Climate Considerations
The garlic harvest season varies by location. Garlic grows best in cool, temperate weather with clear seasons. Places with mild winters and dry summers are perfect.
Watering Practices
- Garlic needs steady moisture, especially when it’s time to harvest.
- Water plants often to keep the soil moist but not soggy.
- Don’t let the soil dry out, or garlic growth will suffer.
- Check soil moisture and adjust watering to keep garlic happy.
By giving garlic the right soil, climate, and water, you’ll have a successful harvest. Enjoy your garlic harvest!
When to Harvest Garlic
Finding the right time to pick your garlic is key for a great harvest. We need to watch for signs that tell us when it’s time to start picking.
Signs of Maturity
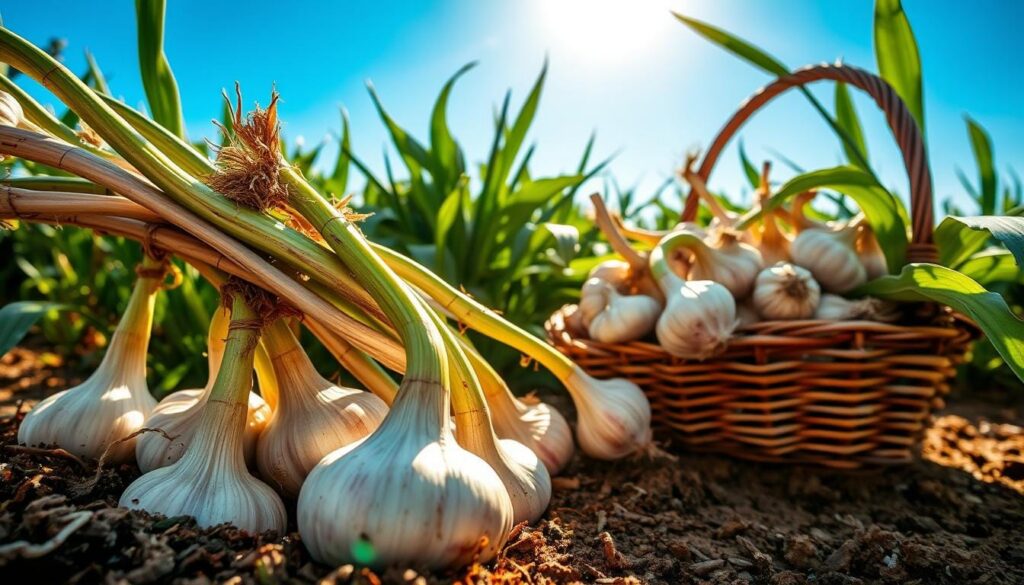
Look at the leaves to see if your garlic is ready. The lower leaves will turn yellow and die as it matures. The top leaves will stay green. Also, the garlic scapes will start to straighten out, showing the bulbs are big enough.
Timing for Different Varieties
When to pick garlic depends on the type you’re growing. Softneck garlic is ready when 4-5 lower leaves turn yellow. Hardneck garlic needs 6-7 lower leaves to wither before it’s ready.
Seasonal Considerations
The season affects when to harvest garlic. In most places, the best time is summer, between June and August. Keep an eye on your garlic during this time to pick it when it’s at its best.
By watching for visual signs and knowing how different garlic types grow, we can pick our garlic at the best time. This ensures it’s fresh, flavorful, and full of nutrients.
Tools Needed for Garlic Harvesting
Harvesting garlic needs the right tools. We’ll look at the key tools for a successful harvest. This way, your garlic will be collected well and with little damage.
Essential Tools Overview
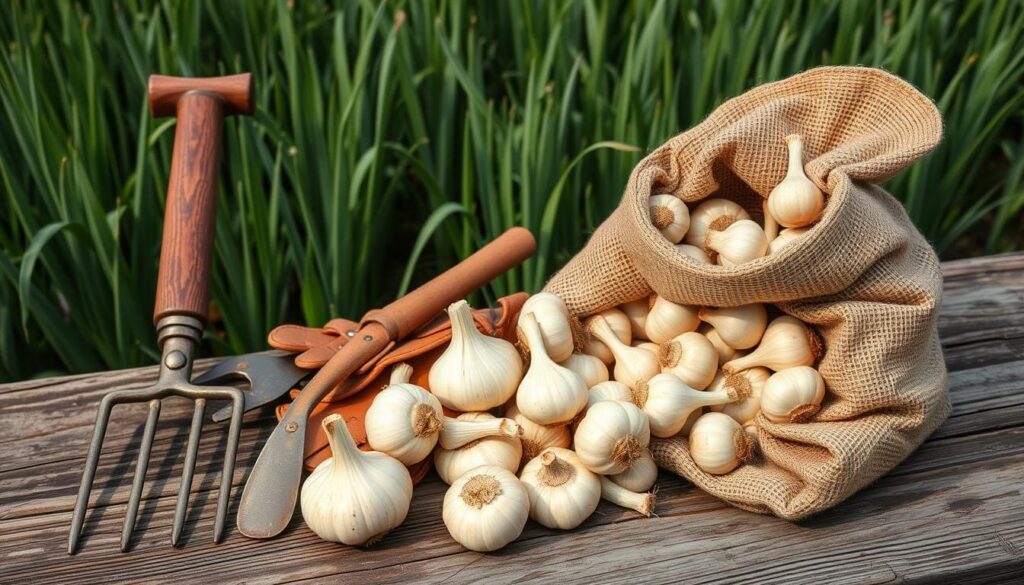
You’ll need a sharp garden fork or spade, a strong basket or box, and gloves. These tools help you lift garlic gently, carry it, and keep your hands safe.
Recommended Garden Forks
A good garden fork is crucial for garlic harvesting. Choose one with long tines to lift bulbs without harm. Stainless steel or forged-steel forks are durable and won’t rust.
Basket or Box for Collection
After lifting garlic, you’ll need a place to carry it. A basket or box with air flow is best. It helps garlic dry and cure after harvesting. Don’t use plastic bags, as they can cause spoilage.
| Tool | Purpose | Recommended Features |
|---|---|---|
| Garden Fork | Lifting garlic bulbs from the soil | Long, sturdy tines, stainless or forged steel |
| Basket or Box | Transporting and curing harvested garlic | Good airflow, durable construction |
| Gloves | Protecting hands during harvesting | Breathable, flexible, and durable material |
With these tools, harvesting garlic becomes easier and safer. You’ll get a great crop. The right tools make how to harvest garlic and garlic harvesting techniques simpler.
How to Prepare for Harvesting Garlic
Getting ready for garlic harvest is as important as the harvest itself. We need to check the soil moisture, look at the plant health, and clear the area. This ensures a smooth garlic harvesting experience. Let’s explore the essential steps for a successful harvest.
Testing Soil Moisture
The soil should be moist but not too wet or dry for garlic harvest. Stick your finger into the soil a few inches down. It should feel cool and damp but not soggy. If it’s too dry, water a few days before harvesting.
Right soil moisture helps lift garlic bulbs gently without damage.
Assessing Leaf Conditions
- Look for signs of mature garlic plants, like yellow leaves and dying lower leaves.
- Healthy, green leaves mean the garlic needs more time to grow. Wait until the leaves start dying back naturally.
- Watch the leaves closely. They show how ready the plant is for harvest.
Clearing the Harvest Area
Before you start, clear the harvest area. Remove weeds, debris, or anything that could get in the way. This makes the space clean and efficient for harvesting.
By preparing well, you’re set for a great garlic harvesting experience. Next, we’ll look at different ways to harvest garlic.
Techniques for Harvesting Garlic
Harvesting your garlic at home can be a rewarding experience. There are several methods to ensure a good harvest. We’ll look at the best ways to dig up, pull, and remove your garlic bulbs.
Hand Digging Methods
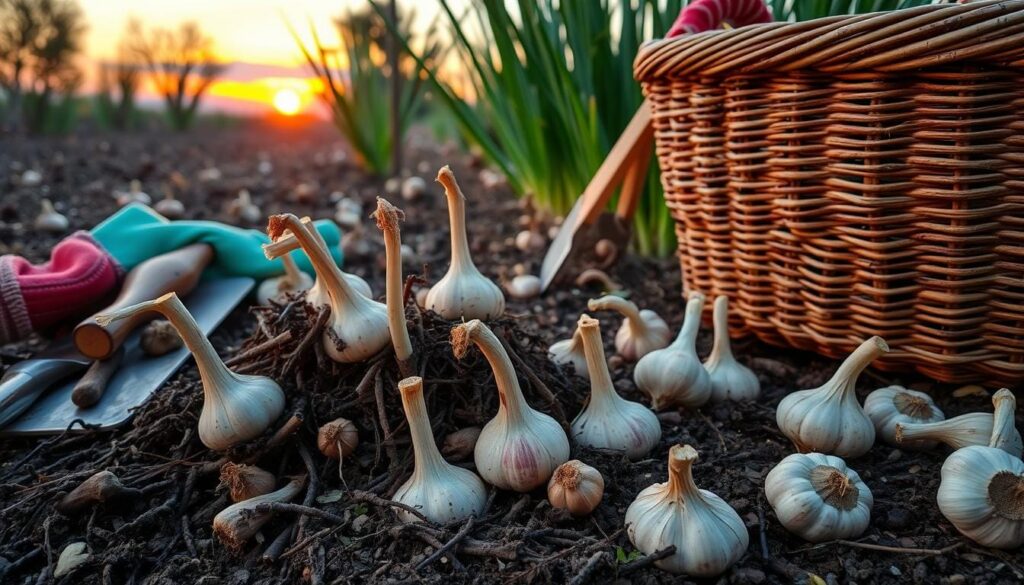
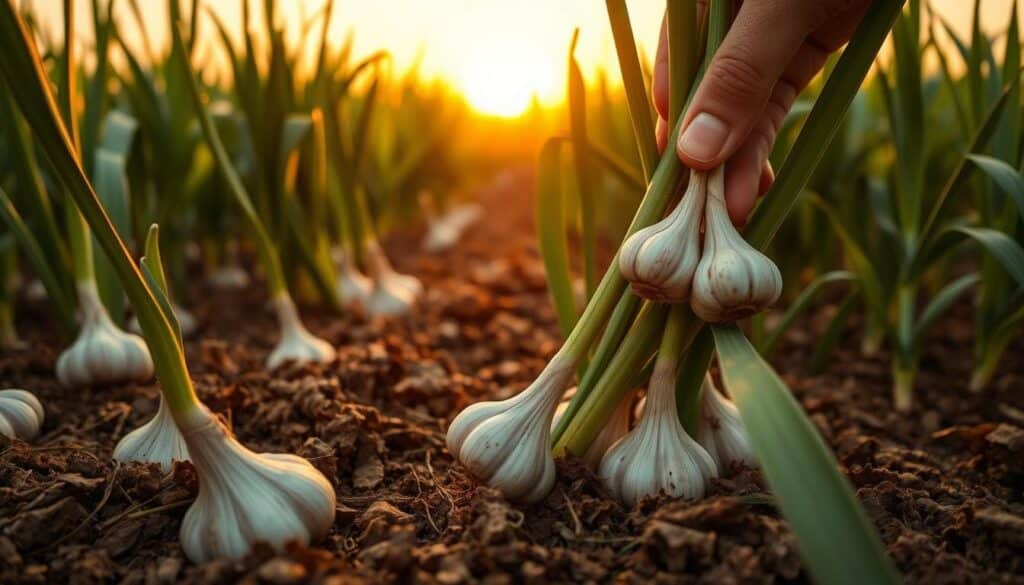
Hand-digging is a simple way to harvest garlic. Start by loosening the soil around the plant base. Be gentle to avoid damaging the bulb. Then, pull the garlic out by the leaves or stems, shaking off dirt.
This method is great for small gardens or soft, well-drained soil.
Using a Fork or Spade
For bigger harvests or harder soil, a fork or spade is better. Insert the tool near the plant, angling it to lift the bulb. Lift carefully to avoid damaging the garlic.
This method reduces soil disturbance and keeps the garlic heads intact.
Pulling by Hand
For loose soil and mature garlic, pulling by hand works well. Grasp the plant at the base and gently pull. Avoid pulling too hard to prevent damage.
Rock the plant back and forth to loosen it before pulling.
Handling garlic bulbs with care is key to a successful harvest. Try different techniques to find what works best for your garden.
Post-Harvest Handling of Garlic
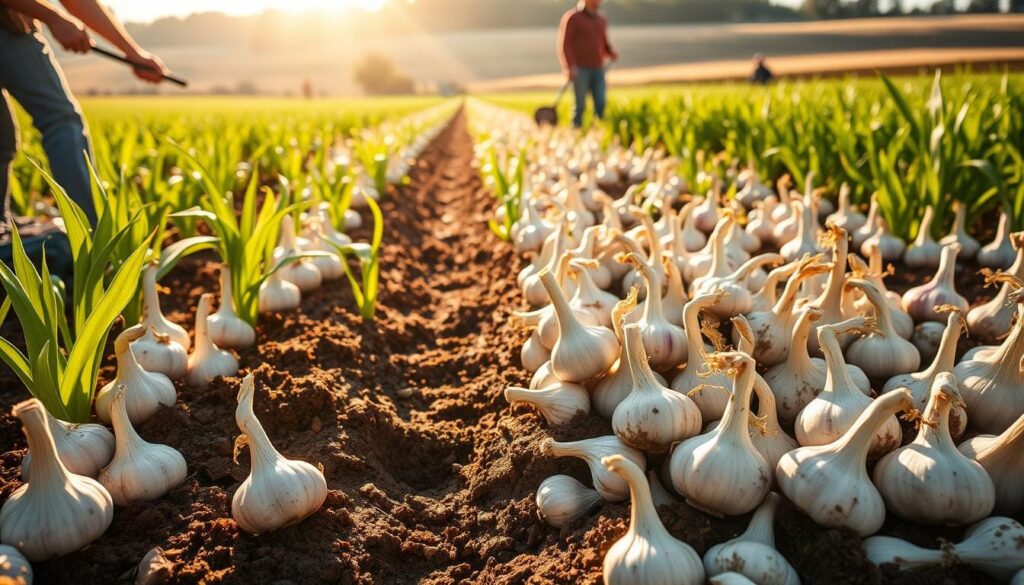
Proper handling after harvesting is key to keeping your garlic fresh. After digging up those fragrant bulbs, let’s look at how to clean, dry, and trim them. This ensures they last longer and taste great.
Cleaning the Bulbs
Start by gently brushing off any dirt from the garlic bulbs. Don’t wash them, as water can cause them to spoil quickly. Use a soft-bristled brush or your fingers to remove dirt carefully. Make sure not to hurt the outer skins, as they protect the cloves.
Proper Drying Techniques
- Choose a well-ventilated, shaded spot to dry the garlic. A garage, shed, or covered porch is perfect.
- Place the garlic bulbs in a single layer, so they don’t touch. This helps air circulate well.
- Let the garlic dry for 2-4 weeks, depending on the weather. It’s ready when the outer skins are dry and papery.
Trimming Roots and Stems
After drying, use sharp scissors or pruners to trim the roots and stems. Leave about 1 inch of stem on the bulb. This helps keep the garlic fresh and flavorful. Throw away any damaged or discolored leaves or stems.
By following these steps, you can make sure your garlic is well-cured and ready for storage or use. A bit of care can make your garlic harvest last for months.
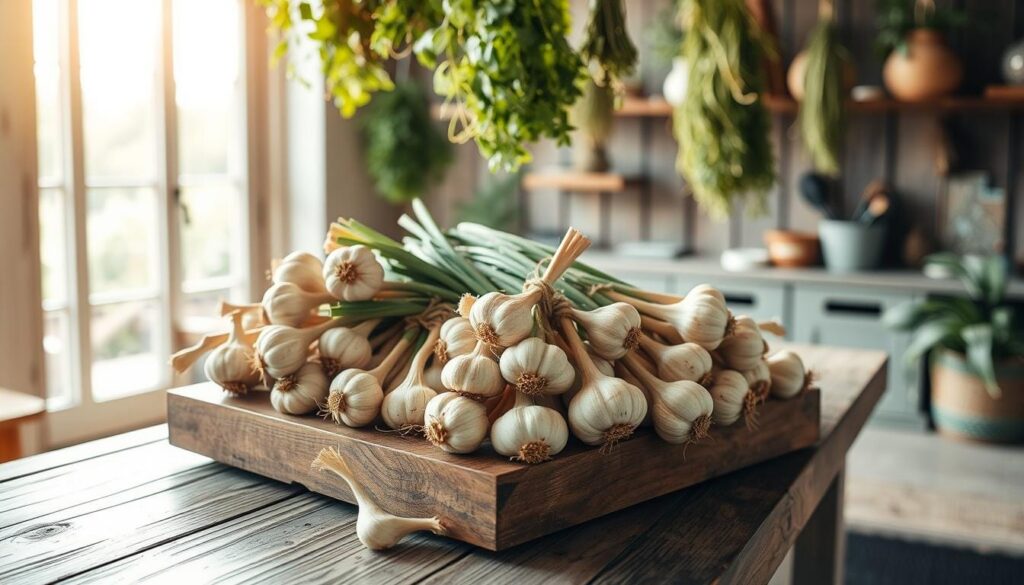
Storing Garlic After Harvest
Proper storage is key to keeping your garlic fresh. Whether you’re new to gardening or experienced, learning how to store garlic is crucial. It helps you enjoy the full flavor and benefits of this versatile crop.
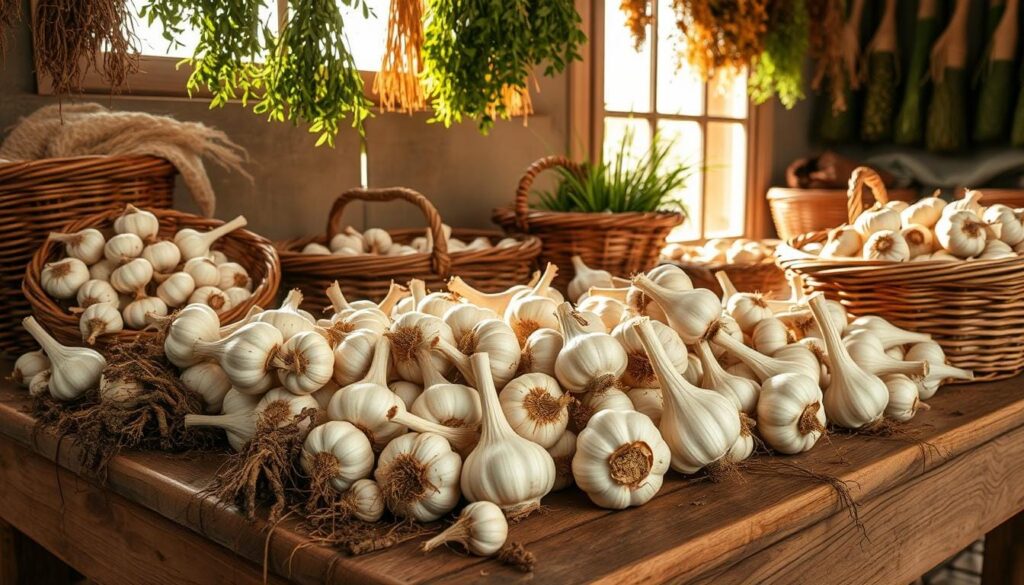
Best Storage Methods
To store garlic well, follow these tips:
- Hang the garlic in a cool, dark, and well-ventilated spot, like a garage, shed, or basement.
- Or, store it in mesh bags or crates for good air flow around the bulbs.
- Don’t store garlic in the fridge. The cold, humid air can make it sprout too soon.
Ideal Temperature and Humidity
The best storage for garlic is a temperature of 60°F to 70°F (15°C to 21°C). Also, keep the humidity at 60% to 70%. These conditions help the garlic dry and harden, keeping the inner cloves safe.
Readiness for Consumption
After 2-4 weeks of curing, your garlic is ready for long-term storage and use. Check if it’s ready by gently squeezing the bulbs. They should feel firm and solid, with dry, papery outer layers.
By following these storage tips, your harvested garlic will stay flavorful and potent. It’s perfect for many dishes.
Common Issues When Harvesting Garlic
Harvesting garlic can be rewarding but comes with challenges. As garlic growers, we’ve faced many issues. Let’s look at common problems and how to solve them.
Pests and Diseases
Pests and diseases are big worries when harvesting garlic. Aphids, thrips, and nematodes can harm bulbs. Fungal infections like white rot and fusarium can ruin quality. Watch your garlic closely and act fast to stop problems.
Over or Under Harvesting
- Timing is key for garlic harvesting. Too early means small, immature bulbs. Waiting too long can cause splitting and quality loss.
- Look for signs of maturity like green leaves and bulb size. This helps you harvest at the best time.
Weather-related Challenges
The weather affects garlic harvesting. Too much rain makes soil wet, damaging bulbs. Drought can make bulbs mature too fast. Keep an eye on the weather to adjust your harvest plan.
Knowing how to handle these issues leads to a great garlic harvest. With the right harvesting garlic guide, you can beat any challenge. Enjoy the tasty rewards of your homegrown garlic.
Benefits of Growing Our Own Garlic
We’ve found many benefits in growing our own garlic. It’s fresh, flavorful, and good for our health. Plus, it saves us money. This makes growing garlic a special part of our gardening.
Freshness and Flavor
Freshly picked garlic tastes amazing. Our homegrown garlic has a full flavor that store-bought garlic often lacks. It adds a rich taste to any dish.
Health Benefits of Garlic
Garlic is packed with health benefits. Growing our own ensures we get the best quality. It can help lower blood pressure and boost our immune system.
Economic Savings
Growing garlic ourselves saves a lot of money. We only need a small plot and basic tools. This way, we get a lot of garlic for less money.
Growing our own garlic brings many benefits. It’s fresh, healthy, and saves us money. This makes our gardening journey even more rewarding.
Different Garlic Varieties We Can Grow
Gardeners have many garlic varieties to choose from. Softneck and hardneck garlic, along with specialty types, offer a wide range. This variety selection is key for a successful garlic harvest season and guide.
Softneck vs. Hardneck Garlic
Softneck garlic, like Silverskin and Artichoke, stores well and braids easily. Hardneck types, including Rocambole and Porcelain, have a stronger taste. They also grow a central flower stalk, or scape, which is edible.
Specialty Garlic Types
- Elephant Garlic: This is actually a leek, producing large, mild bulbs.
- Purple Stripe Garlic: Known for its vibrant purple stripes, it’s a favorite for gourmet dishes.
- Creole Garlic: From the southern U.S., it has a strong aroma and spicy taste.
Recommendations for Gardeners
Choose garlic based on your climate, taste, and cooking needs. Hardneck garlic does well in cold areas, while softneck prefers warmer climates. Try different types to find what works best for you.
| Garlic Variety | Characteristics | Best for |
|---|---|---|
| Softneck | Long storage life, easy to braid | Warm climates, general cooking |
| Hardneck | Stronger flavor, produce scapes | Colder climates, gourmet dishes |
| Elephant | Massive bulbs, mild flavor | Roasting, soups, stews |
| Purple Stripe | Vibrant color, bold taste | Gourmet cooking, fresh use |
| Creole | Pungent aroma, spicy flavor | Spicy dishes, southern cuisine |
Knowing the unique traits of garlic varieties helps us make better choices. This leads to a better garlic harvest season and a successful guide for our gardens.
Planning for Next Garlic Season
As the garlic harvest ends, it’s time to plan for next year. Getting ready is crucial for a great garlic crop. Let’s look at the key steps to prepare your garden for the next garlic season.
Soil Preparation
Good soil is essential for garlic plants. Before planting, add compost or manure to your soil. This improves its structure and nutrient levels, helping your garlic grow well. Make sure your soil’s pH is right, between 6.0 and 7.0, for garlic.
Selecting Cloves for Planting
- Choose the biggest, healthiest garlic cloves from last year’s harvest.
- Make sure each clove has a pointed and a flat end.
- Don’t use any damaged or diseased cloves.
Crop Rotation Strategies
Using crop rotation keeps your soil healthy and prevents pests and diseases. Don’t plant garlic in the same spot every year. Rotate it with other veggies like leafy greens, root crops, or brassicas. This breaks pest cycles and adds new nutrients to the soil.
| Crop Rotation Suggestion | Year 1 | Year 2 | Year 3 |
|---|---|---|---|
| Bed 1 | Garlic | Leafy Greens | Root Crops |
| Bed 2 | Leafy Greens | Root Crops | Garlic |
| Bed 3 | Root Crops | Garlic | Leafy Greens |
By following these garlic harvesting tips and using a detailed harvesting garlic guide, you’ll have a successful garlic season.
Harvesting Garlic Scapes
Growing your own garlic is a joy for gardeners. But did you know you can also enjoy the edible flower stalks, called garlic scapes? These are a bonus from growing hardneck garlic. Learning to harvest them can make your cooking better and help your garlic grow stronger.
What Are Garlic Scapes?
Garlic scapes are the thin, curled stems from the center of hardneck garlic plants. They grow into the plant’s flower but can be picked before it blooms. These scapes taste like garlic and are great in many dishes.
Why Harvest Scapes?
- Culinary Delight: Garlic scapes add a special flavor to dishes like stir-fries, soups, pesto, and garlic butter.
- Improved Bulb Growth: Taking off the scapes helps the plant focus on growing bigger, healthier garlic bulbs.
- Extended Harvesting Season: You can pick scapes weeks before the garlic bulbs are ready, giving you an early taste of garlic.
Best Practices for Scape Harvesting
- Timing: Pick scapes when they start to curl, usually 4-6 weeks before the garlic bulbs are ready.
- Cutting Technique: Use sharp shears or scissors to cut the scape just below the first curl, leaving a bit of stem on the plant.
- Storage: Keep scapes fresh in the fridge, wrapped in a damp paper towel or in a resealable bag.
Harvesting garlic scapes adds to your garlic season and brings a tasty experience. It also helps your garlic bulbs grow bigger and healthier. Enjoy this often-overlooked part of the garlic plant and celebrate your homegrown harvest.
Recipes to Enjoy Our Fresh Garlic
Congratulations on your successful garlic harvest! Now it’s time to use those flavorful bulbs. We’ll share ways to enjoy your homegrown garlic in your cooking.
Classic Garlic Dishes
Garlic is key in many favorite dishes. From roasted garlic to garlic bread, it adds flavor. Try these classic recipes:
- Garlic-infused pasta sauces
- Roasted garlic and potato soup
- Creamy garlic mashed potatoes
- Garlic-herb roasted chicken
Preserving Garlic
Preserve your garlic to enjoy it all year. This makes it easier to store garlic after harvest. Try these methods:
- Pickling garlic in vinegar for a tangy condiment
- Drying and powdering garlic for seasoning
- Freezing garlic in oil or butter for easy use
Incorporating Garlic into Everyday Cooking
Garlic makes many dishes better. Use garlic harvesting tips to add it to your daily meals. Here are some ideas:
| Dish | Garlic Usage |
|---|---|
| Stir-fries | Minced or sliced garlic adds depth of flavor |
| Salad dressings | Roasted garlic creates a creamy, nutty dressing |
| Marinades | Garlic with herbs and spices tenderizes and flavors meats |
Let your fresh garlic shine in your cooking. With a bit of creativity, you can enjoy its flavor all year.
Conclusion: The Satisfaction of Garlic Harvesting
Reflecting on our garlic journey, we find great joy in harvesting our own crop. The smell of fresh garlic and the pride of growing it ourselves is unmatched. It’s a feeling that stands out.
Celebrating Our Garden’s Yield
Harvesting our garlic is a big win, showing our hard work pays off. Each bulb is a victory, showing we can grow our own food. We feel proud, knowing we help feed ourselves and our families.
Tips for Future Harvests
With each harvest, we learn and get better. We improve our planting and storage to get more garlic. By staying alert and learning from our mistakes, we’ll keep getting great results.
Resources for Further Learning
Our garlic journey is ongoing, and we invite you to learn more. There’s a lot of info out there, from blogs to workshops. These resources help us grow better garlic and connect with others who love it too.

