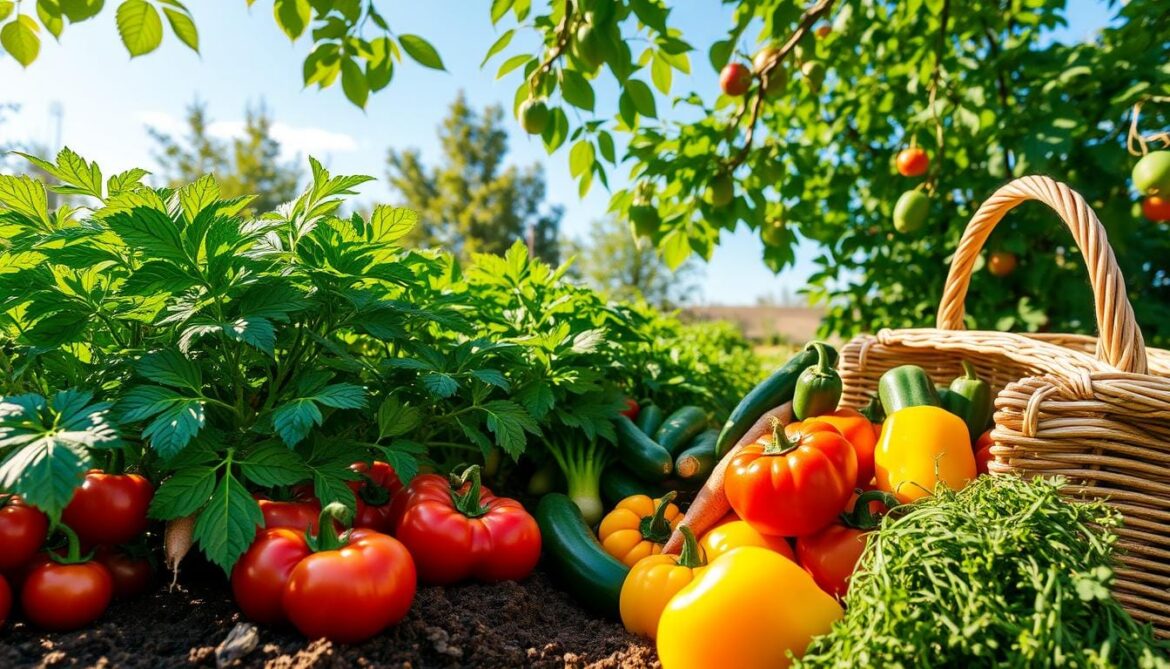
Every garden has its own story, and harvest time is the most exciting part. We love picking fresh, warm vegetables from our gardens. Harvesting is an art that turns hard work into tasty, healthy meals.
This guide will teach you how to harvest vegetables right. It’s perfect for both new and experienced gardeners. Knowing when to pick is key to enjoying your garden’s bounty.
Timing is everything in gardening. Picking at the right moment can make a big difference. We’ll show you how to know when vegetables are ready, how to pick them, and more.
Key Takeaways
- Learn the optimal timing for harvesting different vegetable types
- Understand how vegetable maturity impacts flavor and nutrition
- Discover techniques to maximize your garden’s productivity
- Recognize signs of vegetable readiness across various plant families
- Prevent common harvesting mistakes that reduce crop quality
Understanding the Basics of Vegetable Harvesting
Knowing when and how to harvest your food is key to successful backyard farming. Urban gardeners see vegetable gardening as both an art and a science. They pay close attention to the seasons and when each crop is ready.
Growing vegetables requires precision and knowledge of each type’s harvesting needs. Let’s look at the important parts of vegetable harvesting that can improve your garden’s yield.
Best Time of Day to Harvest
Harvesting vegetables in the early morning is best. At this time, they are:
- Most hydrated
- Crisp and fresh
- Packed with maximum nutrients
Essential Harvesting Tools
Having the right tools is important for keeping plants healthy and making clean cuts. Our suggested tools are:
| Tool | Purpose |
|---|---|
| Sharp pruning scissors | Clean cuts for leafy vegetables |
| Garden knife | Cutting thick stems |
| Harvest basket | Collecting and transporting produce |
Signs of Vegetable Maturity
Spotting when vegetables are ready to be picked needs careful watching. Different vegetables show unique signs of ripeness:
“Knowing when to harvest is as important as knowing how to grow.” – Gardening Wisdom
- Tomatoes: Deep, uniform color
- Cucumbers: Firm, medium-sized
- Leafy greens: Before flowering
- Root vegetables: Visible shoulder emerging
By learning these basic harvesting techniques, gardeners can boost their urban agriculture success. They get to enjoy the freshest home-grown food possible.
Essential Tips for Successful Harvest Vegetables
Vegetable gardening needs careful attention and the right harvesting techniques. Our guide will help you get the most from your organic produce. To start, watch your garden every day and know each crop’s needs.
“The difference between a good harvest and a great harvest lies in timing and technique.”
Here are some key strategies for harvesting vegetables well:
- Check your garden daily to catch vegetables at peak ripeness
- Harvest quickly to encourage continued production
- Use gentle handling techniques to prevent damage
- Pick vegetables at their optimal size
Some vegetables grow very fast. For example, zucchini can grow from 2 inches to 2 feet quickly. We suggest picking zucchini when they’re 6-8 inches long for the best taste and texture.
| Vegetable | Harvest Frequency | Optimal Harvest Size |
|---|---|---|
| Zucchini | Every 1-2 days | 6-8 inches |
| Beans | Every 3-5 days | Young and tender |
| Cucumbers | Every 2-3 days | 6-8 inches |
Remember, bigger isn’t always better in vegetable gardening. Crops like beans, cucumbers, and peppers do better when picked often. By picking at the right time, you help the plant keep producing. This way, you’ll have a lot of organic produce all season long.
Root Vegetables Harvesting Guide
Growing your own root vegetables is exciting. They bring unique challenges and rewards. Knowing how to harvest them right can greatly improve your garden.
Carrots and Beets: Timing is Everything
Timing is key when growing carrots. Young carrots are the sweetest and most tender. Here are some key harvesting guidelines:
- Round carrots are best when 1-1/2 inches in diameter
- Baby carrots can be picked when 1/2 inch thick
- Look for mature roots with a blunt tip
Beets are similar. They’re ready six to eight weeks after planting, when they’re golf ball size. Mature beets can last two weeks in the fridge.
Radishes and Turnips: Quick-Growing Crops
Radishes grow fast, perfect for quick results. Keep these tips in mind:
- Harvest radishes before they exceed 2 inches in diameter
- Larger radishes often become pithy and lose flavor
- Turnips are best picked when 2-3 inches in diameter
Potato Harvesting Techniques
Potato harvesting needs careful watching. Wait until the plant greens flower and then start dying back. This means it’s time to harvest. Here’s how to dig potatoes:
- Allow potatoes to remain in ground 1-2 weeks after tops die for better skin setting
- Store in a cool, dark place
- Ideal storage temperature is 40-50°F with high humidity
Pro tip: Do not wash root vegetables unless extremely muddy. Air-dry before storage to prevent rot.
Leafy Greens: When to Pick for Maximum Freshness
Growing organic produce needs careful timing, like with leafy greens. Cool-season veggies like lettuce, spinach, and kale let gardeners enjoy fresh greens all season.
Harvesting leafy greens requires a smart plan. Our gardening pros suggest these tips:
- Harvest only ⅓ of the leaves at a time to encourage continued growth
- Pick leaves right before they bolt to maintain optimal flavor
- Use garden shears for clean cuts near the plant base
Each leafy green has its own best time to pick:
| Green Variety | Harvest Time | Best Temperature Range |
|---|---|---|
| Spinach | 30-40 days after planting | 55-70°F |
| Lettuce | 30-70 days after planting | 60-70°F |
| Kale | Continuous harvest for months | 55-65°F |
| Arugula | 6-8 weeks after planting | 55-70°F |
“The secret to great leafy greens is knowing exactly when to harvest vegetables for peak freshness and nutrition.” – Organic Gardening Expert
Start by picking outer leaves to let inner ones grow. This method keeps your garden productive and greens coming.
Pro tip: Keep leafy greens above 50°F to stop them from bolting and keep their taste.
Harvesting Tomatoes and Peppers
In our vegetable gardening journey, tomatoes and peppers are among the most rewarding crops in a kitchen garden. Knowing the right time and method for harvesting these vibrant vegetables ensures the best flavor and quality of home-grown food.
Our experience with vegetable preservation has taught us important insights about harvesting these colorful crops. Most tomato varieties need between 50 and 90 days to mature. They offer multiple harvest opportunities over several weeks.
Color and Ripeness Indicators
Identifying the perfect harvest moment involves careful observation. For tomatoes, look for these key indicators:
- Full, rich color development (deep red, yellow, or purple)
- Slight softness when gently squeezed
- Uniform color across the entire fruit
Peppers offer more flexibility. They can be picked:
- Green – for a less sweet, more crisp flavor
- Fully ripe – when they reach their mature color (red, yellow, or orange)
Storage Requirements
“The key to preserving your harvest is understanding proper storage techniques.” – Vegetable Gardening Expert
For optimal vegetable preservation, consider these storage tips:
- Store ripe tomatoes at room temperature
- Avoid refrigeration, which can diminish flavor
- Place unripe tomatoes in a paper bag to encourage ripening
Our research shows that keeping around 94% humidity can help with ripening. Always check your harvested produce daily. Remove any damaged fruits to prevent pest infestations and keep the crop healthy.
Squash and Cucumber Harvesting Methods
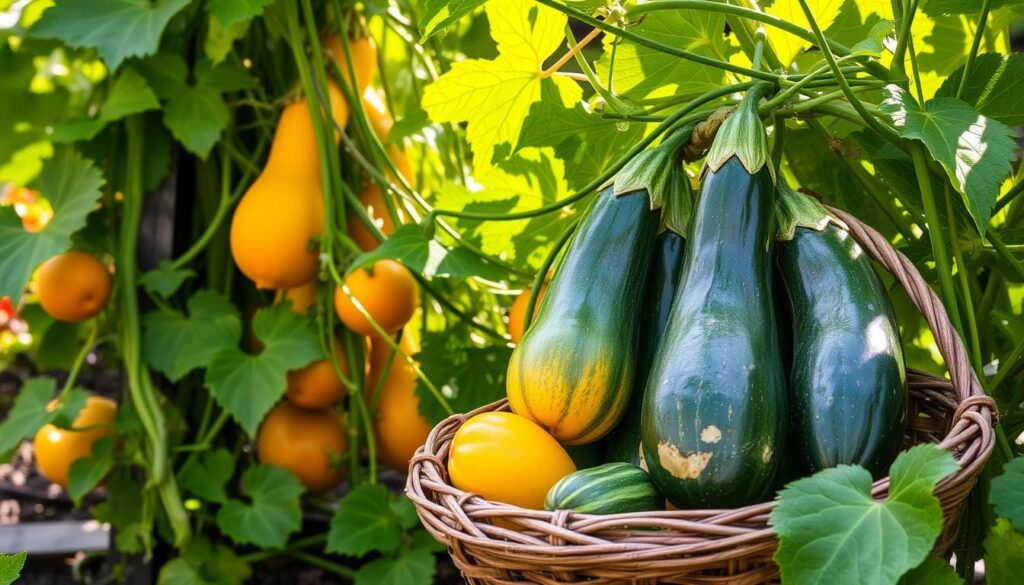
Knowing when to pick squash and cucumbers is key to their taste and yield. Our guide will teach you how to harvest these garden favorites.
Cucumbers need careful attention when it’s time to pick them. They can turn bitter and get big seeds if picked too late. It’s best to pick them when they’re young and flavorful, usually between 6 to 8 inches long.
“The key to delicious cucumbers is harvesting them at the right moment – not a day too late!”
- Summer squash: Harvest when 4-6 inches long
- Winter squash: Wait until skin hardens
- Zucchini: Pick every 2-3 days to encourage production
Winter squash like acorn or butternut need a lot of time. They take at least 3 months to be ready. Look for a hard skin that’s hard to poke with your thumbnail.
Regularly picking summer squash helps it keep growing. By picking often, you tell the plant to keep making more. Always use sharp garden shears to cut, so you don’t hurt the plant.
Harvesting Tips
- Check plants every 1-2 days during peak season
- Harvest in the cool morning for best quality
- Store summer squash in the refrigerator for up to a week
Soil temperature and water are very important for growing vegetables. Keep the soil moist and the temperature between 60-75°F for the best cucumbers and squash.
Beans and Peas: Perfect Timing for Picking
Vegetable gardening fans know timing is key for beans and peas. In backyard farming, knowing the differences between bean types can boost your harvest.
Bush Beans vs. Pole Beans: Harvesting Strategies
There are two main types of beans: bush beans and pole beans. Each needs its own harvesting method to get the most yield.
- Bush beans grow faster and give a big harvest all at once
- Pole beans keep producing all season long
- Both should be picked when pods are crisp and fully developed
“The secret to perfect bean harvesting is catching them at the right moment – not too young, not too mature.”
Snow Peas and Sugar Snap Peas: Precision Picking
Snow peas and sugar snap peas need careful picking. These legumes require special techniques for the best taste and texture.
- Snow peas are ready when pods are about 3 inches long
- Sugar snap peas are best when pods start to get plump
- Picking them often helps them keep producing
Success with beans and peas in backyard farming comes from watching them closely and picking at the right time. Knowing each type’s special needs helps gardeners enjoy a rich harvest all season.
Cruciferous Vegetables Harvesting Guide
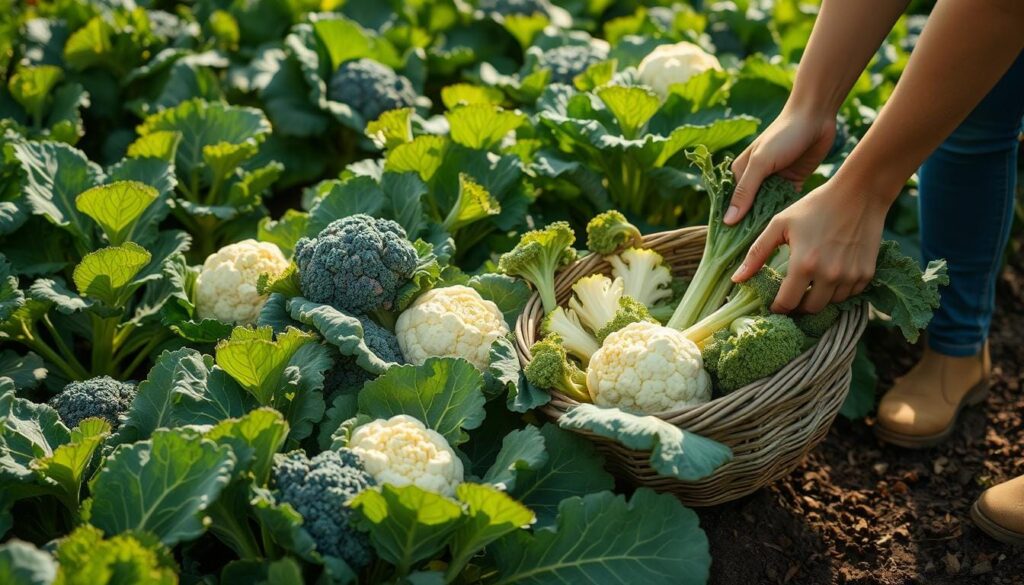
Growing cruciferous vegetables needs careful timing and attention. These plants, known as brassicas, are packed with nutrients. Our organic produce guide will teach you how to harvest them perfectly.
Understanding each vegetable’s unique traits is key. Broccoli, cauliflower, and Brussels sprouts have a short window for harvesting. You must watch them closely.
“Timing is everything when it comes to harvesting cruciferous vegetables.” – Gardening Experts
- Watch for tight, compact buds before flowering
- Harvest when heads are fully formed but before flowering
- Check daily during peak harvest season
Now, let’s look at how long different cruciferous vegetables take to mature:
| Vegetable | Maturation Days | Harvest Indicators |
|---|---|---|
| Cauliflower | 60-100 | Compact, white heads |
| Broccoli | 55-85 | Tight, dark green buds |
| Brussels Sprouts | 90-180 | Firm, green sprouts |
Pro tip: Frost can make your vegetables sweeter by concentrating sugars. Most cole crops are very frost-hardy. This makes them great for a longer growing season.
When you harvest, use sharp, clean shears to cut stems. For cabbage and cauliflower, cut the head at the base. For kale and bok choy, pick leaves one by one to let the plant keep growing.
Allium Family: Onions, Garlic, and Leeks
In our kitchen garden, the allium family is a treasure trove of flavor and versatility. These vegetables are key for preserving food at home and gardening. They offer unique tastes and health benefits.
The allium family includes onions, garlic, leeks, and more. These aromatic members add depth to our preservation techniques. They need special care to keep them fresh longer.
Curing Process for Alliums
Proper curing is key for preserving vegetables. Here’s how to cure your allium crops:
- Dig up the vegetables carefully
- Brush away excess soil gently
- Allow them to dry in a warm, well-ventilated area
- Hang them to dry for 2-3 days
“Curing is the secret to long-lasting, flavorful alliums in your kitchen garden.” – Gardening Expert
Storage Methods for Maximum Freshness
Different alliums need specific storage conditions to stay fresh:
| Vegetable | Ideal Temperature | Humidity | Storage Duration |
|---|---|---|---|
| Onions | 40-50°F | 65-70% | 3-4 months |
| Garlic | 35-40°F | 60-70% | 6-8 months |
| Leeks | 32-35°F | 95-100% | 1-2 weeks |
Pro tip: Always check your stored alliums for spoilage. This ensures the best quality in your home-grown food preservation.
Corn and Sweet Corn Harvesting Tips
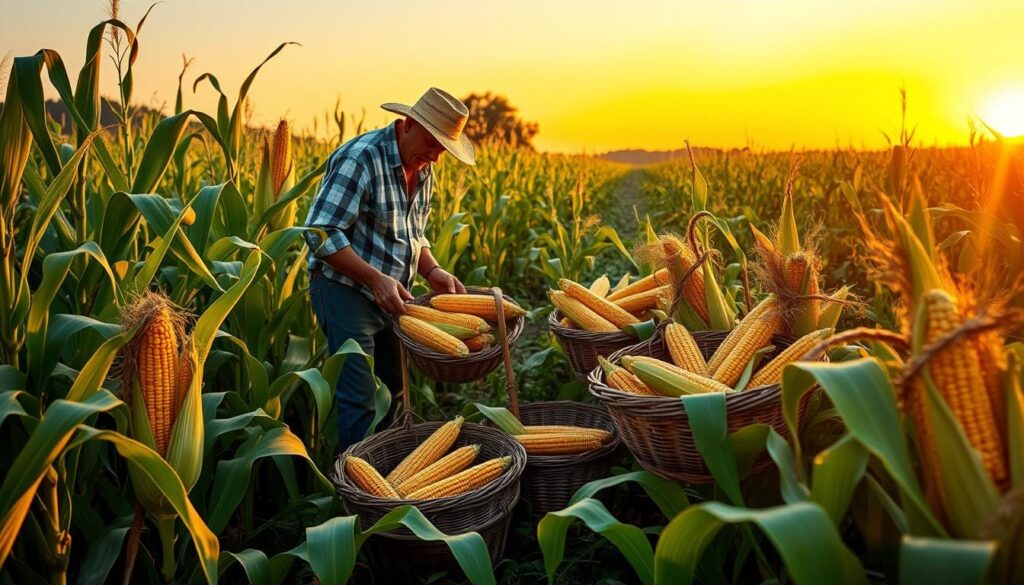
Harvesting corn needs precision and timing. Sweet corn is special, needing attention for its peak flavor and sweetness. The perfect time to harvest is very short, just a few days.
Timing is key for corn harvesting. Sweet corn is ready about 20 days after silks appear. The “milk stage” is short, so picking at the right time is essential.
“The best corn is harvested within moments of perfection – wait too long, and you’ll lose the sweetness.”
Corn Harvest Readiness Indicators
- Look for brown, dry silks at the corn tip
- Kernels should be plump and release a milky juice when punctured
- Ears feel full and firm when gently squeezed
- Kernel color is uniform and bright
Harvest in early morning for the best taste. Temperature affects corn’s sweetness – sugars turn to starch fast after picking. Corn usually matures from August to October, depending on the region and variety.
Harvesting Techniques
- Grip the ear firmly
- Twist downward with a quick, sharp motion
- Pull the ear away from the stalk
- Check for complete kernel development
Storing corn right is key to keeping it fresh. Refrigerate it quickly and eat within 4-8 days for the best taste. By following these tips, you’ll get the tastiest sweet corn from your garden.
Melon and Watermelon Ripeness Indicators
Growing produce in your backyard farming setup needs careful attention to harvest timing, mainly with melons. Watermelons are special challenges for urban agriculture fans looking for the best time to pick their vegetables.
Knowing when melons are ripe involves using your senses. Experienced gardeners know it takes keen observation and specific signs to find the perfect harvest moment.
Testing for Readiness
Here are some ways to check if a watermelon is ripe:
- Look at the tendril color:
- Bright green means the fruit is growing
- Completely brown and dry means it’s ripe
- Check the field spot:
- Creamy yellow means it’s sweet
- White or light green means it’s not ripe yet
- Do the sound test:
- Tap the watermelon
- A hollow, dull sound means it’s ripe
Harvesting Techniques
“The secret to perfect watermelon harvesting lies in patience and careful observation.”
Our strategy for harvesting includes:
- Wait until the tendril closest to the watermelon turns completely brown
- Check the skin texture – ripe watermelons have a rougher, less glossy look
- Remember, watermelons don’t get riper after they’re picked
Urban agriculture fans should know that different varieties might show slight differences in ripeness signs. For example, the “Sugar Baby” variety needs an extra 10 days after the tendril turns brown before you can harvest it.
Herb Harvesting Strategies
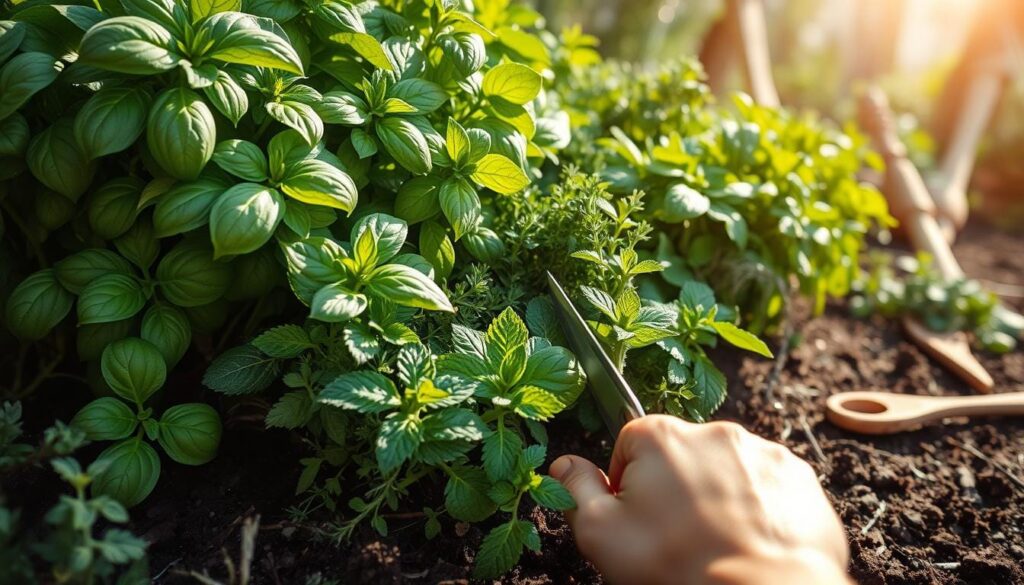
Growing herbs in your kitchen garden needs careful harvesting. This ensures the best taste and growth. Our guide will teach you how to harvest herbs well, making the most of your garden.
When to pick herbs is key. It’s best to harvest them in the morning after the dew has gone. This way, you get the most oils and flavor.
- Harvest up to 75% of the current season’s growth in a single session
- Cut herbs before they flower to maintain leaf production
- Annual herbs can be harvested until the first frost
- Perennial herbs should be clipped until late August
Pro Tip: Each herb needs its own way of harvesting. For basil and mint, pinch the top leaves. This makes the plant bushy and stops it from flowering too soon.
“The art of herb harvesting is about understanding plant cycles and respecting their natural growth patterns.” – Gardening Expert
How you keep herbs fresh is just as important. Air drying takes 2-4 weeks. Oven drying at 180°F or less keeps flavor and color. Microwave drying is quicker, taking 1-3 minutes on high.
Keep your dried herbs in tight containers. Make sure they’re dry to avoid mold. Stored right, herbs stay fresh for a year, adding flavor to your cooking.
Post-Harvest Handling and Storage
Starting vegetable preservation right after picking is key. Knowing how to store your home-grown food well can make it last longer. The secret is to control temperature and keep the right humidity.
Optimizing Temperature for Vegetable Storage
Temperature is very important after you pick your veggies. Each type needs a special way to stay cool and fresh.
- Most crops do best at 32-41°F storage temperature
- Quick cooling helps veggies breathe less
- Picking at night can cool them faster
Humidity Management Strategies
Keeping the right humidity is vital for keeping veggies fresh. Our research shows the best storage conditions.
| Vegetable | Ideal Humidity | Storage Temperature | Shelf Life |
|---|---|---|---|
| Asparagus | 95-100% | 36°F | 2-3 weeks |
| Carrots | 98-100% | 32°F | 6-8 months |
| Peppers | 90-95% | 45-50°F | 2-3 weeks |
“One bad apple can spoil the bunch” – this old saying shows how important it is to store veggies carefully.
Using these temperature and humidity tips, gardeners can keep their veggies fresh longer. This way, you can enjoy your home-grown food for more weeks.
Common Harvesting Mistakes to Avoid
Gardeners often make mistakes when harvesting vegetables. These errors can hurt the quality of their crops. Knowing these mistakes can help you get the best from your garden.
- Size Misconception: Bigger is not always better. Large vegetables often become tough and lose their delicate flavors.
- Waiting too long to harvest can dramatically reduce vegetable quality
- Improper handling that damages delicate produce
- Inconsistent harvesting schedules
“Knowing when to pick your vegetables is an art that separates good gardeners from great ones.” – Gardening Expert
Our research shows important tips for harvesting vegetables:
- Check vegetables daily during peak growing season
- Use appropriate tools for different crops
- Understand each vegetable’s optimal harvest window
- Learn specific ripeness indicators for each crop
For example, okra gets woody if not picked every 3-4 days. Cucumbers turn bitter if left too long. Our techniques stress the need for timely and careful harvesting.
By avoiding these mistakes, gardeners can have a rich and tasty harvest. This ensures the best from their home-grown vegetables.
Conclusion
Our journey through vegetable harvesting shows the art and science of growing food at home. Successful gardening needs keen eyes, precise timing, and knowing each plant’s needs. By tracking planting dates and watching for signs of readiness, gardeners can get the best harvest.
The secret to great home-grown food is how we handle it after picking. Our studies show that acting fast keeps vegetables fresh. They stay moist and full of flavor, thanks to quick cooling and careful handling.
Gardeners must always keep learning. Keeping records of planting and harvest times helps us get better each year. Despite the challenges, our love for growing food pushes us to improve and pay closer attention to our gardens.
Vegetable gardening is about connecting with nature and enjoying fresh food. By using the techniques we’ve shared, you can turn your garden into a place of abundance. It will be filled with nutritious, tasty vegetables that show your hard work and care.
